Ever tried to apply tape only to end up with frustrating wrinkles? You’re not alone. It’s one of those annoying issues that can really mess up your whole project if you’re not careful.
To keep those pesky wrinkles at bay, start with a clean, flat workspace. It sounds simple, but it makes a world of difference.
When it comes to your application tape, opt for something larger than the vinyl you’re working with—at least an inch on all sides works well. Doing this gives you a bit more wiggle room to work without stressing the tape.
Now, when you’re applying the tape, here’s the trick: always begin from the middle and work your way out toward the edges. Use a firm squeegee and apply gentle pressure. This helps prevent any unnecessary tension that can lead to wrinkles.
Also, keep that tape steady. Overstretching is a common culprit for those annoying creases.
Still seeing wrinkles? Frankly, it might be time to consider upgrading your tape. Not all tapes are created equal, and a higher quality tape can sometimes make all the difference.
In summary, keep your workspace clean, choose the right tape size, and apply it thoughtfully.
So, what’s stopping you from giving it another shot? With a few tweaks, you might just find the perfect method for a smooth application.
Key Takeaways
- Select application tape larger than the vinyl for better coverage and to reduce edge wrinkles during application.
- Maintain a steady pull when applying tape to avoid uneven tension and potential wrinkles.
- Use a high-quality squeegee with firm pressure from the center outward for a smooth finish.
- Ensure the application surface is clean and flat to support effective tape adhesion and minimize issues.
- Test the tape’s adhesion on a small area before full application to prevent complications.
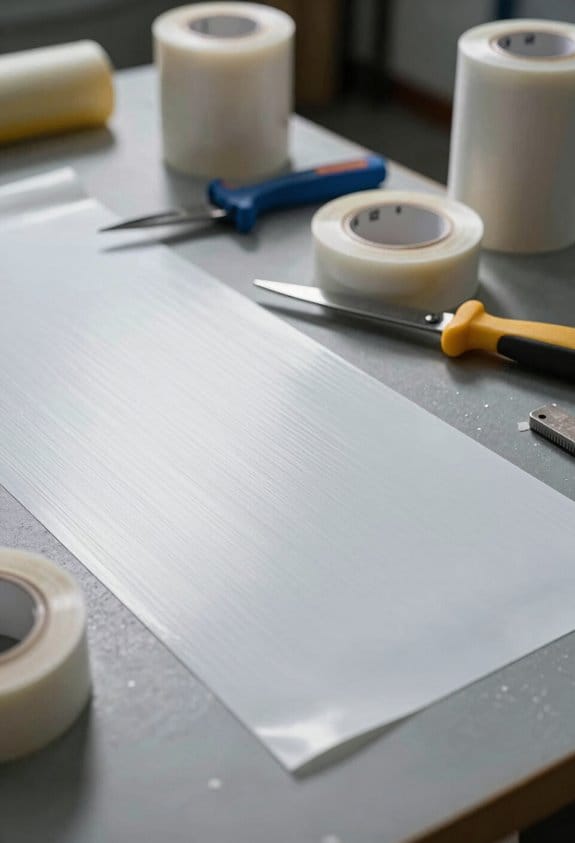
Step-by-Step Guide to Applying Tape Without Wrinkles
Applying tape without those frustrating wrinkles can feel like a challenge, but it doesn’t have to be. You want a smooth finish, right? Start by laying your graphic flat on a clean surface. This simple step is crucial for an even application, steering clear of any potential wrinkles creeping in.
Next, roll back the tag end of your application tape just a few inches and stick it down. Tackling this right from the start helps to stabilize things as you go. Then, grab a big squeegee and apply firm pressure starting from the middle, working your way out towards the edges. You want to spread that tape evenly to avoid any bubbles.
It’s really important to use application tape that’s larger than your vinyl. Why? Well, it gives you a buffer, making wrinkles less likely. If you’re still dealing with those pesky wrinkles even after trying everything, it might be time to switch brands. Honestly, low-quality tape can create more problems than it’s worth. Using materials that have low VOC emissions can also help maintain the adhesive quality and prevent wrinkles during application.
Common Causes of Tape Wrinkles and How to Avoid Them
Tape wrinkles can be a real headache, can’t they? Even when you think you’ve got everything down, those pesky wrinkles still show up. One of the most common culprits is uneven pulling during application, especially with wider tapes that are 24 to 30 inches. To tackle this, you’ve got to keep a steady pull while applying the tape.
Use a big, high-quality squeegee to reduce bubbles and ensure a smooth finish. It really makes a difference! Also, don’t skimp on the size; applying tape that’s larger than the graphic will give you better coverage and help keep edge wrinkles at bay. Plus, overlapping the edges of the tape during placement creates a more stable surface, which is a simple trick that goes a long way.
And let’s not forget about the surface you’re working on. Truth is, applying tape to a clean surface is crucial. It supports successful tape application and helps prevent unwanted wrinkles from forming. So, take a moment to clean that area up before you start. Using paper drywall tape with high tensile strength can also enhance smooth application and reduce the risk of wrinkles.
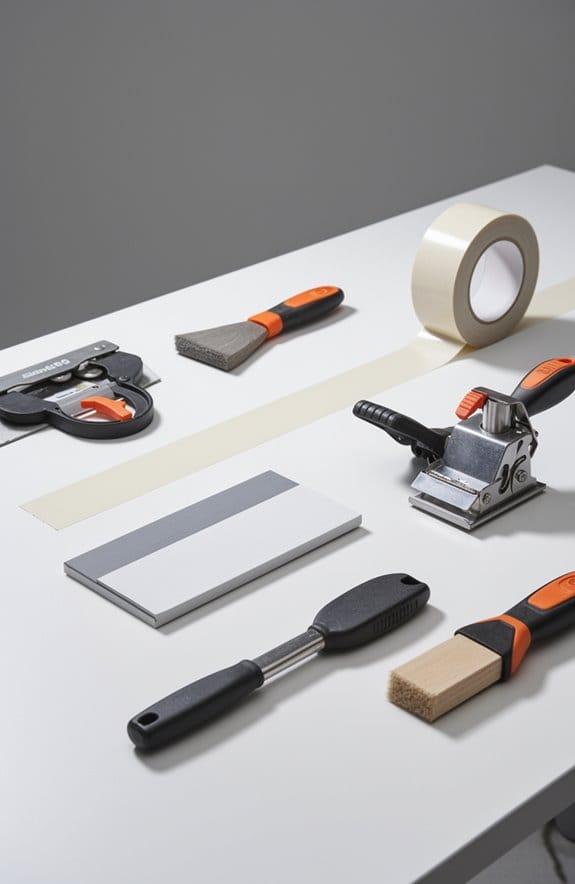
Recommended Products

4-PACK OF INDIVIDUALLY PACKAGED ROLLS with Plastic Applicator Knife in each pack

STRONG FIBERGLASS CONSTRUCTION: Durable fiberglass mesh tape provides reliable joint reinforcement for drywall seams and repairs. Ideal for long-lasting wall patching and spackle applications.

Adjustable Corner Bead - Strait-Flex Wide-Flex is a mud-on, paper-faced composite corner bead that adjusts to inside, outside, 90°, and off-angle corners. It simplifies drywall finishing on standard or vaulted walls, making outside and inside corner repair faster and easier.
Tips for Preparing a Clean and Flat Surface for Tape Application
Got a project coming up that involves tape? One of the biggest headaches people face is dealing with wrinkles and bubbles. So, how do you set up your space to avoid those annoying issues?
To kick things off, declutter your workspace. Get rid of any distractions or contaminants that could mess with your application. Then, think about where you’re going to work. Choose a clean, flat, and even surface—something like a large table or a sturdy cutting mat that measures at least 3×3 feet. Trust me, this makes a world of difference in preventing warping.
Now, here’s the important part: clean your chosen surface thoroughly. You want to make sure it’s free from dust, dirt, and oils that can interfere with the tape. Grab a microfiber cloth and an appropriate cleaner, and give it a nice wipe down.
And here’s a little trick: when you’re applying the tape, consider using a squeegee or a similar tool. This can help keep your graphic smooth and in place while you’re working. Plus, it’s a good idea to test the tape’s adherence on a small area first. This way, you’ll steer clear of those pesky creases or bubbles.
Also, consider the material properties of surface textures, as smoother and moisture-resistant surfaces like latex painted tiles contribute significantly to wrinkle-free application.
In the end, taking a few minutes to prepare your surface can make a huge difference. So, before diving into your project, ask yourself—are you set up for success?
Recommended Products

Advanced Triple-Camera System - The Mavic 4 Pro’s Infinity Gimbal features a triple-camera system: a 100MP Hasselblad wide-angle lens with 6K60 HDR and HNCS color, a 48MP medium tele for portraits, and a 50MP tele for sharp long-range shots. All support up to 4K slow motion (4K120 on wide/medium, 4K100 on tele), dual native ISO fusion, 10-bit D-Log, RAW frame stacking, and intelligent modes like Panorama and Subject Focusing—delivering professional results in any setting.

The�Panasonic AG-CX350 4K Camcorder�is designed for what Panasonic is calling the fusion of communication and broadcasting.

Nikon AF-S NIKKOR 24-70mm f/2.8E ED VR Lens
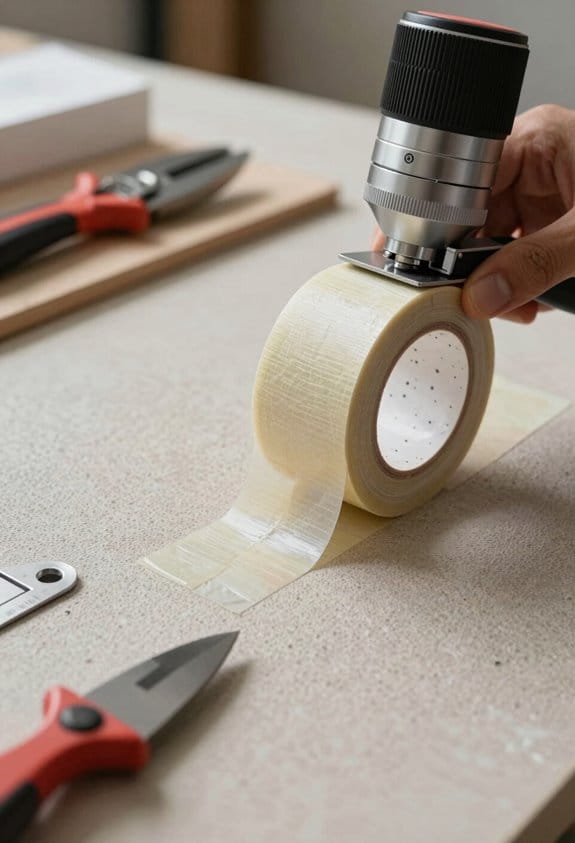
Choose the Right Tape Size and Type
Choosing the right tape size and type can make all the difference in getting that perfect finish. You want to make sure you pick application tape that’s larger than your vinyl. Why? Well, it gives you better coverage and cuts down on those pesky wrinkles that can ruin your project.
Let’s talk about tape width for a minute. Wider tapes—like those that measure 24 to 30 inches—can be tricky. If you don’t pull them evenly from the roll, you’ll end up with wrinkles. So keep that in mind when you’re getting ready to tape.
Here’s a tip: using high-quality tape, like R Tape Conform, can really reduce your application issues. It’s just plain easier to work with. To ensure an even application, grab a good squeegee that feels nice in your hand; it makes the whole process smoother.
And don’t forget this important detail—always reach for a fresh roll of tape. Using damaged or old tape is just asking for trouble, since it can lead to more wrinkles than you’d like.
Additionally, selecting a tape with strong adhesive quality helps minimize bubbling or wrinkling during application.
In the end, taking the time to choose the right tape will pay off. It’s all about making your projects look sharp and professional. So, are you ready to tackle your next project with confidence?
Recommended Products

CREATE SOCIAL DISTANCING MARKINGS: Create queues for waiting areas or make lanes in aisles in a fast, easy, and efficient way – whether it’s short- or long-term use
ROLL OUT A ROBUST ROOM: Seamlessly strengthen the floor in minutes with a low-profile garage floor cover solution featuring moisture resistant textured polyvinyl that’s prepared to tackle the toughest workspaces without being tough to work with.

55in Full-auto Wide Format Cold Laminator Heat Assisted Stand Laminating Machine With Trimmer, 3 years warranty!!!
Apply Tape Without Tension
Are you struggling to get your tape application just right? You’re not alone! One of the biggest mistakes people make when taping is applying it with too much tension. To really nail your application, keep these tips in mind.
First off, avoid overstretching the tape. You want it to lie flat against the surface, not pulled tight. If you apply it with tension, you’re more likely to end up with annoying wrinkles or creases. Honestly, that can mess up your whole look.
Now, if you have a hard squeegee, it can really help. Here’s the trick: gently press the tape onto your skin and muscles. Start from the middle and work your way outward. This technique applies even pressure, which minimizes unwanted tension. Make it a point to check the tension regularly as you go. Avoid those taut areas that can lead to those pesky static wrinkles.
And let’s not forget about the setup. Working on a clean, flat surface is a must. It’s going to make a huge difference in how the tape adheres and prevents wrinkles during your routine.
Using self-adhesive fiberglass mesh tape can also simplify the process by eliminating the need for extra joint compound, which reduces the chances of wrinkles forming during application.
Use the Right Tools for a Better Application
Ever tried putting tape on a project only to end up with a wrinkled mess? Yeah, we’ve all been there. Getting it right can feel frustrating, but here are some tips that can help you get that smooth tape application you’re after.
First off, choosing the right tools is key. Go for a big squeegee with a well-maintained felt edge. It really makes a difference when you’re smoothing the tape; it helps spread it evenly and cuts down on those annoying wrinkles. And don’t forget about your workspace. A clean, flat surface is a must—it allows the tape to lay down nicely without any bumps.
When you’re applying the tape, think about overlapping the edges. This isn’t just for show; it adds stability and support to your project. If you’ve got them handy, using rollers or tape holders can definitely improve your control, reducing the chance of those pesky wrinkles.
Feeling like you’ve done everything right but still struggling? Honestly, it might be time to switch brands. Some tapes, like R Tape Conform, can be a bit tricky to work with. Finding the right tape can make a world of difference. Also, consider using a joint compound with low shrinkage properties to ensure a smooth, durable finish without cracks or peeling.
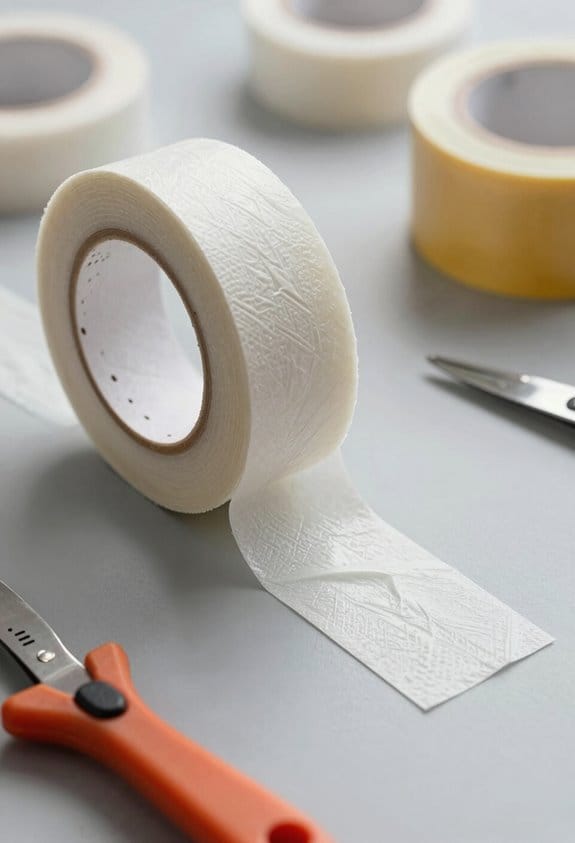
Best Tips for Tape Maintenance
Do you ever struggle with applying tape perfectly? Proper tape maintenance is key for getting the cleanest lines and the best results in your projects.
First off, where you store your tape matters. Keep those rolls in a cool, dry place—heat and moisture can seriously mess with the adhesive. It’s also a good idea to regularly check the rolls for any damage or creases. If you spot any defects, don’t ignore them! They could lead to frustrating wrinkles when you apply the tape.
When it’s time to get to work, don’t skip cleaning your surface. Dust and debris can ruin your tape’s adhesive power. Here’s the trick: use a squeegee that’s at least 12 inches wide and in good condition, preferably with a fresh felt. A worn-out felt can create uneven pressure, which is a sure path to those pesky wrinkles.
So, what if you’re still dealing with wrinkles despite doing everything right? It might be time to switch brands. Different brands can have various levels of consistency, and you might find one that performs better for your needs.
Choosing tape with exceptional wet strength can also help prevent wrinkles by maintaining integrity during application.
In a nutshell, taking care of your tape goes a long way in ensuring a smoother application. Have you found any favorite tape brands that work like a charm?
Frequently Asked Questions
How to Face Tape to Avoid Wrinkles?
They say, “Measure twice, cut once.” For wrinkle prevention, we should guarantee skin preparation, focus on tape alignment, manage tension carefully, and utilize proper removal techniques for ideal adhesive quality and flawless application angles.
How Do Dermatologists Feel About Taping?
Dermatologists often caution against taping, citing potential skin irritation and inadequate long-term effects. They recommend safer tape alternatives and emphasize professional advice for maintaining healthy skin based on patient experiences rather than relying solely on tape methods.
How to Get Wrinkles Out of Tape?
To get wrinkles out of tape, we should use wrinkle removing techniques like smoothing tape methods, apply best tape placement on clean surfaces, and consider tape storage solutions that prevent damage to various tape material types.
How to Use Tape to Get Rid of Wrinkles Around the Mouth?
To reduce wrinkles around the mouth area, we should choose the right tape types, guarantee proper skin adhesion, and apply it horizontally for effective facial contouring. Regular use promotes wrinkle prevention in this delicate area.


