Cutting clean edges is crucial for ensuring your patches stick properly, but it can be trickier than it seems. Ever tried to apply a patch only to find those edges all jagged? Let’s get into how you can avoid that pitfall.
First off, grab sharp tools like an exacto knife or a rotary cutter. You’d be surprised at how much of a difference a good blade can make.
It’s also a smart idea to work on a cutting mat; it protects your surface and helps keep everything nice and neat.
Secure your fabric with a stabilizer, making sure it’s flat and wrinkle-free. This step is key, trust me. If you’ve dealt with wonky patches before, you’ll understand why.
I recommend leaving about a 1/8 inch margin around the embroidered areas. It provides enough room for the patch to seat properly without fraying at the edges.
When you’re ready to cut, don’t forget to use a straight edge. It gives you that precise line you might be searching for.
And here’s a little tip: always test your cutting technique on some scrap fabric before diving into your main piece. This simple step can save you a lot of heartache.
So, why does this matter? Clean edges really do make a big difference in how well your patch sticks and looks. It can elevate an ordinary project into something you’re proud to show off.
In summary, prioritize sharp tools, a clean work surface, and a careful cutting technique. With these tips, you’ll be on your way to perfect patches in no time. What project are you planning to patch next?
Key Takeaways
- Use an exacto knife and straight edge ruler for precise cutting, ensuring clean edges for better patch adhesion.
- Stabilize fabric to prevent fraying, keeping material flat and wrinkle-free during the cutting process.
- Leave a 1/8 inch margin around embroidered areas to protect stitches and prevent fraying.
- Regularly sharpen cutting tools and clean blades to maintain cutting accuracy and edge integrity.
- Aim for a satin stitch finish around patches for a polished look and enhanced durability.
Why Clean Edges Are Essential for Strong Patch Adhesion

Have you ever noticed how a patch can look great one day and start peeling off the next? It all comes down to one crucial detail: clean edges. These edges are vital for solid patch adhesion, helping to prevent fraying and giving you a smooth surface for the adhesive.
When you opt for a satin stitch border, it’s like putting a protective seal on your fabric threads. Not only does it enhance the edge integrity, but it also gives a polished finish. This not only looks better but truly helps the patch stick. Precise cutting is key here; using an exacto knife with a clean, straight edge will help you minimize any fabric excess.
Defined edges are more likely to cling well to surfaces, whether it’s clothing, bags, or anything else you’re working on. A simple tip: pick a thread color that matches your patch fabric. It helps to hide any small imperfections and can further aid adhesion.
So, why does this matter? Well, imperfect edges can genuinely weaken your patch, leading to that dreaded peeling or detachment down the line. Prioritizing those clean edges is essential if you want results that last. Using strong adhesive formulas ensures that once you have those clean edges, your patch adheres securely and withstands wear over time.
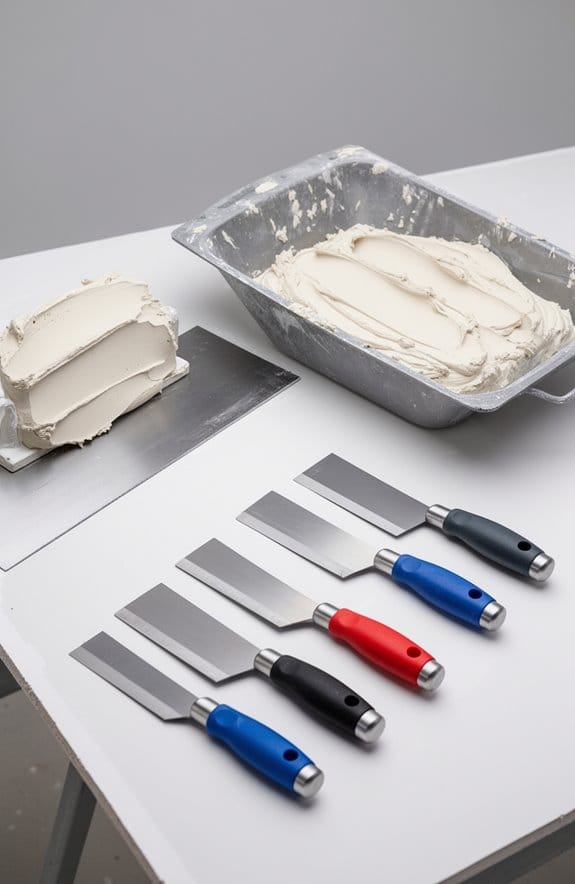
Essential Tools for Precision Cutting

Are you tired of cutting patches that just don’t look clean? The right tools can make all the difference in achieving those precise cuts you need for a professional finish.
An exacto knife is a must-have when you’re working along embroidered borders. It helps create those clean edges that keep fraying at bay. Always place a cutting mat underneath your fabric; this not only protects your workspace but also helps keep your blade in good shape. You don’t want a dull tool ruining your hard work with jagged edges, do you?
Also, consider using a ruler or straight edge. This little addition can make cutting straight lines so much easier. And if you’re tackling larger patches, a rotary cutter is a solid choice. It cuts smoothly and quickly, whether you’re navigating curves or straight lines.
Truth is, having the right tools really enhances your cutting precision and the overall quality of your patches. So, what’s stopping you from giving these tools a try?
For the best results, selecting tools with ergonomic handle design can greatly reduce fatigue and improve control during extended cutting tasks.
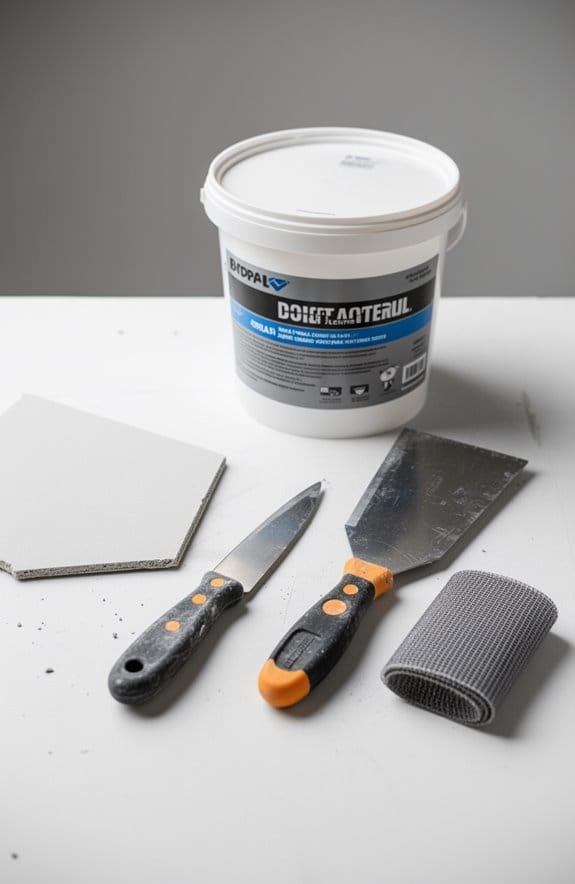
Preparing Your Patch Material for Cutting

Before you dive into cutting your patch material, it’s essential to make sure everything is set up right. Start by securing your fabric with a stabilizer—options like tear-away or water-soluble types work well. This not only boosts stability but also helps prevent fraying.
Next, check that your material lies flat and is wrinkle-free. Wrinkles can throw off the uniformity of your patch, so take a moment to smooth it out. After you finish embroidering, it’s time to cut away any excess fabric. Use an exacto knife for this step to achieve sharp, precise edges without disturbing the embroidered border.
If you’re dealing with heavy fabrics or a particularly intricate design, you might want to try hot-knife cutting. This method can really clean up the edges and keep them fray-free. Here’s a tip: always test your cutting technique on a scrap piece first. It’s a small step that can save you from making mistakes on your final patch.
For best results, ensure your work surface has enough depth to allow for precise cutting, eliminating any risk of damaging the material beneath.
Step-By-Step Guide to Cutting Clean Edges
When it comes to cutting clean edges on your patch, having the right setup makes all the difference. First, check that your fabric backing is nice and taut. This is key for keeping those edges consistent and sharp.
Here’s the trick: after finishing your embroidery, reach for an exacto knife. It’s perfect for precision cutting and helps avoid any mishaps with the satin stitch border. As you work, take your time when cutting away excess fabric. Leave about 1/8 inch of margin to ensure you don’t accidentally snip into the embroidered area.
Honestly, keeping your tools in top shape is crucial. Regularly check for dull blades and swap them out when needed.
So, why does this matter? Following these steps not only makes your patches look more professional but also boosts their durability while cutting down on fraying. With a bit of practice, you’ll refine your technique and feel more confident cutting patches. Using patches made from durable materials will further enhance the longevity and performance of your repairs.
Choosing Effective Cutting Techniques
Are you struggling with cutting patches that come out looking less than perfect? Effective cutting techniques can really make a difference. Using an exacto knife for cutting after embroidery is a solid choice—it’s great for getting clean edges that look professional. Plus, a satin stitch border around the patch is essential. Not only does it help secure the embroidery, but it also reduces fraying, which means your edges will look sharper.
When it comes to shapes, keep it simple. Opt for outlines that are easy to stitch and cut. This not only makes your life easier but minimizes errors along the way. While you’re trimming away the excess fabric, remember to leave a slightly bigger margin beyond the embroidered border. This little trick helps maintain your patch’s shape and improves how well it sticks later on.
So, why does this matter? Well, regularly checking your cutting tools for sharpness is key. Dull blades can lead to jagged edges that seriously mess with adhesion. Trust me, you want those clean lines! Also, using adhesive removers safe for painted walls ensures that any residue left from patches can be cleaned without damaging the surface underneath.
In short, focus on those effective cutting techniques for your patches. It may take a bit of practice, but you’ll see the difference. What tricks have you found work best in your patch-making adventures?
Fixing Common Patch Edge Problems
Are you tired of dealing with fraying edges on your patches? It can be such a hassle, especially when you want your work to look top-notch. A good tip to prevent this issue is to use a satin border around the edges before you start cutting. It really makes a difference!
Here’s the trick: make sure your thread colors match for both the top and the bobbin. This simple step can enhance the overall cleanliness of your stitching and help minimize any imperfections. When it comes to the design of your patches, consider choosing simplified outline shapes. This not only makes the stitching process easier but also promotes cleaner edges when you cut.
After finishing your embroidery, don’t rush into cutting it all up. Use an exacto knife instead of scissors, and take your time. Make sure you don’t accidentally cut into the embroidered border—it’s super easy to get carried away in the moment. Regularly inspecting your patches is crucial, too. If you notice any signs of fraying or edge problems, don’t hesitate to reinforce them with extra stitching.
Honestly, maintaining the integrity of your patches comes down to these small details. Using lightweight compounds for finishing surfaces can help create smoother edges and reduce fraying on patch applications. So, what steps are you taking to ensure your patches stay looking sharp? Remember, a little attention now can save you a lot of grief later!
Maintaining Sharp Cutting Tools
Sharp cutting tools are a must if you want clean edges on your patches, especially when you’ve put hours into crafting those intricate designs. You really can’t afford to let dull blades ruin your hard work. To keep that sharpness, make it a habit to sharpen your cutting tools, like X-Acto knives or rotary cutters. A sharpening stone or honing device can work wonders—just a quick touch-up every so often can make a big difference.
Using a cutting mat is also a smart move. It not only protects your surfaces but also helps to keep your blades sharper longer. And don’t forget to clean your blades regularly! Adhesive residue can mess with your cutting accuracy and create those annoying unintended snags.
For those super detailed designs, precision cutting tools are your best friends. They allow for controlled, delicate cuts, which is exactly what you need when you’re working on something intricate.
Now, let’s talk storage. Keeping your cutting tools in a protective case is crucial. It helps prevent dulling or accidental damage, so when you reach for them next time, they’re still ready to perform at their best.
Honestly, taking a little extra care with your tools can save you a lot of frustration down the line. Imagine struggling with a dull blade when you’re in the creative flow! Additionally, an integrated blade storage compartment can keep your spare blades organized and handy for quick replacements.
Tips for Optimal Patch Application
Do you ever struggle to get patches to stick right? It can be so frustrating when you think you’ve done everything right, only to find the edges peeling up later. To help you nail the application process, here’s a simple guide I’ve picked up over time.
First off, when you’re cutting around the embroidered edges of your patch, grab an exacto knife for those clean cut lines. This step isn’t just for looks; it actually helps with adhesion too. If you can, aim for a satin stitch finish on your patches. It minimizes fraying, making them last longer and look better.
When you’re using iron-on adhesive, it’s smart to make your piece a smidge smaller than the patch itself. This avoids any messy edges and gives you that polished look. Now, here’s the trick: heat press your patch at 330 degrees for about 10-15 seconds. Then, flip it over and give it another quick press to really ensure it sticks well.
Regular check-ups on your patches can make a big difference, too. You don’t want to wait until you see them peeling to realize there’s an issue. Keeping them in good shape doesn’t just look better; it also prolongs their life.
For best results, consider using self-adhesive patches designed to simplify application and improve bond strength.
Common Mistakes to Avoid When Cutting Patches
Cutting patches can seem easy, but it’s easy to mess it up if you’re not careful. Have you ever thought about why some patches look perfect while others don’t? A big part of that is how they’re cut.
One of the first things to keep in mind is the importance of your cutting tool. Using a dull blade? That’s a recipe for uneven edges, and nobody wants that. Try using a sharp blade, like an X-Acto knife—it’ll make all the difference for those clean cuts.
When you’re cutting, don’t get too close to the embroidered border. It might seem tempting, but this can lead to fraying, which weakens the patch. Instead, leave a little margin around the stitching. Think of it like giving your patch a comfy buffer zone; it helps maintain its integrity and look.
Honestly, rushing through the cutting process is another common pitfall. You might think you’re speeding things up, but jagged edges can be a huge headache down the line. Make your cuts with care and try to align them with the design features. A little patience here goes a long way in making sure the patches look professionally done.
Frequently Asked Questions
How to Get Clean Edges on Patches?
To get clean edges on patches, we should focus on precise edge trimming, use compatible fabric types, and choose the right adhesive options. This guarantees our patch design looks polished and adheres effectively.
How to Get Patches to Stick Better?
Think of our patches as little treasures; to keep them secure, we should explore the best adhesive options, apply fabric preparation methods, and master patch application techniques to guarantee we achieve durability standards that last.
How to Stop Edges of Patch From Fraying?
To stop patch edges from fraying, we should explore fraying prevention techniques, like using dense satin stitches and selecting the right adhesives. Fabric treatment methods and thoughtful patch design choices also play essential roles in durability.
How to Seal the Edges of Patches?
Perfecting patch sealing techniques requires careful combination! We can explore adhesive layer methods, fabric preparation tips, and edge finishing options to guarantee our patches stay durable while looking sharp and stylish. Let’s commence on this journey together!