Are you tired of seeing rough patches on your walls or furniture after repairs? Creating a smooth finish on those areas can be tricky, but it’s definitely doable with a few simple steps.
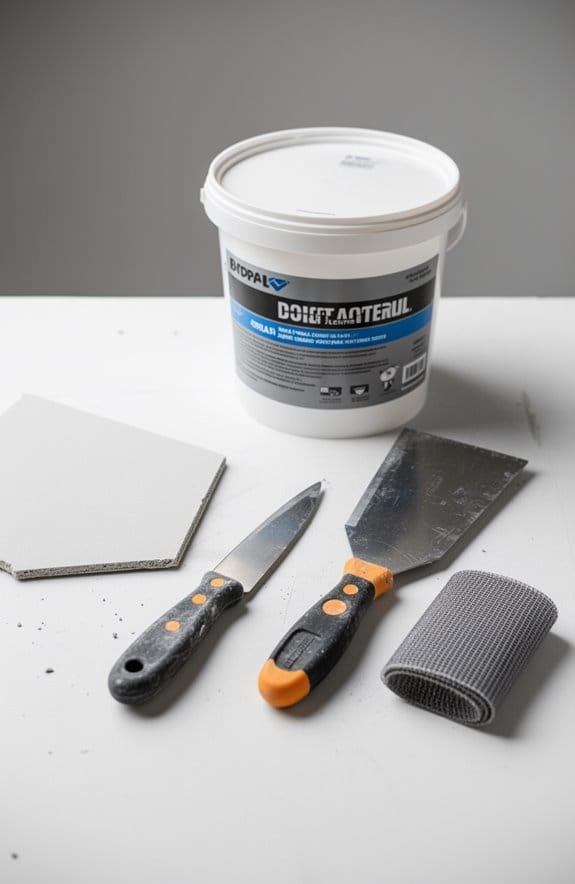
First things first, you need to prep the surface really well. Give it a good clean to get rid of any dust or dirt. This makes a big difference in how the filler adheres later on.
Once that’s done, mix up your polyester filler with a 2:1 filler-to-hardener ratio. It’s crucial to get this right, so take your time with the mixing.
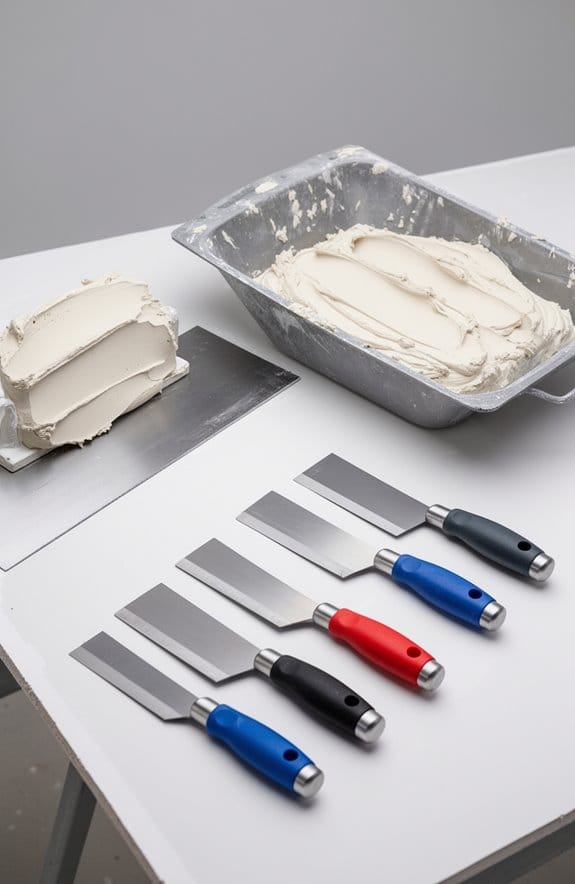
After you let the filler cure, here’s the trick: use a hand board to shape it. This helps ensure the repair blends in nicely with the surrounding area.
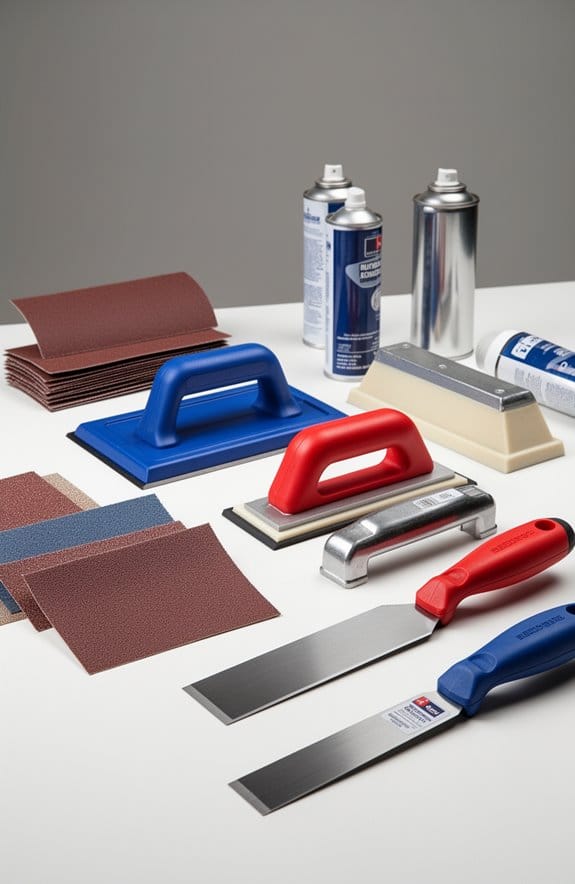
Once you’re happy with the shape, it’s time to break out the sandpaper. Start with 80 grit to knock down any high spots, then move up to 120 grit. Finally, finish off with 220 grit to create that silky smooth finish.
Want another tip? After sanding, apply a high-build primer. This is where you’ll want to be patient and apply multiple coats, making sure each one dries before adding the next. This helps to fill in any last imperfections.
Once the primer is set, you can add a few thin layers of paint for that glossy look. Trust me, it’s all about those thin layers!
So, why does all this matter? Because a smooth finish is not just about looks; it’s about how satisfying it feels when you run your hand over the surface.
To wrap it up, take your time with each of these steps, and you’ll see a huge difference in the results. Are you ready to tackle those repairs with confidence?
Key Takeaways
- Start with 80 grit sandpaper to eliminate larger imperfections, then proceed to 220 grit for a polished surface finish.
- Ensure all surfaces are clean and free from contaminants before applying filler on bare metal or suitable primers.
- Use polyester filler for a smoother application and carefully mix with the correct filler-to-hardener ratio to prevent cracks.
- After shaping the filler, apply a high-build primer and use a guide coat to identify surface imperfections before final sanding.
- Apply multiple thin layers of paint for optimal blending, followed by buffing with quality compounds for a glossy finish.
Why Smooth Finishes Matter in Bodywork: A How-To Guide

When it comes to smooth finishes in bodywork, you’ve probably noticed how much they affect not just the look of a vehicle, but its long-term value as well. It’s really about patience and attention to detail. Start with 80 grit sandpaper to tackle those bigger imperfections you see. Then, gradually switch to 220 grit for that polished finish we’re all after. This step-by-step sanding process creates a solid foundation for fillers and primers.
After each sanding, give the surface a feel with your fingers. Is it smooth enough? This matters because investing time in these steps not only boosts the vehicle’s appeal but also increases durability. You don’t want to deal with cracking or deformation later on.
Here’s a straightforward approach:
- Begin with 80 grit for rough spots.
- Move to 120 grit to refine the surface.
- Finish with 220 grit for a silky smooth touch.
Smooth surfaces mean repairs blend in better and look more professionally done. So, why should you care about this? Because when you take the time to ensure everything’s smooth, you’re not just making it pretty; you’re also preventing future headaches.
Using lightweight spackling compounds can aid in achieving a flawless finish with quicker drying times and reduced sanding.
In short, smooth finishes are a must for great bodywork. What steps will you take today to improve your vehicle’s finish?
Preparing Your Surface for Bodywork Filler Application

Preparing Your Surface for Bodywork Filler Application
Have you ever tried applying bodywork filler and ended up with a huge mess? Getting the surface ready is crucial, and that starts with laying down a solid foundation. If you see any rusty or damaged metal, don’t just slap filler on it—replace it with new sheet metal. This step could save you a lot of headaches down the road.
After that, make sure the surface is clean. You don’t want any dust, grease, or oil getting in the way of a good bond. The best approach is to apply filler on bare metal that’s nice and rough or on well-prepared sealing primers. If you want that filler to stick, you’ll thank yourself later for taking the time to prep properly.
Here’s the trick: a polyester filler mix is what you want to use. It’s easier to work with and gives a smooth finish, plus it’s a safer option compared to those old lead-based fillers. When you’re mixing it up, be sure to follow the manufacturer’s recommendations for the filler-to-hardener ratio. For instance, you might see something like 50:1 for Half Time, and getting this right will help achieve the best curing.
Once the filler has set, it’s time to hit it with some sandpaper. Start with 80 grit to really shape things up, and then work your way to progressively finer grits. This part can be satisfying, but don’t rush it.
For a seamless result, you can also consider applying a light orange peel texture over the repaired area once dried to help hide imperfections and blend repairs with surrounding surfaces.
In short, prepping your surface correctly makes a world of difference. Are you ready to dive in and tackle that bodywork project?
Recommended Products

CONVENIENT EPOXY BUNDLE contains one can of WEST SYSTEM 105-B Resin (126.6 fl oz), WEST SYSTEM 206-B Slow Hardener (27.5 fl oz), and one set of calibrated 300 Mini Pumps. 206 Slow Hardener is a low-viscosity epoxy curing agent for use when extended working time or a longer cure time is needed. It also provides adequate working time at higher shop temperatures.
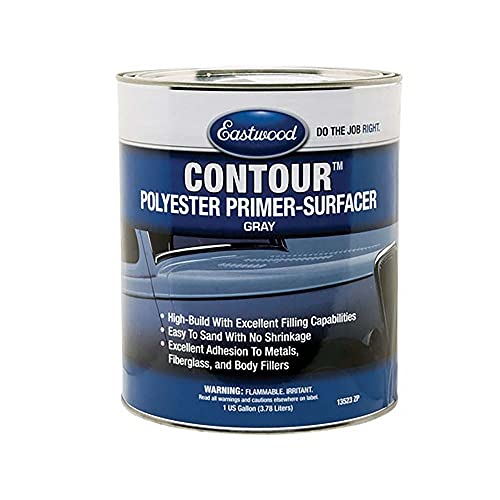
POLYESTER PRIMER: The Eastwood Contour Polyester Primer Direct to Metal Surfacer has a % solids by weight of 88% and volatile organic compound of 170 g/l 1.42 lbs/US gallon. If unopened may last 12 months maximum. Sprayable high-build primer/surfacer serves as an excellent base for any paint system.

PROFESSIONAL LIGHTWEIGHT BODY FILLER: Roberlo Maxilight Ultra is a premium lightweight polyester filler designed for professional automotive repairs. This value pack includes two 3L cans of body filler and hardener, providing ample material for multiple repair projects.
Mixing and Applying Filler Like a Pro

Mixing polyester filler properly can feel a bit daunting, but getting it right is essential for a strong and smooth finish. Have you ever applied filler only to have it crack later? That’s often because the surface wasn’t prepped correctly or the ratios weren’t followed. Stick to the recommended filler-to-hardener ratio, like 50:1 for Half Time. It’s a simple step that ensures your work cures properly.
When you’re ready to apply the filler, make sure your surface is a solid foundation of bare metal or at least roughed up a bit. This is so important—it keeps cracks from ruining all that hard work. Working in a comfortable temperature range of 60 to 80 degrees Fahrenheit also makes a difference. It helps the curing process happen smoothly, which is exactly what you want.
So, what’s the best way to mix the filler? Start with small amounts. This not only prevents waste but also gives you the chance to apply it finely. Plus, mixing in small batches means you can manage your time better without feeling rushed.
Remember to let the filler fully cure, which usually takes less than 10 minutes. Honestly, skipping this step could lead to issues later on, so don’t overlook it. Once it’s cured, you’ll have a strong base for the shaping and sanding that follows. Using a flexible backer rod can also help ensure even caulk application and a smooth finish when filling gaps or joints.
Recommended Products

High-Strength Marine Epoxy Resin Kits: System formulated for bonding, coating, and laminating. Build, repair, and restore boats, canoes, kayaks, SUPs, surfboards, RVs, and trailers. Stronger bonds and more durable than polyester fiberglass resin.

105 EPOXY RESIN is the base material on which all WEST SYSTEM 105 System epoxy compounds are built. It is a clear, pale yellow, low-viscosity liquid epoxy resin. Blended at the correct ratio with one of 4 WEST SYSTEM hardeners, it cures to a high-strength solid that is functionally waterproof, highly resistant to moisture vapor. Based on which hardener you choose, it cures at a wide range of temperatures.

All Purpose Laminating Resin – This advanced ortho polyester resin works for repairs and new construction. Secures fiberglass fabric, composite materials, woods, metals, and other fiberglass surfaces to increase strength, resilience, and long-term durability.
Shaping and Sanding for a Perfect Finish
Achieving a perfect finish can feel like a challenge, especially when it comes to shaping and sanding a cured filler surface. Ever found yourself staring at an uneven surface, wondering how to make it right? The good news is, with a few simple steps, you can make the process smoother.
First off, check if your filler is fully cured. If you’re working with Half Time filler, you can actually start shaping it within just 10 minutes. For that initial shaping, grab a hand board or a rasp file. This handy tool helps you create a great contour without those annoying waves. Just take your time and focus on getting it right!
Once you’ve shaped the surface, it’s time to switch gears and get into sanding. Use sanding blocks to keep everything flat and steady. Start with 80 grit to knock down the rough spots, then move to 120 grit, and finish it off with 220 grit to really smooth things out. While you’re at it, don’t forget to run your fingers over the area every so often to check the smoothness. It’s all about that tactile feedback!
And here’s the trick: once you’re happy with the smoothness, applying a high-build primer can really help in evening out any remaining imperfections. It’s a great way to prep everything for that flawless final look. When mounting shelves or similar fixtures after finishing, consider using heavy-duty bracket materials to ensure durability and support for the finished surfaces.
Recommended Products


Flexible and adjustable polycarbonate sanding blocks
How to Get a Perfect Paint Finish?
How can you ensure that your paint finish comes out just right? It all starts with prep work—trust me on this! Make sure you thoroughly sand down the repaired area. If you’re dealing with a rusty sheet, getting it down to bare metal is key.
Next, applying a high-build primer is a smart move. It sets up a smooth base for your paint. A little trick is to use a guide coat of contrasting primer; this helps you spot any high and low spots while sanding. It’s a simple step, but it makes a big difference.
When it’s time to paint, don’t go for thick layers all at once. Instead, apply several thin layers of paint that are thinned out a bit more each time. This not only helps with blending but also prevents issues down the road. And don’t skimp on drying time between coats! Rushing can lead to imperfections that you’ll wish you had avoided.
Once you’ve got that final coat down and it’s dried completely, it’s time to give it some shine. Buffing the area with a quality compound, like 3M Perfect-It, will give you that glossy, glass-like finish. Just a heads-up—clean your tools right away to keep everything in top shape. For the best results, choosing a low-VOC paint not only ensures a clean finish but also promotes a healthier indoor environment.
Choosing the Right Primer for Best Results
Ever tried painting only to find all those bumps and imperfections ruining your masterpiece? Picking the right primer can make a huge difference in how your finished project turns out. If you’re dealing with a surface that needs some TLC, a high-build primer is a great choice. It’s thicker and does a solid job of filling in those pesky imperfections.
For the best adhesion, many swear by DuPont Fill N Sand. Just mix it with thinner in a 1:1 ratio, and you’re good to go. Don’t forget to apply multiple coats of primer, allowing enough drying time in between. This extra effort sets you up for a smooth and beautiful final finish.
Want to take it a step further? Applying a contrasting guide coat over the primer can really help you spot high and low spots while sanding. So, why does this matter? It helps you create that flawless surface we all aim for.
Before you dive in, make sure to touch base with your paint suppliers. Confirm that your chosen primer will play nicely with the topcoat to avoid any headaches down the line.
Using the right tools, such as an orbital sander with variable speed settings, can also enhance the sanding process and improve your surface preparation.
In short, choosing the right primer is key to achieving the look you want. Have you ever had a project fall short because of the primer you chose?
Recommended Products

Unmatched Durability: Elevate the longevity of your surface topcoats with Base Coat, a high-performance 2k epoxy floor primer designed to resist peeling and flaking, ensuring long-lasting results in industrial and commercial settings.

Apply up to 2-3 coats (Allow 5-10 mins between each coat)

Lacquer-based, single-stage formula requires no catalyst
Troubleshooting Common Problems in Smooth Finishes
When it comes to achieving that smooth finish, have you ever felt like you’re just spinning your wheels? Knowing what to look for can help you catch issues before they snowball into bigger problems. The first step is to check if your filler has cured properly. If you sand too soon, you risk making your surface uneven and leaving behind imperfections.
Thinking about your sanding process? Here’s a little tip: don’t rush it. Start with 80 grit sandpaper and work your way up to 220 grit. That gradual progression helps you create a smooth surface without missing any problem areas. Using a contrasting guide coat of primer can make a world of difference, too. It’s super helpful for spotting those pesky high and low spots while you’re sanding.
And don’t forget to feel the surface once you’re done sanding. Running your fingers over it can uncover any areas that still feel rough. Address those spots before applying the final coat to ensure you get that flawless look you’re aiming for.
For the best results, selecting repair products with quick-drying formulations can minimize downtime and help you move efficiently through your finishing steps.
Buffing and Polishing for a Professional Look
Achieving a professional look in your finished projects can feel overwhelming at times, especially when it comes to buffing and polishing. You want that glossy finish, but where do you even start? First off, it’s crucial to wait until the final coat of paint is fully cured before diving in.
Here’s the trick: using a high-quality polishing compound, like 3M Perfect-It, can truly enhance the gloss and help eliminate those pesky minor imperfections that always seem to pop up. And if you’ve got a dual-action polisher, you’re already on the right track. This tool allows you to get consistent results and cuts down on the risk of damaging the paint—something all of us want to avoid.
When you’re working on your project, start with a less aggressive polishing pad. It gives you more control and is perfect for correcting small issues. If you find you need a little extra zing, you can always switch to a finer pad later on. So, why doesn’t everyone do this? It’s all about getting that professional look without overdoing it.
Don’t forget to clean your polishing pad regularly! Working in sections is super important too. This ensures you apply even pressure and get that consistent distribution of the polishing compound. The result? A smooth, professional finish that’ll make you proud to show off your work.
Truth is, getting that perfect look takes a little extra time and attention, but it’s so worth it in the end. Also, choosing compounds with easy sanding properties can significantly enhance your ability to achieve a flawless surface. With these tips under your belt, you’ll be well on your way to creating some amazing finishes. What’s your next project going to be?
Recommended Products

Optimizes Workflow: With an impressive 40-minute battery life at full power, it’s designed for crucial tasks, offering consistent performance even in demanding conditions, with rapid recharge cycles; its efficient design optimizes workflow and boosts productivity

Engineered for Noise Reduction: These compact powerhouses not only provide unmatched performance but also ensures a comfortable experience with ergonomic design, reduced noise, and low vibration levels

Compact Ergonomic Design: Lightweight and compact construction improves maneuverability and comfort, making it easier to work on intricate surfaces and precision polishing applications
Frequently Asked Questions
How to Get Super Smooth Paint Finish?
To get a super smooth paint finish, we start with thorough surface preparation and proper paint application. By sanding, priming, and wet sanding, we can achieve that flawless, glass-like look we all desire.
How to Get a Smooth Finish on Body Fillers?
To get a smooth finish on body fillers, we should perfect our sanding techniques and guarantee precise filler application. Gradually sand using various grits, checking smoothness between steps for a flawless result that blends seamlessly.
How to Get a Smooth Paint Finish Without Spraying?
To get a smooth paint finish without spraying, we focus on meticulous surface preparation and efficient brush techniques. By sanding properly and applying paint thoughtfully, we can achieve the flawless results we desire.
What Coating Is Used to Fill Scratches and Imperfections in the Body and Sanded Smooth?
We often use polyester fillers for filling scratches and imperfections in the body. By mastering application techniques and selecting the right filler types, we can achieve a smooth finish ready for priming and painting.