Have you ever noticed paint starting to crack or peel shortly after you’ve done a fresh coat? It’s frustrating, right? The truth is, how you prepare the surface before painting can make a huge difference in how long that paint stays looking fresh.
First things first, you want to start with a clean slate. A power washer set to about 3000 PSI is perfect for blasting away dirt and grease that might stop the paint from sticking. This part is crucial because any residue left behind could mean trouble down the road.
Next up, pay attention to those cracks and uneven spots. You don’t want to just slap paint over them; it’s better to grab some 120-grit sandpaper and smooth things out. This will help the paint apply evenly and look great.
Now, here’s the trick: don’t skip the primer. It’s often overlooked, but using a quality primer can really enhance adhesion and create a protective barrier against moisture. Moisture is one of the biggest culprits behind paint failure, so sealing those surfaces is key.
So, why does all of this matter? Well, taking the time to prepare your surfaces correctly can save you a lot of headaches later on. A little effort upfront goes a long way in ensuring your paint job lasts.
In short, cleaning, repairing, and priming your surfaces can lead to a truly durable finish. What’s your go-to advice for surface prep?
Key Takeaways
- Proper surface preparation ensures optimal paint adhesion, reducing the likelihood of cracks caused by poor bonding with the substrate.
- Addressing surface imperfections, like cracks and uneven spots, prevents long-term damage that can lead to paint failure.
- Thorough cleaning removes contaminants that hinder adhesion, helping to prevent moisture infiltration that causes cracks.
- Applying primer seals surfaces and creates a uniform base, which enhances the durability of the paint and prevents future cracks.
- Ignoring moisture issues before painting can lead to vapor pressure under the paint, causing cracks and peeling over time.
Why Surface Preparation Is Critical for Paint Longevity
Have you ever painted a wall, only to watch the paint crack or peel way too soon? It’s frustrating, I get it. But the truth is, a little extra effort in surface preparation can make all the difference in how long your paint job lasts.
When you’re getting ready to paint, think of it as more than just a checklist. You’re actually setting the stage for your paint to adhere properly, which is key to stopping issues like early cracking. Start by giving that surface a good clean. Remove any dirt, grease, or old paint chips, because moisture sneaks in through those little gaps. If the surface isn’t dry, that’s an open invitation for cracks to show up.
After cleaning, don’t skip the sanding and priming. This might feel like a hassle, but it’s worth it. Sanding gives your surface a bit of texture, letting the paint grip better. A good primer helps seal any imperfections while providing a great foundation.
So, why does this matter? If you take the time to prepare, you’re actually saving money down the line. Think about it: fewer repainting sessions mean more time enjoying your freshly painted space instead of worrying about flaws.
Remember, if you skimp on the prep work, weak points can lead to issues like blistering or peeling. Commit to the process, and you’ll extend the life of your paint job.
In the end, proper surface preparation isn’t just a step—it’s an investment in the longevity of your paint. Using a stain-blocking primer can further prevent discoloration and damage caused by stains. What’s your most challenging painting project?
How Moisture Causes Paint Failures
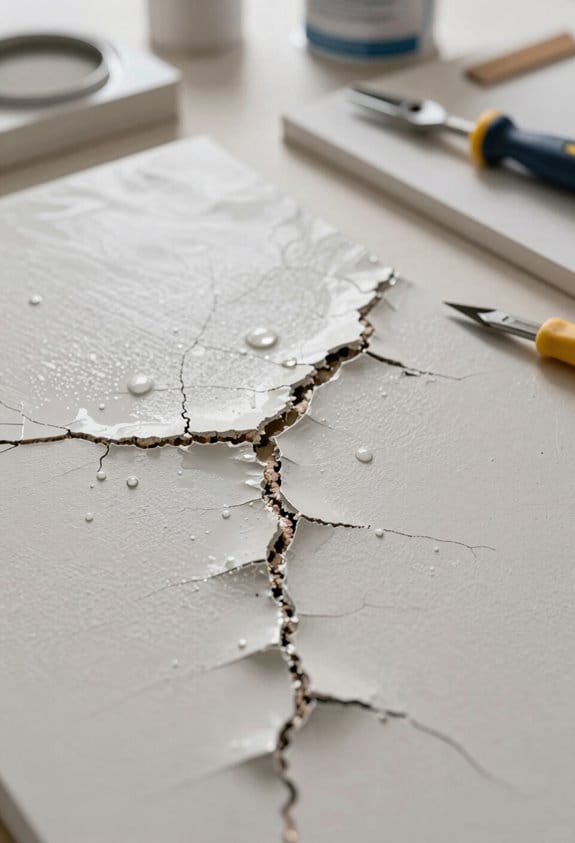
Have you ever poured your heart into a paint job, only to see it crack and peel just a few weeks later? That frustration often stems from a sneaky culprit: moisture. Even tiny amounts of moisture trapped under the paint can create real problems you might not see right away.
The key to a successful paint job starts with proper surface preparation. This means making sure any moisture is gone before you even think about picking up a paintbrush. When surfaces are still damp, you’re setting yourself up for issues like early paint cracking. Why does this happen? Well, vapor pressure builds up beneath the paint, and as it pushes against the surface, it leads to cracks and adhesion failure. Not to mention, if you have leaks or condensation, you’re just asking for more trouble.
What about humidity? Elevated levels in the air add another layer of complexity. They can stop the paint from moving with the changes in the substrate, which is crucial for keeping your paint job looking fresh.
If you want your paint to last, focus on these essential steps:
- Make sure to dry out any damp surfaces before painting.
- Check for leaks and fix them promptly.
- Be mindful of humidity levels in the area.
Using quality tools like a stainless steel mud pan can help ensure that your surface preparation and drywall taping are done effectively, which is key to preventing moisture-related paint failures.
Common Mistakes That Compromise Surface Preparation
Have you ever painted a room only to see cracks forming soon after? It’s frustrating, right? A solid paint job relies heavily on the quality of the surface it’s applied to, and a few common mistakes can really ruin your efforts.
One of the most common blunders is inadequate cleaning. If you don’t get rid of all that dirt and grease, your paint won’t stick properly. It’s like trying to glue something to a greasy surface—it just won’t hold. Make sure you’re giving the walls a thorough scrub before you start.
Now, let’s talk about drying times. Many folks rush through this step, but if you don’t let your paint dry completely before applying another coat, you could end up trapping moisture underneath. This can lead to peeling and, you guessed it, cracks later on.
And don’t forget about primer! Ignoring it or using the wrong type can really weaken the bond between your paint and the surface. The right primer can make all the difference, so take a moment to pick one that matches your paint type.
Also, consider compatibility with your substrate. If the materials aren’t compatible, you’ll get uneven expansion and contraction as temperatures change, which is a sure recipe for cracks. So, why does this matter? Each step in the surface prep process is crucial for achieving a finish that lasts.
Using a joint compound with minimal shrinkage properties during preparation further reduces the risk of future cracking by allowing a smoother, more stable surface.
To sum it up, proper surface preparation is key to a paint job that stands up to time. Pay attention to cleaning, drying, primer, and compatibility for the best results. Are you ready to dive into your next painting project with this in mind?
Preparing Different Surface Types: What You Need to Know
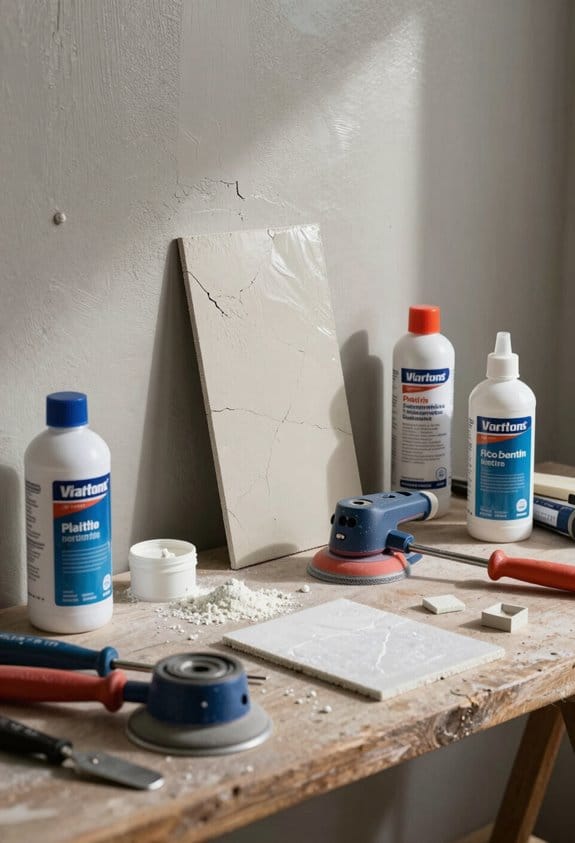
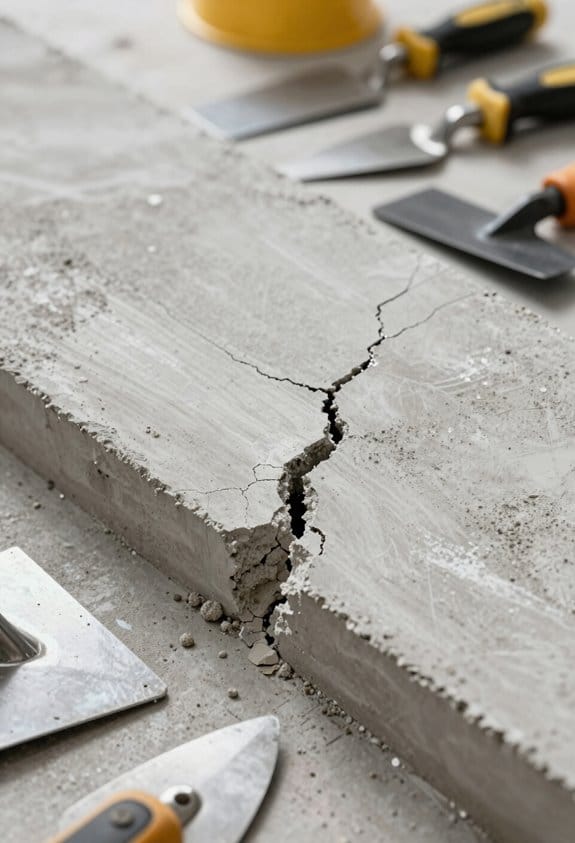
Different surfaces need different prep methods to make sure your paint job turns out right. If you’re working with metal, you’ll probably want to consider abrasive blasting or chemical stripping to take care of any rust. Concrete, on the other hand, often requires shot blasting or acid etching to create a rough surface that helps paint stick better.
When it comes to wood, make sure you sand and clean it with a solvent to remove any grease or oils. This step is crucial for a clean and smooth surface. If you skip over this prep work, you might end up with peeling or cracking paint. So, why does this matter? Inadequate surface preparation often leads to headaches down the road.
Don’t forget to check moisture levels, especially with concrete. Painting over damp areas is a recipe for blistering paint. Honestly, using the right primers and paints that work well with each surface type gives your projects a fighting chance against future damage. Using high adhesion materials during repairs can also help prevent cracks from reappearing.
Avoiding these common pitfalls can save you a lot of frustration later. Do you take surface prep seriously, or is it something you overlook?
Essential Steps for Surface Preparation Before Painting
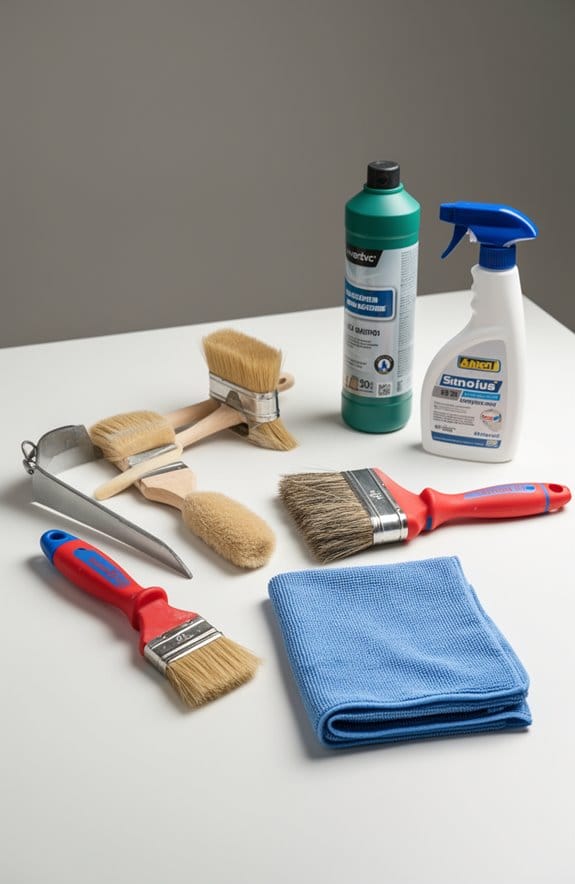
Have you ever tried painting a surface only to end up with flaking or peeling paint? Trust me, surface preparation can make all the difference in how your project turns out. The first step is all about cleaning. Grab some soap and water, or a degreaser, and get rid of any dirt and grease. It’s amazing how much better paint adheres to a clean surface.
Once you’ve scrubbed it down, take a close look for any cracks. Repairing these imperfections is crucial because if you don’t, they could show up later on, ruining your hard work. You don’t want to find yourself repainting sooner than necessary!
Now comes the time to sand the surface. This might seem like an extra step, but it creates a smoother profile that helps the paint stick. After you’ve sanded, wipe away the dust to ensure a pristine surface. Here’s the trick: applying a primer next can really enhance that adhesion and even extend how long your paint lasts. Yeah, it’s worth it!
Don’t forget about drying time between each prep step. Honestly, if you rush this, you could end up trapping moisture, and that leads to cracking or blistering down the line. No one wants to deal with that headache after all your hard work.
How Professional Painters Ensure Thorough Preparation
When it comes to painting, have you ever felt overwhelmed by the amount of prep work involved? You’re not alone. A successful paint job really starts with proper surface preparation. That’s what the pros focus on first.
Before anything else, pros carefully check the surface for problems that might mess with paint adhesion. They’re on the lookout for dirt, moisture, and any old coatings that need to go. Here’s the trick: using cleaning methods like power washing at a strong 3000 PSI or solvent cleaning with the right agents ensures the surface is completely clean. If there are contaminants lingering around, they could seriously impact how well the paint sticks.
Once that’s out of the way, it’s time to tackle any surface imperfections. Cracks or uneven spots need fixing to improve the substrate’s quality. Honestly, taking the time to repair these issues makes a huge difference. And don’t overlook abrasion techniques! Sanding down with 120-grit paper can create a surface profile that’s perfect for adhesion. It’s all about giving the paint the best chance to stick.
Another thing that’s super important is applying a primer. This step really helps with adhesion and creates a uniform base, which means your finished paint job will look great and stand the test of time. Remember, good surface prep is the key to a durable finish. Using a primer properly also helps seal the surface to prevent stains and moisture from causing future damage.
Long-Term Costs of Skipping Surface Preparation
Have you ever thought about skipping surface preparation? It might seem like a time-saver, but the long-term costs can really add up. When you don’t properly prep a surface, enjoy the thrill of peeling paint that needs constant touch-ups and repairs. Inadequate preparation can cut the life of your paint to just two or three years. Compare that to the ten to fifteen years you get from a properly prepped surface. That’s a big difference in both hassle and expenses.
Frankly, each time you have to repaint, you’re pouring money down the drain. Not only is there the cost of paint and labor, but there are also the hidden costs of potential structural damage from trapped moisture. When paint flakes off, it can create cracks that lead to deeper problems, right down to the foundation. It’s like a domino effect that just keeps tumbling down.
So, what’s the solution? Investing in thorough surface preparation can save you up to 30% in long-term costs. Isn’t that worth the extra time spent upfront? By taking the time to prep properly, you enhance paint durability and avoid many of the pitfalls that come with neglecting this crucial step. Using a waterproof wall repair seal can also help protect surfaces from humidity-related damage, contributing to longer-lasting repairs.
In the end, consider the costs of cutting corners versus the benefits of doing it right. Time spent preparing your surface is time well spent. What will you choose next time?
What Mistakes Lead to Moisture-Related Paint Failures?
Have you ever painted a room, only to find the paint peeling or bubbling a few months later? Trust me, you’re not alone in this struggle. Often, these problems stem from overlooking the basics of surface preparation. It’s easy to think a quick clean will do, but that small step can lead to big headaches later on.
Neglecting to thoroughly clean surfaces before painting is one of the quickest ways to encounter moisture-related paint failures. Dirt and oils can create a barrier that prevents paint from sticking properly. When the paint fails to adhere well, moisture can get trapped beneath the film, leading to issues down the line. That’s a situation no one wants to deal with after spending time and money on a fresh coat.
You should also remove any loose or deteriorating coatings. If you don’t, you risk cracks forming that will spread through your new paint layer. Sounds like a hassle, right? But taking the time to prep properly can save you from continuous repainting later.
Don’t ignore any underlying moisture issues either; if you have leaks or damp patches, address those first. It seems simple, but this can really ease the stress on your paint job. And let’s not forget about priming. That step may feel tedious, but a good primer helps the paint adhere and gives you a smoother finish.
Here’s the trick: pay attention to these details, and you’ll greatly reduce your chances of peeling or blistering. Those indicators are often signs of moisture intrusion, which leads to paint failure. Using moisture-resistant materials can further protect your surfaces from damage caused by trapped moisture.
In short, proper preparation is your best friend when it comes to painting. So, before you grab that brush, ask yourself: are you ready to put in the extra effort to ensure your paint job lasts? A little time spent upfront can go a long way.
Frequently Asked Questions
What Is the Reason for Surface Preparation?
For surface preparation, we guarantee ideal surface texture, promote adhesion, remove contamination, and control moisture. By selecting proper tools and guaranteeing substrate compatibility, we enhance finish durability and coat adhesion, preventing potential flaws.
Which Is a Benefit of Surface Preparation?
By ensuring quality adhesive bonding, we enhance exterior durability and moisture resistance, improving paint adhesion. This fortifies substrate integrity, boosts finish longevity, and promotes defect prevention, ultimately achieving aesthetic appeal and significant cost effectiveness for our projects.
What Is the Purpose of Surface Preparation in Achieving a Desired Finish?
Surface preparation’s purpose is to enhance material adhesion for a smooth surface, ensuring coating durability. By removing contaminants, we promote paint longevity, improve application efficiency, and aid in moisture prevention, ultimately achieving an exceptional surface finish.
Why Is Surface Preparation Important Before Painting?
Surface preparation’s essential for ensuring paint adhesion and finish quality. By using effective cleaning methods, sanding techniques, and substrate priming, we address moisture issues and surface contaminants, ultimately extending paint lifespan and enhancing surface textures.