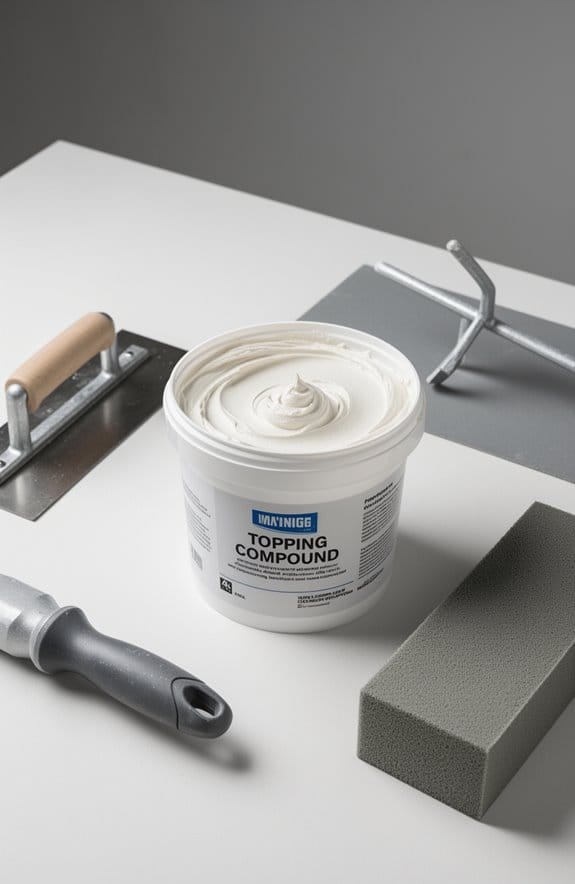
Have you ever looked at your drywall and thought, “Why does it look so rough?” You’re not alone! Achieving that smooth finish on your walls can feel tricky, but topping compound is here to help. This drywall mud, made from gypsum dust and vinyl acetate, is the secret sauce for your final coats, providing a beautiful, even surface that’s a breeze to work with.
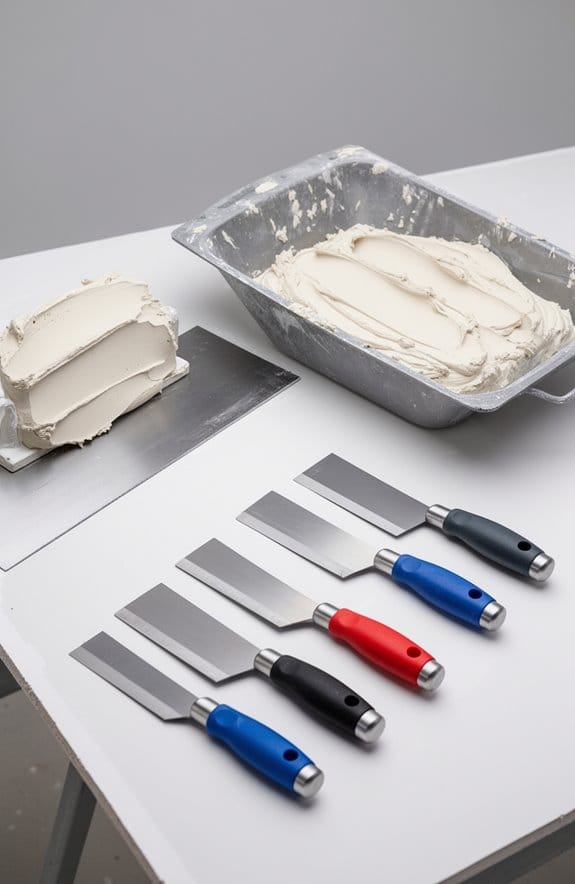
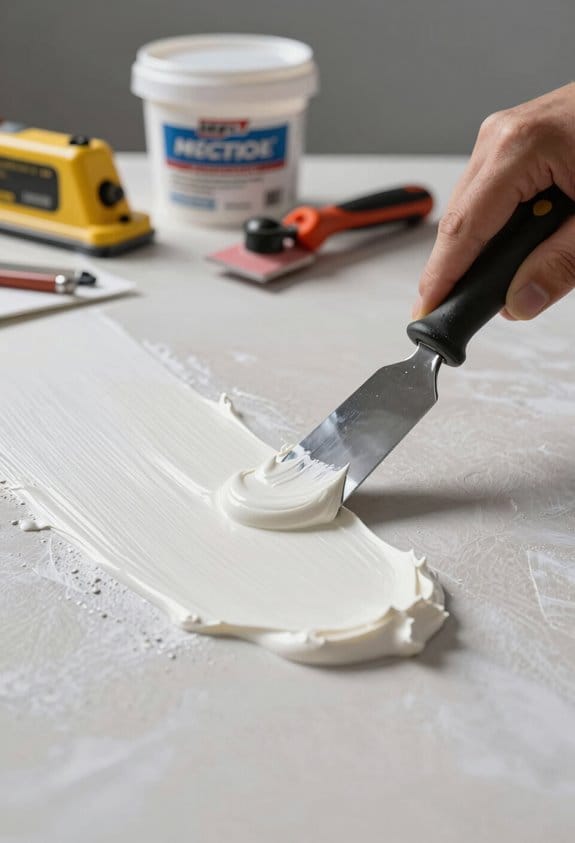
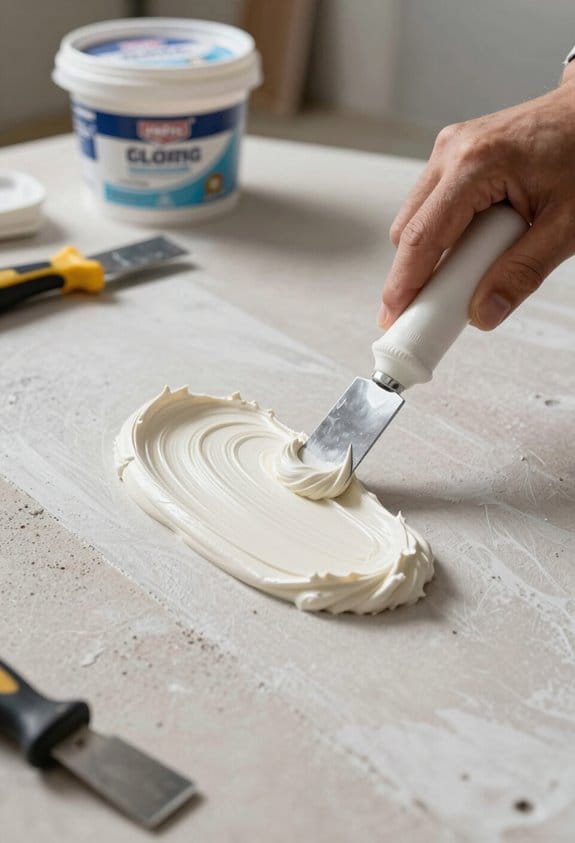
One of the best parts about topping compound is how lightweight and easy it is to spread compared to all-purpose options. The trick is knowing how to use it properly. Aim to apply it in thin layers, about 1/16 inch thick. Grab a 10 or 12-inch taping knife for that perfect finish.
Want a polished look? Let each layer dry thoroughly before giving it a sand down to smooth out any bumps and imperfections. So, why does this matter? A well-finished wall can transform a room, making it look fresh and inviting.
But beware—common mistakes can trip you up. For instance, skipping drying time between layers is a big no-no. Patience is key here!
I can’t stress enough the importance of that final sanding step; it really makes all the difference. I mean, who doesn’t want walls that look like they’ve been tended to by the pros?
In summary, topping compound gives you that smooth finish for your walls, and when applied correctly, it can elevate any painting project. Have you tried using topping compound before, or are you ready to tackle that wall project?
Key Takeaways
- Topping compound is a lightweight drywall mud used for smoothing final coats, made from gypsum dust and vinyl acetate.
- It is ideal for second and third coats due to its easy application and minimal sanding requirements.
- Topping compound dries slower than other types, allowing for better adhesion and a more durable finish.
- Proper application involves thin layers, drying time of around 24 hours, and light sanding for a polished look.
- It provides a smooth surface perfect for painting or wallpapering, enhancing the overall finish of drywall projects.
What Is Topping Compound and How Is It Made?
Ever started a drywall project and thought, “How am I going to make this look great?” That’s where topping compound comes in handy. It’s that essential material for achieving a smooth finish that can elevate your work from amateur to professional.
So, what exactly is topping compound? It’s a special type of drywall mud, primarily made from gypsum dust and vinyl acetate. You’ll find it in both premixed and powdered forms, which gives you some flexibility depending on what your project requires. Unlike all-purpose joint compound, topping compound is easier to spread and sand. It’s particularly perfect for those final coats where you really want everything to look polished.
One thing to keep in mind is that topping compound dries a bit slower than quick-setting options, but that’s not necessarily a bad thing. While it takes a little longer to dry, that slower process allows for a more durable layer. This makes the sanding part a whole lot easier, ensuring you end up with a pristine finish. Plus, thanks to the added vinyl, it’s lighter than other options—up to 35% lighter!
When it comes time to apply it, grab a 12-inch taping knife for the best results. This will help you achieve even coverage and that smooth finish everyone aims for. Many professionals prefer compounds with minimal shrinkage to ensure a seamless and crack-free surface in their drywall finishes.
Benefits of Using Topping Compound for Finishing Walls
You ever finish drywall and wonder why it doesn’t look as smooth as you hoped? The secret might just be in the materials you choose. Topping compound is a solid option for drywall finishing and comes with a boatload of advantages. This compound is really meant for those final layers, giving you a slick surface that’s perfect for paint or wallpaper.
What’s nice about topping compound is that it’s lighter than all-purpose ones. This makes it way easier to handle and apply. You’ll find that it doesn’t need as much mixing and retempering—trust me, this saves a lot of prep time! And, the way it spreads and levels just enhances its benefits, leaving you with a pristine finish.
If you’re worried about the sanding part, don’t be. Topping compound sands down easier than the all-purpose options, allowing for that polished look without too much hassle. Try this: grab a 10-inch or 12-inch taping knife for applying; it’ll give you nice, even layers with minimal effort. For best results, consider compounds that provide easy sanding to achieve a smooth finish quickly.
Recommended Products

This product adds a great value

ALL PURPOSE USE: Ideal for wall repairs and finishing, this lightweight joint compound offers smooth application and easy sanding for professional results on drywall projects.

Fiber-Reinforced for Large Holes – High-strength spackling compound fortified with fibers to easily fill and repair large holes up to 5" in walls or ceilings. No sagging or crumbling – ideal for fixing big damaged areas.
Best Situations for Using Topping Compound?
When it comes to finishing drywall, you’ve probably wondered what makes certain products stand out. Topping compound is one of those tools that really shines, especially for final coats over seams after you’ve applied all-purpose joint compound. Its smooth application makes it a favorite among DIYers.
You might want to use this compound for your second and third coats during drywall installation. Here’s the trick: its lightweight formula means it goes on easier, so it won’t feel like a struggle to get a nice finish. Plus, topping compound is durable and provides that smooth surface that’s perfect if you’re planning to paint or wallpaper later on.
One of the best parts about topping compound is that it requires minimal mixing, which can save you time in the finishing process. To make your life easier, grab a 12-inch drywall knife when you’re applying it—this helps you achieve even coverage without too much hassle. You’ll notice that using a larger knife not only speeds things up but also cuts down on the amount of sanding you’ll need to do afterward. Additionally, choosing the right acoustic ceiling texture can complement your finished drywall with both aesthetic appeal and improved sound absorption.
Recommended Products

PROFESSIONAL BLADES SET: 10 inch, 16 inch, 24 inch, 32 inch, 40 inch blades set, 6.5 inch arc scraper with 35-81 inch handle,5 inch Taping Knife,9 inch Drywall Compound Roller, 5 inch Taping Knife offer outstanding quality, performance and features. They move mud effortlessly and with high sensitivity, enabling finishers to complete their jobs efficiently with consistent, professional results

Professional Skimming System: Includes 10", 16", 24" and 32" stainless steel skimming blades, 9" compound roller, bucket scoop, putty knife, a 27"–60" aluminum extension handle and a protective case for full drywall finishing workflows.

[Professional Skimming Blade Set] The drywall knife set includes 10", 16" 24" and 32" four stainless steel skimming blades, a 6" arc scraper for ensuring you have all the tools you need to tackle any drywall project efficiently and effectively, a 28"-62" extensible handle pole, a high impact handle adapter and a portable storage box
Key Differences Between Topping and Other Joint Compounds
Have you ever finished drywall only to find some spots look a bit rough? It can be frustrating, but understanding the nuances between toppings and other joint compounds can really make a difference. Topping Joint Compound is your go-to for that final coat—it’s specially made to give you a smooth finish that’s perfect for your DIY drywall projects.
So, what about the other guys? All-purpose and taping compounds are there for your early applications and joint filling, but they’re not the best fit for that finishing touch. Here’s the trick: topping compound skips the clay found in all-purpose types and uses vinyl acetate instead. This makes it lighter and way easier to spread. Plus, it dries quickly! You’ll be able to sand it down within 24 hours, which can really speed up your project.
You’ll also love how well topping compound feathers and blends with your drywall. Want that professional look? It helps you achieve a flawless surface that makes your work look polished and seamless.
To sum it up, using the right compound makes a world of difference. Ready to tackle your next drywall project? What’s stopping you? Remember, allowing at least 24 hours drying time between coats ensures the best finish and durability.
Recommended Products

PAVING JOINT FILLER: This EasyJoint Select range is developed from our best-selling EASYJoint Original and is equally easy to use and faster than traditional methods. Our easy joint compound is used by professionals and DIY installers all around the world. Quick, effective, and aesthetically pleasing way to fill joints between paving. For all joints of 3mm wide and over

Sheetrockplus 3 lightweight all purpose wallboard joint compound, ready-mixed, 4.5 gallon - ri-01275

Smoother working
How to Apply Topping Compound Like a Pro
Ever tried to get that perfect finish with a topping compound only to end up with a rough, uneven surface? I’ve been there, and it can be frustrating. But with a few simple tips, you can make your project look like it was done by a pro.
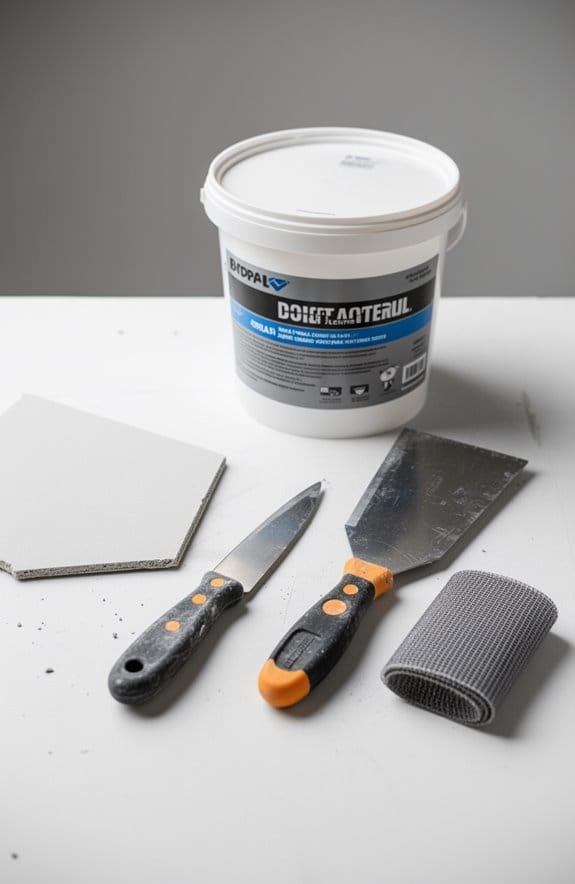
First off, preparation is key. You want your drywall surface to be as clean as possible. Make sure any fasteners are recessed properly—this helps the compound stick better. If you’re armed with a wide knife, like a 10 to 12-inch one, you’re set for the next step. Apply the topping compound in thin layers to avoid messy buildups.
Now, here’s the trick: patience is your friend. Let each layer dry completely, which usually takes about 24 hours, before you even think about sanding. When it’s time to sand, don’t go overboard; just lightly sand the surface for that smooth finish. And don’t forget to feather the edges of each layer. This technique makes the blend into the existing drywall look seamless, and that’s what gives you that polished, professional feel.
So, why does this matter? A good finish means you won’t have to go back and redo your work, saving you time and frustration. Honestly, no one wants those messy lines or rough patches showing up down the road. Using tools with mud flow control features can help you achieve a smoother and more consistent application of the topping compound.
Recommended Products

PROFESSIONAL BLADES SET: 10 inch, 14 inch, 24 inch, 32 inch, 40 inch blades set, 6.5 inch arc scraper with 35-81 inch handle,5 inch Taping Knife,Set of 2 -9 inch Drywall Compound Roller, 5 inch Taping Knife offer outstanding quality, performance and features. They move mud effortlessly and with high sensitivity, enabling finishers to complete their jobs efficiently with consistent, professional results
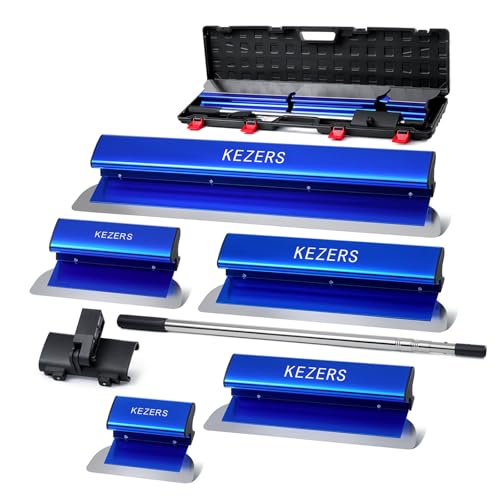
STAINLESS STEEL SKIMMING BLADE SET: KEZERS Drywall Knife Set includes five skimming blades (7", 10", 14", 16", and 24"), a 35"-81" extension handle, a high-impact handle adapter, and a portable storage box

GUARANTEED TOUGH | These professional grade DEWALT hand tools are guaranteed to exceed your expectations for quality, performance and reliability.
Top Mistakes to Avoid When Applying Topping Compound?
Applying topping compound can be a real hassle if you’re not careful. Nobody wants a project that turns into a headache, right? So, let’s talk about some common mistakes to steer clear of when you’re working on this part of your home improvement project.
First off, don’t go overboard with the thickness. A layer of about 1/16 inch is about perfect. Thicker applications can lead to longer drying times and an increased chance of cracking, which is definitely something you want to avoid.
Also, make sure all screws and nails are recessed properly. It might sound tedious, but it’s crucial for a smooth finish. Honestly, using a narrow knife for spreading can cause headaches, so opt for a wider knife—10 to 12 inches works wonders. It really makes a difference in how the compound goes on.
Now, here’s the trick: allow enough drying time between coats. This isn’t just a suggestion; if you want good adhesion, it’s a must. And don’t skip out on sanding lightly between applications. This step is key for that smooth, professional look once you start painting.
Mistakes can mess with your final outcome, so keeping these tips in mind will save you a lot of stress on your next project. Did you need to write these down, or are you ready to tackle that topping compound with confidence? Remember, choosing the right drying time efficiency plays a significant role in ensuring your topping compound cures properly for long-lasting results.
Frequently Asked Questions
When to Apply Topping Compound?
We apply topping compound after initial coats, ensuring proper surface preparation. By mastering application techniques, we avoid common mistakes. The advantages include smoother finishes, quick drying times, and perfect finishing touches for our drywall projects.
What Is Topping Compound?
Topping compound features a smooth consistency ideal for final drywall finishes. We should focus on proper surface preparation, utilize effective application techniques, and be mindful of drying time to avoid common mistakes for perfect results.
When to Use USG Topping Compound?
When it comes to topping compound applications, we should use it after initial coats, perfecting our finishing techniques. It’s key for drywall repairs, ensuring smooth surface preparation and texture enhancements that outshine product comparisons.
What Is the Difference Between All-Purpose and Topping Compound?
We find that topping compound offers smoother texture and faster drying times for finishing, while all-purpose compound’s advantages lie in its versatility and lower cost. Understanding application techniques helps us choose the right option for our projects.