Have you ever stood in the middle of a project, wondering which type of compound to use on your drywall? Knowing the difference between texture compound and joint compound can save you a lot of frustration down the line.
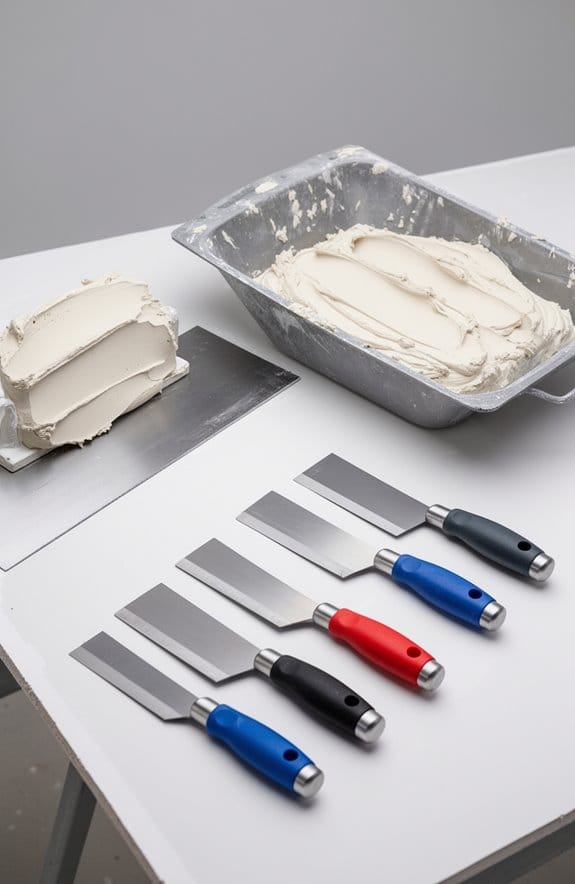
Joint compound is your go-to for creating smooth finishes, especially when you’re taping drywall seams. It’s typically applied with a 10-inch taping knife, and it gives you that polished look most people want.
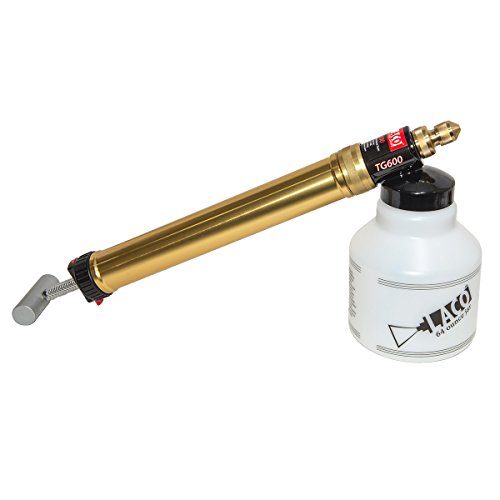
On the other hand, texture compound is thicker and brings more personality to your walls. It comes into play when you’re looking to add patterns like knockdown or popcorn. For this, you’re likely going to grab a spray gun or roller.
One thing to keep in mind is how each compound dries. Joint compound has a slow drying time, which gives you room to correct any mistakes if needed. Texture compound, though? It sets pretty quickly, so you’ve got to be on your game.
So why does this matter? If you want sharp, clean lines and smooth surfaces, stick with joint compound. But if you’re going for a fun textured look, texture compound is the way to go.
Truth is, understanding the differences will make choosing the right product a lot easier.
Whether you’re tackling a small DIY or a bigger renovation project, you’ll figure out which compound suits your needs best. What’s your next project?
Key Takeaways
- Joint compound is used for achieving a smooth finish on drywall seams, while texture compound adds character with various surface textures.
- Texture compound is thicker and supports application via sprayers or brushes, as opposed to the knife application for joint compound.
- Joint compound dries slower, allowing for detail work, whereas texture compound sets quickly and requires faster application for consistent results.
- All-purpose joint compounds are unsuitable for outdoor projects due to moisture concerns, unlike texture compounds which can withstand high-traffic areas.
- Proper mixing and application techniques are crucial for both compounds, with common mistakes including applying them too thickly or rushing the drying process.
What Is Joint Compound and Its Uses?

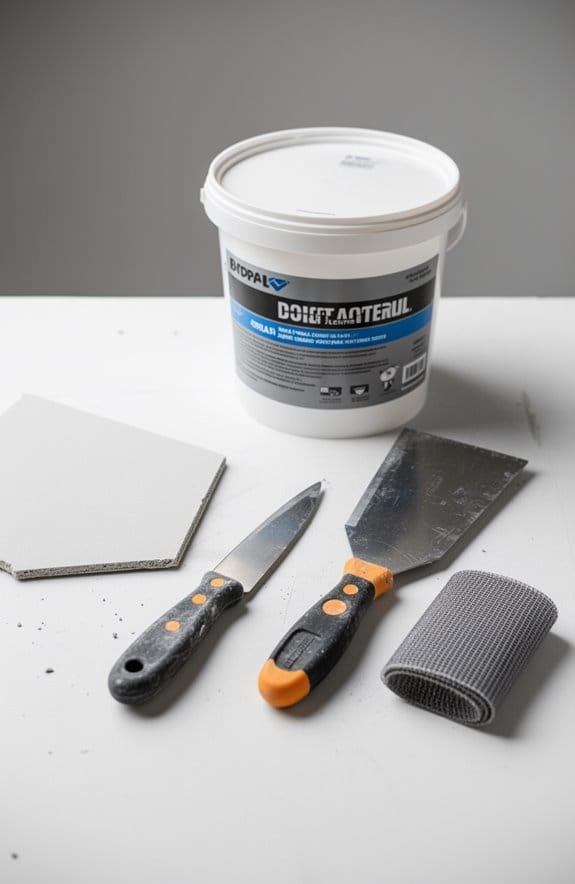
Have you ever stared at your walls and noticed all those pesky seams and imperfections? Joint compound, often dubbed drywall mud, is your go-to solution for drywall installation and repair. It’s basically a mix of gypsum dust, water, and a few additives that work wonders in giving your walls a polished finish. When you apply it between drywall sheets, it not only fills those joints but also covers up any blemishes that might be distracting.
Now, here’s the trick: when you’re working with joint compound, you want to apply multiple layers. Use a 10-inch taping knife to spread it out evenly. After each layer dries, grab some fine-grit sandpaper and give it a good sanding. This step is crucial if you’re aiming for an ultra-smooth finish, especially if you plan on painting with reflective colors. Trust me, a little extra sanding can make all the difference when it comes to the final look.
Truth is, joint compound isn’t just for new installations; it’s an essential tool for fixing minor wall damage too. Got a crack that needs attention? Simply fill it with joint compound, and you’ll seamlessly restore the wall.
Frankly, it’s a straightforward process that can enhance your home improvement projects. So, whether you’re a DIY newbie or someone looking to refresh their space, joint compound is a helpful ally in your decorating arsenal.
In a nutshell, joint compound is key for creating smooth, flawless walls. Ready to tackle those imperfections? You’re one layer away from a fresh look! Additionally, using resilient channels alongside drywall mud can further improve wall performance by reducing noise transmission.
Understanding Key Differences Between Joint and Texture Compounds

When you’re tackling wall finishing, it helps to know the differences between joint compound and texture compound. You’ve probably found yourself staring at a wall and wondering why some finishes look smoother than others. Joint compound, often called drywall mud, is your go-to for taping and finishing drywall seams. It’s all about getting that flawless finish on smooth surfaces, and you’ll want a few tools like 6-inch and 12-inch drywall knives to get the job done right.
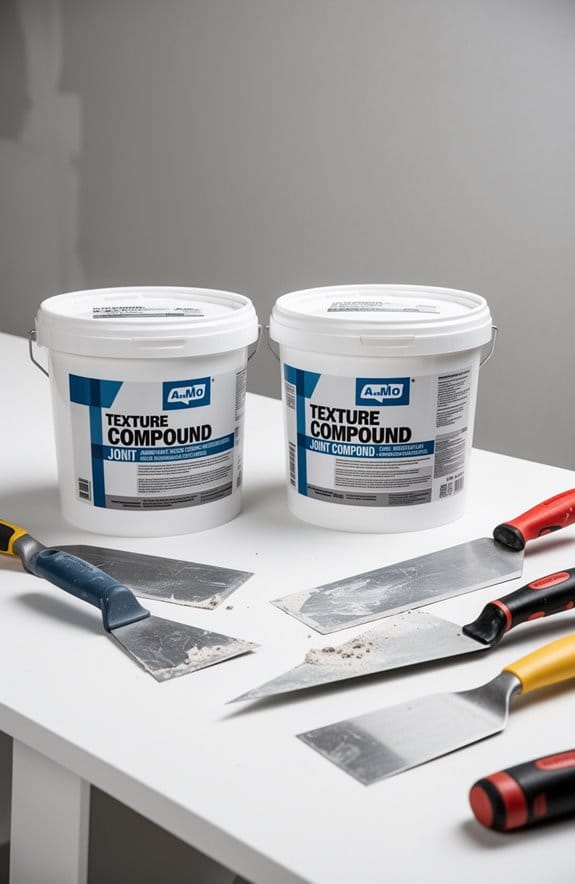
Texture compound, on the other hand, is thicker and is specifically designed for adding character to your walls with a textured look. You might use a sprayer or special brushes to apply it, which can go a long way in transforming a plain space into something unique. This type of compound often contains additives that help create fun patterns, like knockdown textures.
So, why does this matter? If you’re just looking to fill gaps and blend seams seamlessly, joint compound is perfect for that. But if you’re aiming to enhance your wall surfaces with some style, texture compound is the way to go. Each product serves its own purpose, and knowing these differences can help you make the right choice for hiding flaws or achieving your ideal finish.
It’s also important to remember that all-purpose joint compounds are not suitable for exterior projects, as they can crumble under moisture, unlike setting-type compounds designed for outdoor use.
In short, consider what you need: smooth surfaces or a bit of flair. Whichever route you choose, just remember that both compounds have their unique advantages. What project are you planning to tackle next?
Applications of Texture Compound in Finishing Projects

Texture compound can really work wonders in your finishing projects, turning those bland walls into something with depth and character. If you’ve ever thought about giving your drywall a fresh look, this is the way to go. You can easily create different textures, like orange peel, knockdown, and popcorn styles. It’s ideal for high-traffic areas since it gives a robust finish that can handle a little wear and tear.
When it comes to applying texture compound, having the right tools is essential. You’ll find that using spray guns or texture rollers can help achieve that consistent finish you’re aiming for. The textures can range from subtle to bold—what vibe are you going for in your space?
After the compound has dried, you can paint over it with standard latex paint. This lets you add your preferred colors while keeping that textured finish intact. Truth is, incorporating texture compound can really level up both residential and commercial spaces. It adds a unique touch that brings life to your walls. For best results, select a texture gun with multiple nozzle sizes to match the material viscosity and desired finish.
Recommended Products
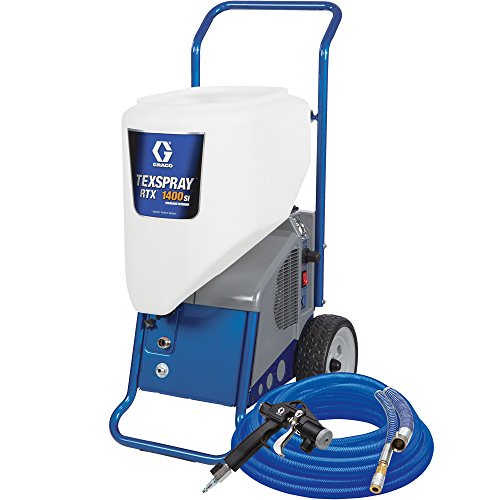
The RotoFlex ll pump delivers smooth material flow for uniform coverage and a consistent spray pattern - 1. 4 gpm output to get the job done quickly

Pressure-Boosted hopper gun is pressurized for increased material flow and unmatched productivity

TOP OF THE LINE TEXTURE PUMP SPRAY GUN FEATURES MACHINED BRASS BODY FOR ULTIMATE DURABILITY - Finest small area drywall texture sprayer in existence!
When Should You Use Joint Compound in Drywall?
Getting the hang of drywall finishing can be a bit tricky. Ever find yourself wondering when to actually reach for that joint compound? It’s all about knowing the right moments to use it. Typically, you want to whip out the joint compound for taping and finishing drywall seams, especially if you’re aiming for a polished look.
Here’s the trick: for that professional vibe, you should go for multiple thin coats of joint compound. This means patience is key—wait for each coat to fully dry before adding the next one. If you skip this step, you’re just asking for cracks to happen! And if you notice any little bumps or imperfections on the surface, a skim coat can really smooth things over.
Now, if you’re working on heavy textured surfaces, you can still incorporate joint compound. Just keep an eye on that finish; it’s essential to ensure everything dries flat for consistency. So, why does this matter? The end result will speak volumes about your work.
In short, knowing when and how to use joint compound can make a big difference in your drywall project. Using a compound with minimal shrinkage can reduce the number of coats needed and improve the smoothness of your finish. Ready to tackle that next wall?
Recommended Products

GENUINE LEVEL5 | If quality, performance, and reliability of your finishing tools matters, choose LEVEL5 brand tools.

GENUINE LEVEL5 | If quality, performance, and reliability of your finishing tools matters, choose LEVEL5 brand tools.

GENUINE LEVEL5 | If quality, performance, and reliability of your finishing tools matters, choose LEVEL5 brand tools.
Common Texture Finishes and Their Advantages
Are your walls looking a bit dull or showing signs of wear and tear? If you’re nodding yes, then it might be time to consider adding some texture finishes. Not only do they spruce up your space, but finishes like popcorn and knockdown can also hide those little imperfections that tend to pop up over time.
Here’s the trick: texture finishes use a special compound that’s thicker than what you might be used to with standard joint compound. This thicker texture allows for a more durable finish, which is perfect for areas of your home that see a lot of action, like hallways or family rooms. You can apply these textures with all sorts of tools, from sprayers to trowels, giving you a bit of flexibility depending on your style.
Honestly, one of the best parts about using texture compound is that it can save you time. Applying a skim of this compound usually requires less finishing work than traditional methods. Plus, it stands up better in the long run.
So how do you choose the right texture finish? Think about the look you want to achieve and the function of the space. For instance, if you’re looking for something cozy and a little rustic, popcorn might be your best bet. On the other hand, if you prefer a more modern touch, knockdown could be the way to go. Many knockdown texture sprays also offer adjustable nozzles which allow you to customize texture thickness for a unique finish.
Recommended Products

Fits GRACO RTX 1500/2000pi/5000pi texture spraying units


WideTex Orifice: wide spray pattern provides up to 30% more coverage and reduces work time on any drywall texture sprayer job
Tips for Getting the Best Results With Each Compound
When tackling a drywall project, do you ever wonder how to get that perfect finish? Understanding how to use texture and joint compounds can really make a difference. With texture compound, speed is key. It sets up faster than joint compound, so it’s crucial to apply it quickly for even coverage. If you want an appealing look, consider using a sprayer; it can create lightweight textures that are subtle yet visually impressive.
On the flip side, joint compound requires a bit more patience. You’ll want to allow for adequate drying and sanding between coats. This step is vital if you’re aiming for a smooth, polished finish. Try using a 12-inch knife for joints and seams—it gives you better control. Remember, using the right tools can greatly enhance your drywall project.
So, why does this matter? You want your finished walls to look as professional as possible, right? A little attention to detail goes a long way in achieving that polished look.
In short, whether you’re spraying texture or applying joint compound, each method has its own nuances. For example, the use of an adjustable nozzle utility can help you achieve more consistent texture finishes, especially when spraying. Keep these tips in mind for your next project, and you’re bound to be pleased with the results. What’s your go-to technique for finishing drywall?
Recommended Products

Great tools at a great price
Finest small area drywall texture sprayer in existence!

Country Of Origin: United States
Common Mistakes to Avoid With Texture and Joint Compounds
Are you getting ready to tackle a drywall project? You might want to avoid some common mistakes that can really take away from your hard work. One of the biggest missteps is using joint compound for texturing. That’s a no-go! Instead, grab a texture compound that fits the finish you’re aiming for.
Another thing to watch out for is applying that compound too thick. Seriously, going beyond the recommended thickness can lead to cracks and totally uneven finishes. You should always stick to the manufacturer’s guidelines when it comes to how to apply it properly. Oh, and don’t forget to mix the texture compound thoroughly. A quick mix leaves you with inconsistent results, and nobody wants that!
Testing a small area before diving in can save you headaches later on. Plus, make sure to let each layer dry properly before adding another one. This helps prevent any moisture issues from rearing their ugly head.
When it comes to sanding, tread carefully. Over-sanding can wash out the depth you’re hoping to achieve. So, pay attention to these details, and your drywall projects will look way more professional.
In short, choose the right products, apply with care, and don’t rush the drying process. What tips have you learned the hard way during your own projects?
Recommended Products

FAST LEARNING CURVE | Once you've used automatic drywall finishing tools, you'll wonder why you didn't start sooner.

Designed to Fit 30-Gallon Joint Compound Barrels Perfectly

LEVEL 5+ SMOOTH FINISH: Ideal for seams, base coats, and finish coats. Formulated to deliver a consistent, professional Level 5+ smooth finish. (For heavy repairs and textured surfaces, check out the Heavy Duty Formula)
Frequently Asked Questions
Can You Use Joint Compound for Texture?
Yes, we can use joint compound for texture application. By focusing on compound mixing, tool selection, and surface preparation, we can create various finish options while considering drying time and paint compatibility in our repair techniques.
Can You Use Joint Compound for Textured Painting?
We can definitely use joint compound for textured painting! Considering surface preparation and material compatibility, various painting techniques create stunning textured effects, offering artistic expression while keeping project durability and cost considerations in mind for different finish styles.
Which Joint Compound Is Best for Texture?
For fantastic texture finishes, we suggest using lightweight topping compounds for texture application. They mix easily, adhere well, and dry smooth. Let’s explore each texture type, compound comparison, mixing ratios, and application techniques to achieve amazing results!
Is There a Difference Between Drywall Compound and Joint Compound?
Yes, there’s a difference! Joint compound focuses on surface smoothness for drywall applications, while drywall compound can include texture effects. We should consider mixing ratios, application tools, and cost when choosing the right one for finishing touches.