
When tackling home improvement projects, you might find yourself wondering about the difference between inside and outside corner tape. It can be tricky, especially if you’re new to drywall work.
Inside corner tape is specifically designed for those angles where two walls meet, and you’ll want to apply a thin layer of joint compound—about 1/8 inch thick.
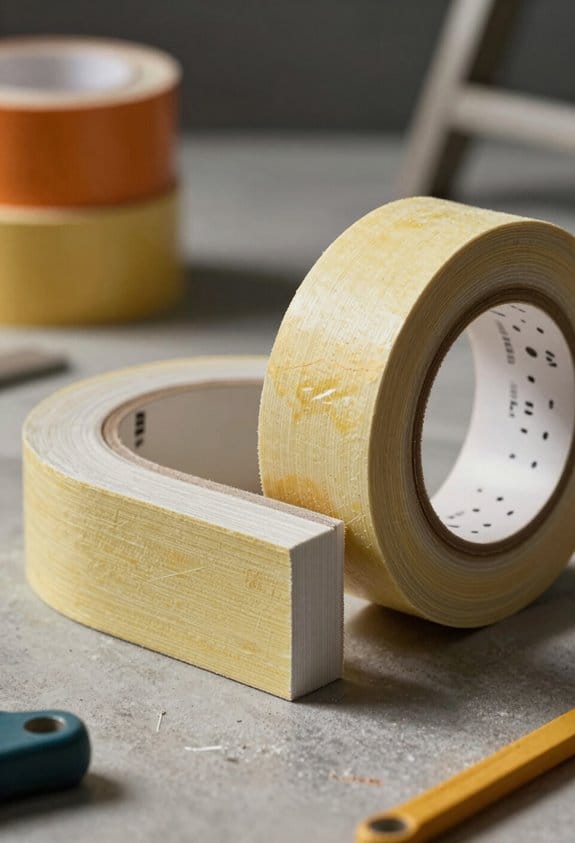
On the other hand, outside corner tape is built to withstand more wear and tear. Often made from metal or rigid vinyl, it requires a layered application of compound for added strength.
Proper installation is key with both types. If you don’t get it right, you could end up dealing with painful issues like bubbling or cracking down the line.
So, why does this matter? The quality of your corners can affect the overall finish of your walls.
Try this: When working with outside corners, ensure you’ve got the right angle and make sure the tape lies flat against the wall. It’s easy to overlook these little details, but they make a big difference in how smooth your final surface looks.
Honestly, taking the time to do it right will save you headaches later on.
Next, let’s look at the best materials for corner beads to help you decide what’ll work best for your project.
Key Takeaways
- Inside corner tape is designed for joints where two walls meet, providing a seamless finish with joint compound.
- Outside corner tape is tougher, often made of metal or rigid vinyl, to protect vulnerable corners from damage.
- Installation for inside corners involves pressing tape into wet compound, while outside corners require a layered approach for strength.
- Choosing materials, like metal for durability or paper-faced for blending, affects the overall finish and functionality of corner tapes.
- Common issues include gaps and bubbling; solutions involve using appropriate corner beads and ensuring proper application techniques.
Key Differences Between Inside and Outside Corner Tape
Have you ever wondered what the difference is between inside and outside corner tape? It’s a good question, especially if you’re tackling a DIY project at home. These two types of tape are designed for different purposes and knowing when and how to use them can make all the difference in your finish.
Inside corner tape is intended for those joints where two walls meet at an angle. Usually, you’ll want to use an inside corner bead here for that smooth, clean look. When you’re applying it, make sure to embed it in joint compound, as this minimizes its visibility. Nobody wants to see unsightly seams, right?
On the flip side, outside corners are often exposed and take a bit more wear and tear. That’s why outside corner tape is built tough, often made from metal or a rigid vinyl that can handle impacts. Here’s the trick: when you’re applying joint compound, use a layered approach on these corners to help prevent chipping. And here’s another point to consider: inside corners typically look best with a wider application of compound to create that seamless finish.
So, why does all of this matter? Well, skipping out on corner tapes can lead to cracks and an overall messy appearance. That’s especially important if you’re working in high-traffic areas where walls are more likely to sustain damage.
To sum it up, inside corner tape helps create clean, nearly invisible joints, while outside corner tape protects those vulnerable edges. Next time you’re planning a project, pay attention to these details. You’ll thank yourself later. Have you tackled any corner work recently? Additionally, choosing a tape with high tensile strength can significantly improve the durability of your drywall joints.
Step-By-Step Guide for Installing Inside Corner Tape
Ever tried to get inside corner tape just right? It can feel like a giant puzzle sometimes, but with a few straightforward steps, it can actually be pretty simple.
First things first, grab your joint compound and apply a thin layer, around 1/8 inch thick, right into those inside corners where you’ll lay down the tape. Skim it in there—it doesn’t have to be perfect right away, but you want enough coverage for good stickiness.
Next up, cut your paper tape to the length you need, making sure to leave a little bit of an overlap on the corner. The best part is, you’re not done yet! Use a taping knife to press the tape into that wet compound. This is crucial because it helps keep the air bubbles from ruining your work and ensures that the tape adheres properly.
After you’ve got the tape in place, it’s time for a little more joint compound. Apply a first coat that extends about 2 inches on either side of the corner. Give that some time to dry, and don’t rush the process! Once it’s set, go over it lightly with sandpaper to smooth it out. You can add a few more coats afterward if you want that perfect finish.
For best results, consider using reinforced corner tapes made of Kraft paper composite and galvanized steel strips, which provide additional support and durability on inside corners.
Recommended Products

GENUINE LEVEL5 | If quality, performance, and reliability of your finishing tools matters, choose LEVEL5 brand tools.

GENUINE LEVEL5 | If quality, performance, and reliability of your finishing tools matters, choose LEVEL5 brand tools.

GENUINE LEVEL5 | If quality, performance, and reliability of your finishing tools matters, choose LEVEL5 brand tools.
How to Effectively Apply Outside Corner Tape in Drywall
Applying outside corner tape on drywall can feel a bit daunting at first. You might be wondering how to get that crisp, clean finish without the hassle. But don’t worry! With a few simple steps, you’ll be on your way to a professional-looking corner.
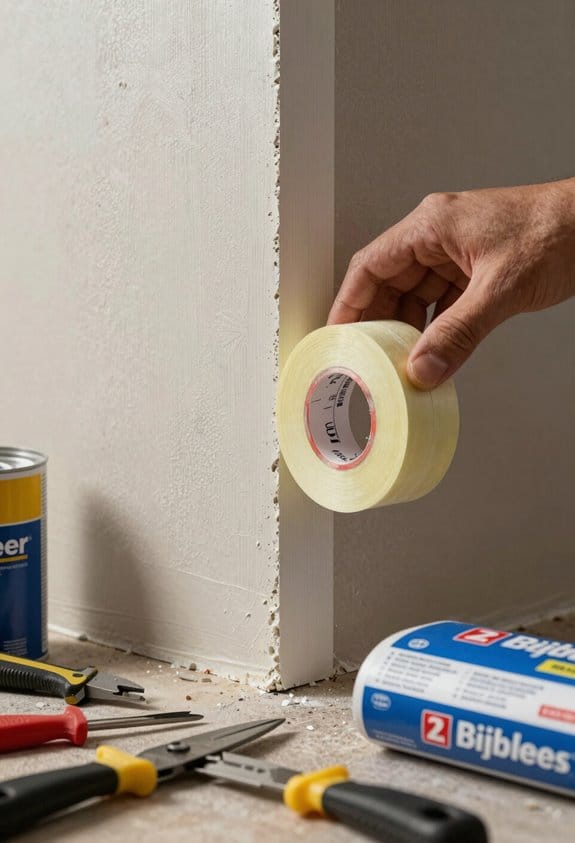
First things first, make sure your outside corner beads are securely attached and perfectly aligned. It’s super important that they’re not loose or crooked. Once you’ve got that sorted, grab a utility knife and cut your tape a bit longer than the corner itself. This ensures you get complete coverage, which is crucial.
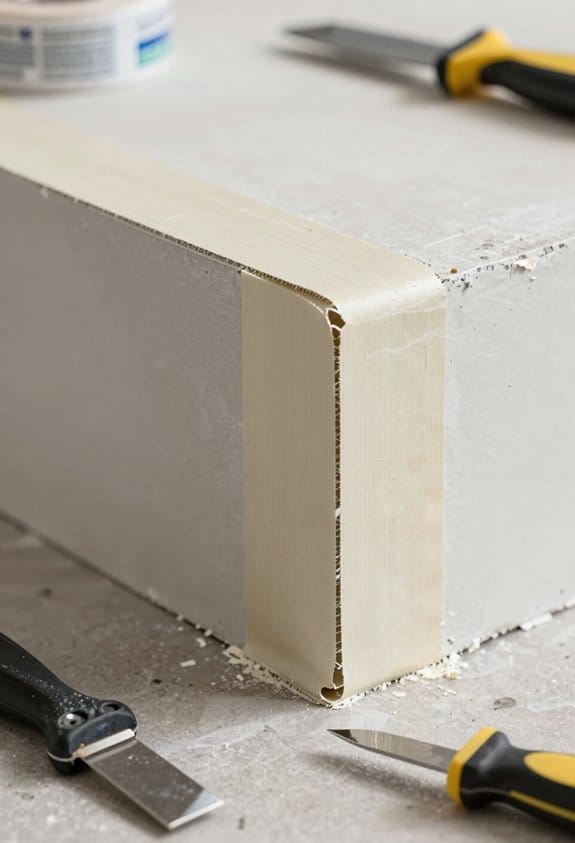
Now, here’s the trick: apply a thin layer of joint compound right over the corner bead. Press the tape firmly into the compound, making sure there are no air bubbles trapped underneath. These little guys can ruin your finish! Then, take your drywall knife and feather out the joint compound, smoothing it over the tape. Aim to extend that compound at least 2 inches beyond the edge of the bead.
What’s the real key here? It’s in the layering. After your first coat dries, go ahead and apply additional layers, each time widening the application. This not only strengthens the corner but also gives it that seamless look.
Honestly, it’s all about patience and taking your time. Using ergonomic designs in your corner bead tools can greatly reduce fatigue during application, improving your overall control and finish. If you follow these steps, you’ll be proud of how your corners turn out. Got any other drywall tips you swear by? I’d love to hear them!
Recommended Products

GENUINE LEVEL5 | If quality, performance, and reliability of your finishing tools matters, choose LEVEL5 brand tools.

GENUINE LEVEL5 | If quality, performance, and reliability of your finishing tools matters, choose LEVEL5 brand tools.

GENUINE LEVEL5 | If quality, performance, and reliability of your finishing tools matters, choose LEVEL5 brand tools.
Choosing the Right Material for Corner Beads
Choosing the right material for corner beads can feel a bit overwhelming, especially when you’re trying to achieve a durable and seamless finish in your drywall project. Have you ever noticed how those corners can make or break the look of a room? For outside corners, metal corner beads are often the go-to. They’re tough and can withstand a lot of wear and tear, but just remember to seal them properly to avoid any rust issues.
When it comes to straight or curved walls, vinyl corner beads are a fantastic choice. They’re lightweight, rust-proof, and super easy to handle. And for inside corners, paper-faced corner beads really shine. They blend beautifully with joint compound, which helps to hide those rough edges you don’t want showing. Each type of corner bead has its own quirks in terms of installation, so it’s good to be prepared.
Here’s how to tackle each one:
- Metal corners: Secure them with screws. Easy peasy.
- Vinyl beads: Use adhesive to stick them in place.
- Paper-faced beads: Just embed them into joint compound.
This might seem like a lot to remember, but ensuring you use the right corner bead can really help meet your project goals, both functionally and aesthetically. So, what’s your next DIY project?
Additionally, considering the installation ease of these materials can save you time and ensure a professional finish.
Recommended Products

Green Cross line 100' Visibility range and 165' w/detector (DW0892G)
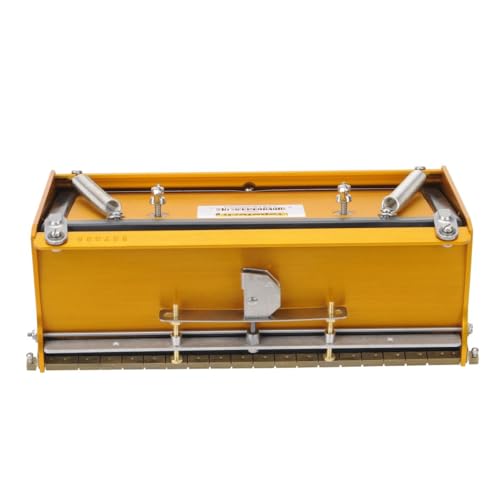
Highest quality flat finishing box from the biggest name in taping tools.
EASY CLEAN DESIGN – Quick-clean feature saves time on job sites and keeps your box performing longer.
What Common Issues Should I Expect With Corner Tape?
Corner tape can be a real hassle when working on drywall finishes. Have you ever stressed over getting those crisp lines in off-angle inside corners? It’s frustrating when those seams show up after painting. And let’s not forget how important it is to properly embed that tape. If you don’t, you could end up with gaps that lead to cracks as the drywall expands and contracts over time.
Another tricky situation is dealing with uneven or warped framing. When that happens, the tape just doesn’t want to stick right. This can lead to imperfections and even tearing, which no one wants to deal with after putting in all that hard work.
In high-traffic areas, you might think about skipping the corner beads to save time, but it’s a risky move. Without them, those corners can quickly become fragile and exposed to impacts. Truth is, you want to protect those edges.
Pressure is also something you need to manage during installation. Applying too much can cause the tape to buckle, and that’s the last thing you want when you’re aiming for a smooth finish. So, how do you avoid all this? Keeping an eye on your technique and ensuring proper prep can save you a lot of headaches.
In the end, working with corner tape can be tricky. But with a little attention to detail, you can get those results you’re after. What’s your biggest challenge when working with drywall? Choosing the right tape type, such as metal-reinforced tape, can significantly improve durability and reduce common issues.
Troubleshooting Common Issues With Corner Tape
Having trouble with corner tape? You’re definitely not alone! It can be super frustrating when things don’t go as planned, but there are some straightforward steps to troubleshoot common issues.
When dealing with inside corners, make sure to check for any visible seams or cracking. If you notice these imperfections, don’t panic! It could be a sign that you need to add more joint compound or consider switching to fiberglass tape. Trust me, it could make a difference.
For outside corners, precision is key. Double-check your application technique to avoid those pesky exposed edges that can end up getting damaged. Have you ever seen bubbling in your tape? That usually means there’s air trapped underneath. You might need to realign the tape to fix that problem.
Now, let’s talk about applying joint compound. Finding the right balance is crucial—if you apply too much, it can crack; too little and it won’t seal right. Make sure you apply enough pressure while embedding the tape to prevent warping and to achieve a smoother finish.
Honestly, it’s all about taking the right steps and paying attention to detail. If you keep these tips in mind, you’ll likely see a big improvement in your project. What’s the most frustrating part of using corner tape for you?
For cleaner finishing and reduced dust during sanding after taping, consider using a dustless drywall sander with a built-in vacuum system.
Recommended Products

World Famous TapeTech Quality Yellow Drywall Taping and Finishing Tools

FAST LEARNING CURVE | Once you've used automatic drywall finishing tools, you'll wonder why you didn't start sooner.

FAST LEARNING CURVE | Once you've used automatic drywall finishing tools, you'll wonder why you didn't start sooner.
How to Tackle Off-Angle Corners With Innovative Solutions
Off-angle corners can really throw a wrench in your drywall projects. But don’t worry, tackling them doesn’t have to be a headache if you’ve got the right tools and methods under your belt.
Start by evaluating the angle of your corner. For angles between 70 and 150 degrees, adjustable inside corner beads work like a charm. And if you want those lines to come out nice and crisp, consider using an outside corner bead designed specifically for tricky angles—Trim-Tex’s Fast Edge® Roll is a solid choice. The best part? It helps you achieve smooth joints without slathering on too much joint compound.
You might also want to check out the Magic Corner bead. This one’s neat because it can flex with wall movements, which means fewer cracks. Ever find yourself patching over cracks constantly? I know I have. Embedding reinforced paper corner beads in the joint compound really gives these corners a sturdy backbone, making your work stand out even in challenging spots.
To wrap it up, using these innovative approaches can lead to off-angle corners that look professional and clean. Using corner beads constructed from durable materials like stainless steel and aluminum ensures long-lasting performance and resistance to wear in these variable angle applications. What other project challenges do you face that could use some creative solutions?
Recommended Products

Modern & Durable Strength: Experience a luxurious and modern aesthetic with this outdoor furniture set; Designed with full-aluminum frames and a super-weather-resistant powder coating, it effectively resists rust and corrosion; Precision-welded extruded tubing and reinforced stress points keep the structure lightweight yet impressively strong and stable, supporting up to 500 lbs; A perfect choice for anyone seeking a luxurious and durable patio sofa set

Brighter & Shadow-Free Lighting – Equipped with ultra-bright, high-density LED strips (192pcs 13W beads/m, CRI 90+), Tifullhome lighted medicine cabinet delivers even illumination that eliminates shadows. Customers often worry about dim or uneven light; our design ensures a flawless reflection. With one touch, adjust brightness and choose from 3 color temperatures (cool, natural, warm) to fit your mood

【Stepless Dimmable & 3 Color Temperature LED Lighting】Equipped with high-density energy-saving LED strips, this medicine cabinet supports stepless brightness adjustment from 20% to 100%. It offers three color modes: 3000K warm light, 4000K neutral light and 6500K cool light to fit different grooming needs. Built-in memory function automatically keeps your last light setting for daily easy use without repeated adjustment.
Frequently Asked Questions
What Is the Difference Between Inside Corner and Outside Corner?
Inside corner techniques focus on blending joints with flexible materials, while outside corner applications use rigid corner tape materials for durability. These fundamental differences shape our drywall finishing styles and influence the overall appearance of our projects.
Can You Use an Outside Corner Bead on Inside Corners?
No, we can’t use outside corner bead on inside corners. Different corner bead applications require specific drywall installation techniques. Choosing the right corner tape options guarantees seamless finishing touches and prevents unsightly seams or cracks.
Can You Use Fibatape Inside Corners?
Yes, we can definitely use Fibatape for inside corners. Its benefits include strong adhesion and moisture resistance, making corner tape application easier. This enhances our drywall finishing techniques across various tape joint types, ensuring durability.
Which Side of Drywall Tape Faces Out?
For drywall tape orientation, we should guarantee the textured side faces out during corner tape application. Using proper tape installation techniques helps us achieve a flawless finish—follow these drywall finishing tips for best results.


