Storing opened joint compound can seem tricky, but it’s simpler than you might think.
Ever found yourself stuck with dried-up mud after a project? You definitely don’t want that to happen again!
Here’s the trick: start with a clean, airtight 5-gallon bucket. Before sealing it up, scrape any leftover mud from the sides to cut down on air exposure. This step minimizes the chances of the compound drying out.
After that, smooth out the surface of the joint compound and pour a thin layer of water on top. This layer acts like a barrier, helping to keep moisture in when the bucket is sealed.
Now, where you store that bucket makes a big difference. Keep it in a cool, dry spot—think a basement or storage room, away from direct sunlight. Checking in on it every so often for any signs of spoilage is a good practice.
You don’t want to start your next project only to find that the compound isn’t usable.
Truth is, if you follow these steps, you can extend the life of your joint compound quite a bit.
And if you want to take it a step further, lining the inside of the bucket’s lid with plastic wrap can offer even extra protection from air.
So, what’s your go-to method for keeping your supplies fresh?
Key Takeaways
- Transfer the joint compound into a clean, airtight 5-gallon bucket to minimize air exposure.
- Smooth the surface of the compound and pour a thin layer of water on top before sealing.
- Cover the compound with plastic sheeting to further reduce air contact and moisture loss.
- Store the container in a cool, dry area to maintain quality and prevent spoilage.
- Regularly check for spoilage signs, such as hard crusts, colors changes, or unpleasant odors.
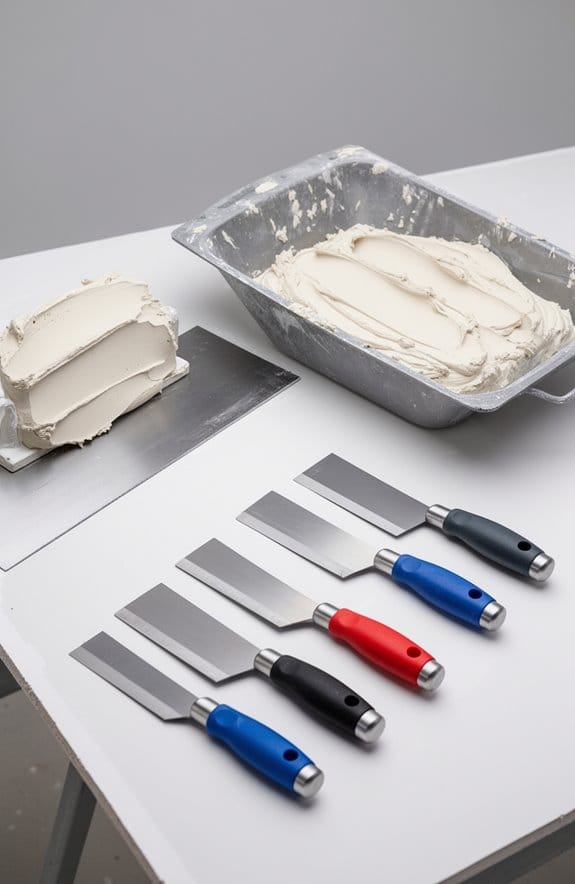
Essential Tools for Storing Joint Compound

When it comes to storing opened joint compound, you’ve probably noticed how quickly it can dry out. It’s frustrating to find your once-smooth mud turned into a chunky mess. So, what’s the best way to keep that compound fresh for your next project?
First off, consider using a 5-gallon bucket. This size is perfect for sealing and keeps air exposure to a minimum. Nobody wants dried-out compound! Before sealing the lid, it’s a good idea to smooth the surface of the compound to reduce any air pockets. Here’s the trick: lay a piece of plastic sheeting over the top of the mud before you put the lid on. This simple step traps moisture and helps maintain consistency.
If you’re working with pre-mixed compounds, try adding a thin layer of water on top before sealing. It really helps with keeping the texture just right. And if you have any leftover compound, don’t just toss it in the back of your garage. Transfer it into smaller containers. This simple move can dramatically reduce air exposure, ensuring you have usable material whenever you need it.
So, why does this matter? Keeping your joint compound in good shape means less waste and more finished projects. Honestly, nobody wants to start a job only to find they’re dealing with a hardened lump instead of a smooth mix. By following these few tips, you can make sure your compound stays fresh and ready for action.
In short, using the right tools to store your joint compound not only helps maintain its quality but also saves you time and hassle later on. Because joint compounds typically require a 24-hour drying period between coats, maintaining freshness can help you keep to your schedule. What’s your favorite method for keeping your materials in top shape?
Recommended Products

Enhanced Strength and Durability: Our metal bucket and lids are built to withstand heavy-duty use, ensuring long-lasting performance.

Fits Standard 12" Diameter Plastic Buckets--"Not Leaktite Buckets"

Enough Quantity of Products: the product contains 12 buckets with lids; black 5 gallon bucket has a lid height of approximately 14 inches/36 cm, a bottom diameter of 9 inches/23 cm, and a top diameter of 10.2 inches/26 cm; it is designed with a wide mouth, which makes it portable and safe; the 5-gallon capacity is suitable for storing a variety of items. Also includes 18 stickers for easy labeling, as well as 12 towels and 1 sponge brush,More convenient to use.
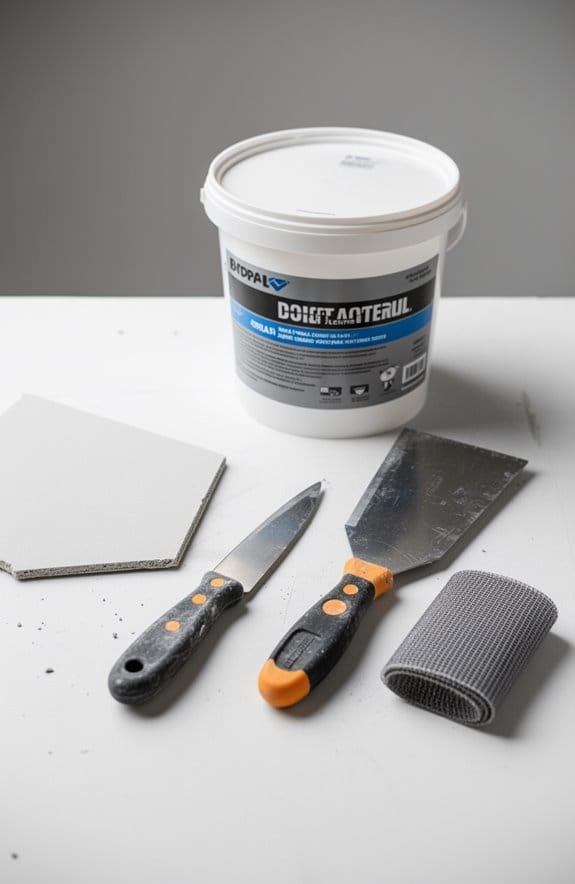
Steps for Properly Transferring Your Leftover Mud

Ever found yourself staring at a half-empty bucket of joint compound, wondering how to keep it fresh for the next project? It’s frustrating to toss out what could be perfectly good mud just because we didn’t store it right. But here’s the trick: there are some straightforward steps you can take to preserve that leftover joint compound.
Start by scraping any leftover mud off the sides of the container. This little step really helps to cut down on air exposure, which is the enemy of keeping your mud good for a longer stretch. Once you’ve done that, transfer the excess into a clean, airtight container—5-gallon buckets work well for this purpose.
Now, if you want to go the extra mile, consider pouring a thin layer of water on top before sealing the container. It might seem odd, but this can help prevent the mud from drying out. After that, smooth out the surface of the compound as best as you can; this further minimizes how much air can get in there.
The best part is, you shouldn’t just forget about it after you’ve sealed it up. Regularly check your compound for any signs of drying or spoilage. Who wants to open up a container of unusable mud right before starting a new project?
For extended freshness, storing the compound in a cool, dry place is ideal to avoid issues related to shrinking and cracking.
Recommended Products


TEMPERATURE CONTROLLED: Protect your quality with nugbuddy. Exposure to extreme high and low temperatures can have a negative impact on your contents. Nugbuddy features a double-walled stainless steel exterior that insulates the inner glass jar, maintaining a consistent environment to preserve freshness and flavor. Plus, the jar has a whi

3 convenient sizes of airtight containers: TV3 - 5 5/8" h. x 3 3/8" dia., TV2 - 3 3/4" h. x 3" dia., TV1 - 2 7/8" tall x 2 5/16" dia
How to Seal and Store Your Joint Compound Right

Sealing and storing joint compound is crucial if you want it to stay usable over time. You know that leftover mud can dry out quickly, so here’s a tip: transfer it into a clean 5-gallon bucket. Make sure the lid fits tightly to keep the air out.
Before sealing it up, take a moment to smooth the surface and pour a thin layer of water on top. This simple trick creates a barrier and helps prevent the compound from drying out. Now, as for storage, choose a cool, dry spot. If you’re not careful, humidity can sneak in and ruin your compound.
Have you ever found hardened or crusty bits in your compound? It’s a pain, but it happens. To avoid this, check your stash regularly. If you see any dry parts, just scrape them off before resealing the container. You might also want to divide the unused compound into smaller, airtight containers for easier access—this way, you won’t have to open the whole bucket every time.
So, why does this matter? Properly sealed joint compound means less waste and more savings in the long run. Just remember to keep an eye on it! Using airtight containers is vital for maintaining the compound’s longevity and workability.
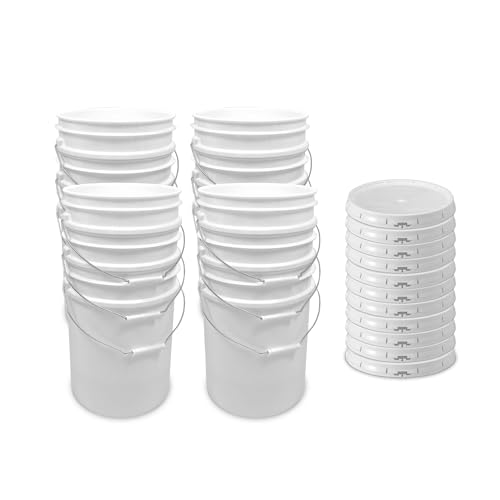
Recommended Products

Versatile Usage: this robust 5 gallon bucket with lid, with a capacity of around 5 gallons, is ideal for storing a diverse range of items ranging from food staples to utility tools; Enjoy the versatility that comes with our Square Bucket set; These buckets are suitable for storing various items, whether food items like rice, pasta, and honey, or other items you'd want to keep tidy and organized; Regardless of their content, these buckets will keep your space neat and orderly

Durable & Corrosion-Resistant: Crafted from 20 gauge 304 stainless steel, the Beaker & Wrench bucket ensures durability and corrosion resistance. This stainless steel construction makes it versatile for handling various materials across different environments while guaranteeing food safety.
Made To Handle More: Tackle bulk storage with a plastic bucket and airtight gasketed tear strip lid made from sturdy 90 mil HDPE plastic. It’s a dependable pick for pantry staples, utility use, and everyday organization when lightweight containers won’t cut it.
Maintaining Ideal Storage Conditions
Have you ever opened a bucket of joint compound, only to find it dried up and unusable when you need it? Keeping that joint compound in good shape can be a real challenge, especially once it’s been opened. The good news is, with a few easy steps, you can ensure it stays fresh for your next project.
First off, think about transferring the joint compound into a tightly sealed 5-gallon bucket. This limits the air exposure and helps prevent it from drying out. But here’s the trick: before sealing the bucket, lay a layer of plastic sheeting directly over the surface of the compound. This simple step helps trap moisture, which is crucial for keeping it usable.
Also, don’t forget to smooth out the surface and scrape any excess mud off the sides. Reducing the exposed surface area helps minimize drying. Now that you’ve got it stored properly, the next step is finding the right spot for it. Store that bucket in a cool, dry area. Why does this matter? Moisture can spoil the joint compound and cut its shelf life short.
Regularly checking for signs of spoilage is a good habit to get into. You want to make sure your joint compound is in top shape for your future projects. Honestly, nobody likes the disappointment of finding a hard, unusable mess when you’re ready to get to work.
Remember that storing the compound at temperatures below 75°F (24°C) helps maintain product integrity over time.
Recommended Products

LEVEL 5+ SMOOTH FINISH: Ideal for seams, base coats, and finish coats. Formulated to deliver a consistent, professional Level 5+ smooth finish. (For heavy repairs and textured surfaces, check out the Heavy Duty Formula)

CRC INDUSTRIES: A market leader that offers impeccably designed chemical solutions to maintain, protect and repair different marine, heavy-duty motor vehicles, industrial-grade engines, household tools and electrical equipment

Signs Your Joint Compound Has Spoiled and What to Do Next
How do you know if the joint compound you’ve been storing is still good to use? Spotting spoilage can save you a lot of headaches down the road. Some tell-tale signs include a nasty smell or changes in color. If you see any mold growing on top, just toss it out – no questions asked.
Once joint compound starts to dry out, it forms a hard crust on the surface. That means it’s no longer usable. Plus, if it feels thick or gritty, achieving a smooth finish is going to be tough. Make sure to inspect it for any separation or random puddles of moisture on top.
If you notice any of these red flags, best to part ways with that old compound and grab a new container for your projects. Honestly, using quality materials will make all the difference. Also, choosing a compound with shrinkage resistance ensures durability and prevents cracks during repairs.
Frequently Asked Questions
How to Store Opened Joint Compound?
To store opened joint compound, we should transfer it to airtight containers, ensuring proper sealing. Let’s monitor temperature and humidity levels, check for expiration indicators, and apply rehydrating techniques for shelf life extension during residual usage.
How Long Does Joint Compound Last Once Opened?
Once opened, joint compound can last up to nine months with proper storage. To guarantee product longevity, we should follow best practices, like sealing methods, and consider environmental factors affecting the compound consistency and material degradation.
How to Save Joint Compound for Later?
To save joint compound for later, we should use effective storage techniques like airtight containers, sealing methods that minimize air exposure, and keep it in a cool, dry place to avoid humidity effects and contamination.
How to Keep Drywall Compound From Drying Out?
To keep drywall compound from drying out, we must use proper sealing methods, avoid contamination, and store it in appropriate containers. Let’s explore temperatures and common mistakes that can affect shelf life extension together!