Got a wall full of tiny nail holes? It can happen to the best of us! Instead of stressing over a big repair job, there’s an easy method to fix those pesky holes without reaching for sandpaper.
Start by clearing away any extra debris lurking in the hole. It’s a small step, but it sets you up for success.
Then, grab a lightweight spackling compound and use a putty knife to fill those holes right up. You want to pack it in there, so the hole is completely filled! This is the stage where you really want to make sure it’s all smoothed out.
Let that spackle dry according to the instructions on the package—most of the time, this takes about 20-30 minutes.
After it’s dry, take a damp cloth and gently wipe away any excess. You’ll be surprised at how neat and tidy it looks. If you’re feeling up to it, you can even touch up the wall with some matching paint. Just dab it gently to blend it in. Does it get any easier?
The best part is this method gives you a smooth finish while skipping the dust and hassle of sanding.
Honestly, it can be so satisfying to see those holes disappear without the fuss of heavy-duty repair work. Have you tried any quick fixes like this before?
Key Takeaways
- Use a no-sand formula spackling compound to fill nail holes, avoiding the need for post-apply sanding.
- Apply the spackle smoothly with a putty knife to ensure it levels seamlessly with the wall.
- Allow the spackle to dry completely before applying paint for a flawless finish.
- Dab wall paint onto the patched area with a paper towel, feathering outward for a blend.
- Test the spackle color on a small area to ensure it matches the wall before full application.
Why You Should Fill Nail Holes in Your Walls

Ever look at your walls and notice those little nail holes? They’re often easy to ignore, but leaving them as is can lead to bigger problems down the road. Filling those tiny holes is more than just a cosmetic fix; it’s actually a smart way to maintain your home.
When you take the time to use a spackling compound, you’re not just patching the wall; you’re preventing dust from collecting in those holes. Plus, you really enhance the appearance of your walls. Buyers like homes that look well-kept, and those unfilled holes can make a place seem neglected.
So, why does this matter? Simple! Moisture can sneak in through those openings and create serious issues with your drywall later. Trust me, you don’t want to deal with water damage on top of everything else. And if you’re planning to repaint, having those holes filled ensures a smooth and uniform finish.
Here’s the trick: it only takes a few minutes to fill those holes, but the difference it makes in both aesthetics and home value can be significant. Taking care of these minor repairs now can really help your walls look their best and last longer. Have you thought about what little maintenance tasks you’ve been overlooking? Using a repair kit with fast-drying compounds can make this process even quicker and easier.
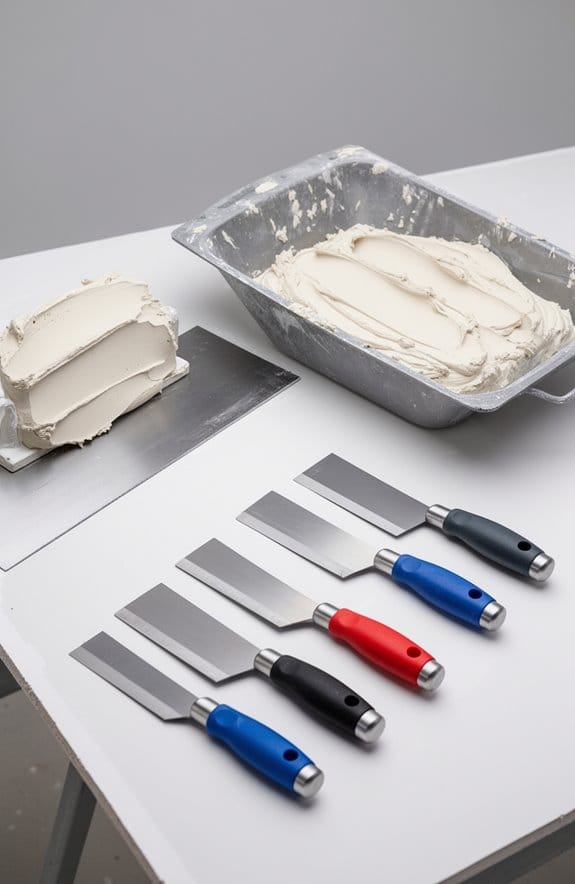
Essential Tools for Filling Nail Holes

Have you ever tackled a project only to be stopped by those annoying little nail holes in your walls? Filling them might seem like a tedious task, but with a few simple tools, it can actually be pretty easy and satisfying.
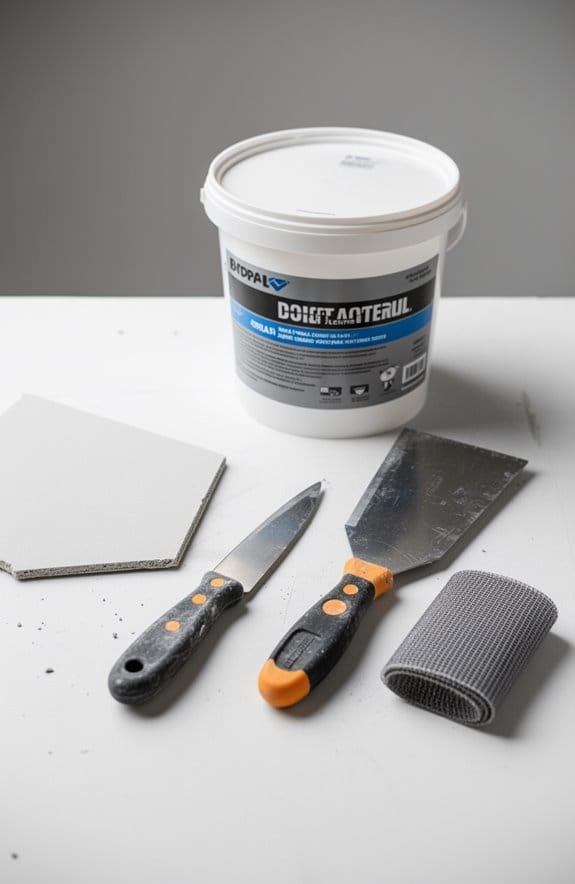
First up is a lightweight spackling compound. It’s not just quick to dry, but it spreads like a dream, which makes it perfect for small holes. You’ll also want a putty knife. This handy tool lets you smoothly apply and level the spackle without it getting all clumpy. If you’re looking for a one-stop solution, consider an all-in-one hole repair tool. It combines the application and smoothing functions into one sleek device.
Here’s the trick: Keep a damp cloth nearby. After applying the spackle, use it to wipe off any excess. This little step can save you a ton of hassle later on, especially when it comes time to sand things down. For the best results, choose a spackling compound that features a no-sand formula to avoid sanding altogether.
With these essential tools in hand, you’re set up for success. Your nail hole repairs can go from an eyesore to essentially invisible. So, are you ready to give your walls a little TLC?
Recommended Products

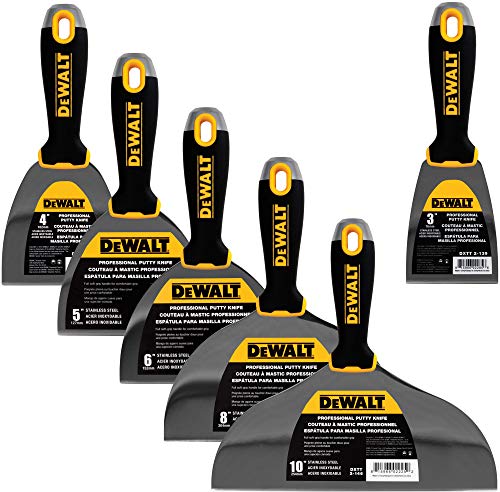
GUARANTEED TOUGH | This professional grade DEWALT taping knife is guaranteed to exceed your expectations for quality, performance and reliability.

PATCHES & PRIMES IN 1 EASY STEP: Saves time and provides a virtually invisible repair
Steps to Fill Nail Holes Effectively

Ever tried to hang something on the wall, only to be left with those pesky nail holes staring back at you? I know the feeling—it’s annoying! But filling those holes doesn’t have to be a headache.
First things first, remove any leftover nails or debris around the hole. You want to start with a clean canvas. Next, grab some Light Weight Spackle. This stuff is a lifesaver! Just apply it smoothly using a damp cloth or your finger, making sure to fill the hole completely.
Now, let it dry according to the instructions on the package. This typically takes anywhere from 15 minutes to a few hours, so use that time to plan your next home improvement project or grab a snack. Once it’s dry, you might want to lightly sand the area to make it super smooth—just a gentle touch will do!
For the finishing touch, grab your wall paint and a paper towel. Apply a small amount of paint and feather it outward to seamlessly blend it with the wall. It’s all about creating that perfect match, so if you’re unsure about the color, testing a few spackle shades ahead of time can help. Using a no-sand formula can speed up the process and reduce cleanup for small repairs like nail holes.
Recommended Products

PLEASE NOTE: This professional finish tool features a blue steel blade. It requires proper care and storage or it will corrode/rust (see care instructions in description below). If this concerns you, check out our stainless steel blades!

That Coveted Boho Oasis Vibe—Instantly:You've pinned the look a hundred times. Now own it. This set of three 24"x36" framed canvases brings the organic, layered charm of minimalist tropical leaves in a soothing sage green and beige palette straight to your walls. It's the missing layer between "nice room" and "when can I move in?" Perfect for crafting that airy, collected-over-time feel in your bedroom, living room, or creative workspace without ever touching a paintbrush

SMALL BRAD HEAD: Countersinks into material for concealment
Painting Over Your Repaired Nail Holes
Painting over repaired nail holes can really spruce up your walls and make them look fresh again. If you’ve got some patches that need attention, here’s the trick: start by scooping a bit of your wall color from the lid of the paint can. Just a small amount is enough—too much paint can make it tricky to control.
Next, take a paper towel and dab that paint right onto the patched area. It’s all about blending, so feather that paint outward, working it into the surrounding wall. Depending on how big the hole was, you might find you need to apply a couple of layers to really get that seamless look.
After the first coat dries totally, take a moment to step back and look at the finish. If it doesn’t match up perfectly, don’t sweat it! A quick second touch-up will help ensure the color and texture look consistent.
So, why does this matter? It’s all about having a polished space that feels complete. You’ve put in the effort to repair those holes; now make sure they disappear into the background, not stand out like a sore thumb.
In my experience, tackling these small details can make a huge difference in how your room feels. So, grab that paint and give it a go! Also, using dust collection efficiency techniques during sanding can reduce cleanup and help maintain a cleaner workspace.
What simple fixes have you done recently in your home that made a big impact?
Recommended Products
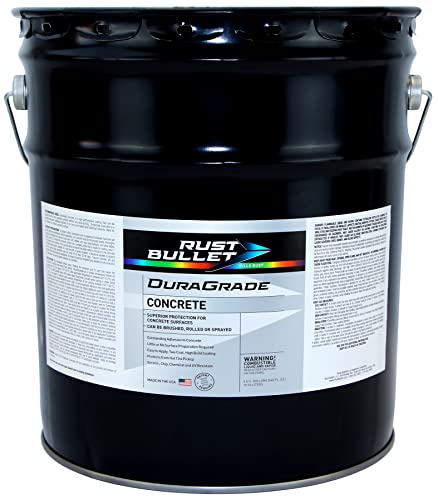
Ultimate Concrete Protection: Industrial-strength coating resists wear, chemicals, and moisture, ensuring long-lasting durability for concrete surfaces

Designed to spray and back roll in one motion with only one person doing the work of two employees
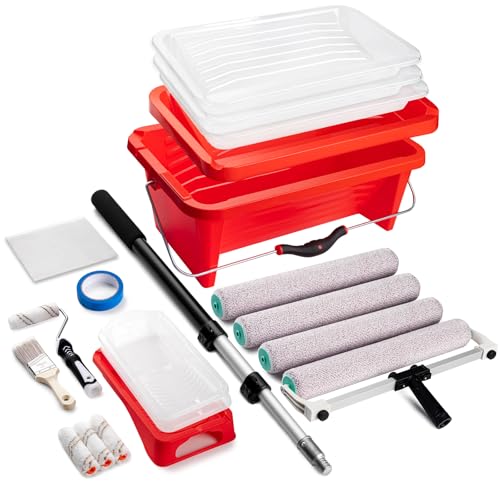
MOST COMPLETE 23-PC DUAL-SIZE KIT: More than just a large roller set. We include everything for both big areas and fine details: an 18" Paint Bucket & Tray, 18" Roller Frame + 4 Covers, a 4" Mini Roller Frame + 4 Covers, 4FT Pole, Drop Cloth, Tape, Angled Brush, Cleaning Comb, and 5 Disposable Liners. A true all-in-one solution that outperforms basic 9 or 23-piece kits lacking essential prep tools.
Common Problems and Solutions When Filling Nail Holes?
Have you ever faced the frustration of fixing little nail holes in your walls, only to have things not turn out as nicely as you hoped? It’s a common struggle. One issue you might run into is that Light Weight Spackle doesn’t always cover the original wall color completely. So here’s the trick: before applying it all around the hole, test it on a small, less noticeable area first. This way, you can see if the color blends well.
When you’re applying the spackle, make sure to spread it on smoothly and wipe away any excess. Doing this can really help improve the final look of your repair. If you’re considering a quick fix like using toothpaste, keep in mind that it might not stand the test of time. It’s a good temporary solution, but you may end up needing a more durable option later.
Now, when it’s time to paint, feathering the paint from the repaired area outward with just a little bit on your brush can make all the difference. It helps blend everything so the repair looks seamless, which is exactly what we want in a home improvement project. For best results, consider using a no-sand formula to avoid the extra step of sanding and speed up the process.
Recommended Products


Weathermax Technology – Weatherproof and waterproof

The information below is per-pack only
Frequently Asked Questions
How to Fill Nail Holes Without Sanding?
To fill nail holes without sanding, we can use lightweight spackling for easy filling techniques, dab paint for compatibility, and try toothpaste as quick fixes. Finally, we can add finishing touches with a damp cloth.
How to Patch Tiny Nail Holes?
When patching tiny nail holes, we can use lightweight spackling compound for quick fixes. Applying DIY methods with an all-in-one tool helps us achieve neat repairs, ensuring a smooth surface without needing sanding afterward.
What Do Painters Use to Fill Nail Holes?
We often use lightweight spackling compounds for filling nail holes, combining painting techniques with effective repair tools. It’s essential to evaluate different filling options to guarantee our surface preparation leads to a seamless finish.
Is It Better to Fill Nail Holes With Caulk or Wood Filler?
We’d recommend wood filler over caulk for filling nail holes. Its durability, application techniques, and minimal shrinkage during drying make it ideal for this purpose, ensuring a seamless finish compared to caulk’s flexibility and drying times.