Got loose paint around some damaged areas? It can be a real eyesore and even lead to more problems if not dealt with properly. Here’s how to tackle it like a pro.
First things first, grab a paint scraper with a stainless steel blade. Carefully scrape off any flaking paint around the damaged spots. Take your time; you don’t want to make things worse.
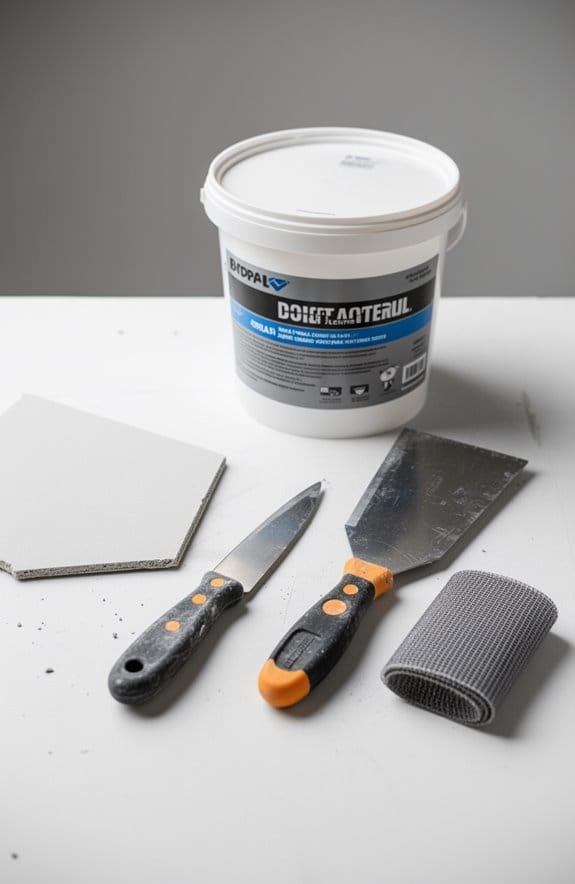
Once that’s done, check for any deep holes. Fill those with wood putty using a putty knife. It’s crucial to get those filled in so you’ll have a smooth surface later.
After you fill and let the putty dry, sand the area with 220-grit sandpaper. This smooths everything out and preps it for what’s next.
When you’re done sanding, clean up the mess. Honestly, a rag works, but a vacuum might save you some time and hassle.
Now that you’ve prepped the area, it’s time to prime. Use a moisture-resistant primer to seal it off. This step is important because it helps create a solid base for your new paint job.
In the end, making sure that surface is prepped right will give you better results and a lasting finish.
So, what project are you planning next?
Key Takeaways
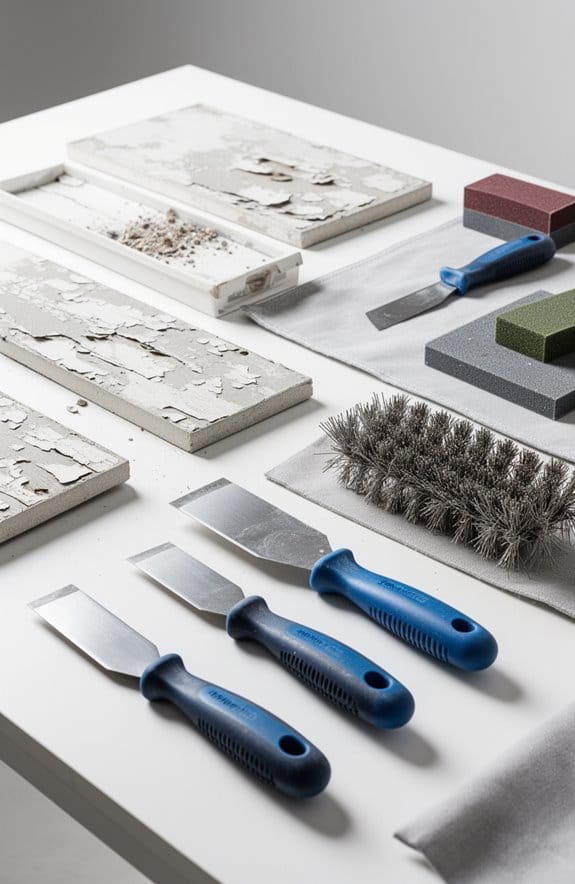
- Use a paint scraper or wire brush to carefully remove all loose paint around damaged areas, focusing on corners and edges.
- Fill deeper holes or divots with wood putty using a putty knife to ensure a smooth surface before sanding.
- Smooth the scraped edges with 220-grit sandpaper or a sanding sponge, sanding in the direction of the wood grain.
- Clean the area thoroughly with a rag or shop vacuum to eliminate dust before applying primer and paint.
- Always wear a filter mask and goggles for safety to protect against harmful dust and debris during the process.
The Top 5 Reasons Your Paint Peels

Have you ever painted a room only to find the paint starting to bubble and peel a few months later? It’s frustrating, right? While it might seem like a mystery, the reasons behind peeling paint are pretty straightforward when you take a closer look.
Moisture intrusion is a big culprit. When water gets behind the paint, it can loosen the bond between your paint and the surface. Even if you can’t see it, that hidden moisture is breaking down your hard work. Another thing to watch out for is poor surface preparation. Skipping steps like cleaning and priming the surface can lead to issues like peeling paint because it just doesn’t stick well.
Ever tried to paint over oil-based paint with latex? That could spell trouble for your paint job too. If you don’t use the right primer, you’re setting yourself up for failure. So, what can you do to avoid this? Start with the proper prep and choose compatible paint types.
Weather plays a role too. Extreme humidity or low temperatures can ruin your paint’s chance to cure properly, which definitely affects how well it holds up over time. If you’re painting in challenging weather conditions, you might be in for a surprise down the line.
There’s also thermal expansion to consider. Excessive heat can cause the paint to expand and contract, putting stress on the layers. This can lead to cracks and peeling if you’re not careful.
In short, understanding these key factors can really save you from future headaches. You want your paint projects to last, right? So, keep an eye on moisture, prep work, paint compatibility, weather, and heat exposure. Using a paint with mildew and mold resistance can also help protect your surfaces in moisture-prone areas. What steps will you take to ensure your next paint job stands the test of time?
Essential Tools for Removing Loose Paint
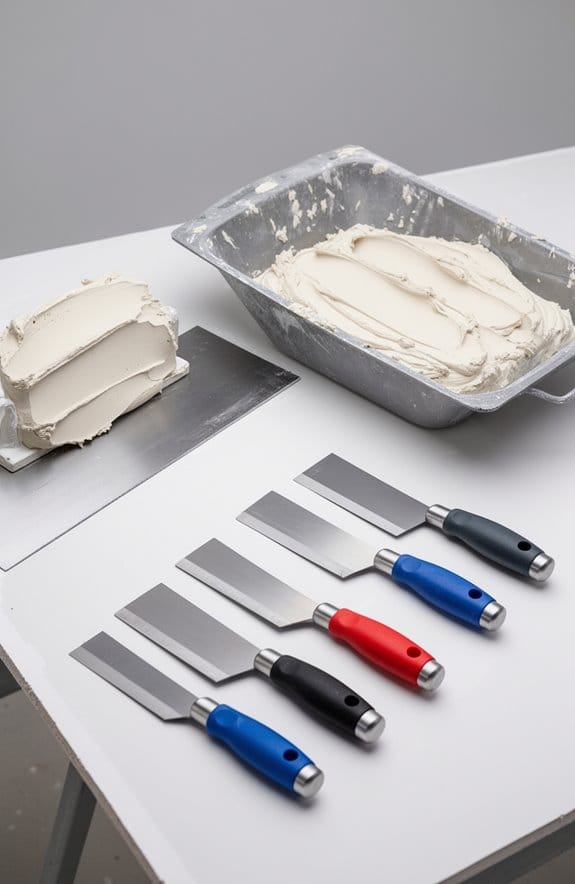
Got loose paint? It can be a real headache. But getting the right tools can make all the difference when you’re tackling this issue.
Start with a solid paint scraper. A stainless steel blade is your best bet for scraping off flaking paint, especially in those tricky corners and edges. Don’t skip over a sanding sponge or some 220-grit sandpaper; these are perfect for smoothing out the edges after scraping so the transition between the old and new paint looks seamless.
To protect areas you don’t want to mess up, grab some painter’s tape. It’s great for sealing off windows and hardware, making sure that every stroke of your brush goes exactly where it should.
After you’re done scraping and sanding, you’ll want some rags handy to wipe down the surfaces. Cleaning before you move forward is important; it gets rid of any dust and debris so your next painting step can go smoothly. And don’t forget about your shop vac—this tool is key for sucking up all that dust and residue, keeping your space clean and ready for action.
For the best results in finishing drywall around the repaired area, consider using ultra-thin drywall paper tape to ensure strong adhesion and a seamless surface.
Recommended Products

【16"*16" MULTI-COLOR FLASH DRYER】The heating tubes adopts 1600w stainless steel heating tubes ,high heating efficiency,it can normally be used for about 10000 hours.Drying Area is 16*16".Height of the flash dryer could be adjusted within 5.5".Prepare for the full set installation tools, test thermometer and installation instructions.Smoking is normal for new machine because we painted some lubricate to prevent it from being rusty. The smoke will be gone when the lubricate is dried.

COMFORTABLE GRIP HANDLE: This painters tool features a soft grip handle with a textured thumb area for better control and comfort during long tasks. No slips, no strain, just steady handling.

DURABLE - super tough, gloss white protective coating and top coat which can be applied over painted or unpainted surfaces and can be used as a stand-alone protective coating that will protect your assets; For the ultimate protection, simply apply BlackShell as a topcoat over the patented Standard or Automotive Formulas to create the strongest armor tough, chip resistant protection against rust and corrosion ever formulated
Step-by-Step Guide: Scraping Off Flaking Paint

Got your tools ready? It’s time to tackle that flaking paint. Start with a good paint scraper or a wire brush to get rid of all the loose paint you can find, especially in those tricky corners and worn areas. You don’t want to miss the spots with deeper holes or divots—those need extra attention. Fill them in with wood putty using a putty knife to create a nice, smooth surface.
Then, grab some 220-grit sandpaper or a sanding sponge to smooth out the scraped spots. You want to minimize those harsh edges, making everything blend better for when you paint later. Honestly, it’s crucial to clean up after yourself. Use a rag or shop vacuum to clear away any dust or paint chips. So, why does this matter? Because a clean surface is what you need for the next steps.
Oh, and don’t forget to wear a filter mask during this process. It’s important to keep yourself safe from dust and any potential lead exposure.
To ensure your repair lasts, consider products with strong adhesive properties for a durable finish.
In the end, the key is to take your time and make sure all those imperfections are tended to. Are you ready to move on to the next step?
Recommended Products

Powerful 3 amp motor of the oscillating tool provides strong performance for cutting and sanding

PREMIUM SERIES – Proper prep is essential for a great finish. Purdy Premium Series of surface prep tools feature a rubberized ergonomic grip, a nail-set hammerhead end, and a rust-resistant, stainless steel blade.
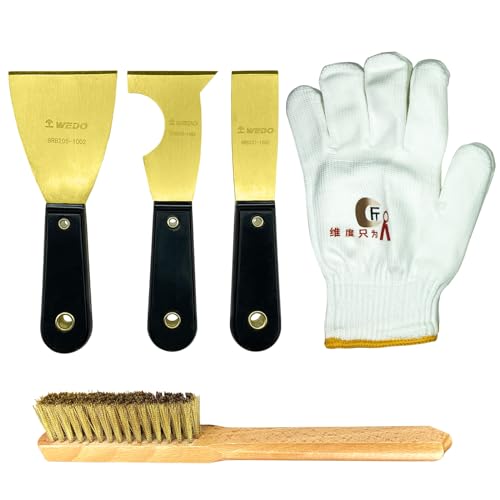
Premium Brass Construction: Crafted from rare, non-corrosive brass, WEDO’s putty knife naturally resists rust and leaves no streaks on surfaces—ideal for delicate finishes. Its balanced design ensures smooth control for both DIY touch-ups and professional painting projects.
How to Smooth Out Surfaces After Scraping
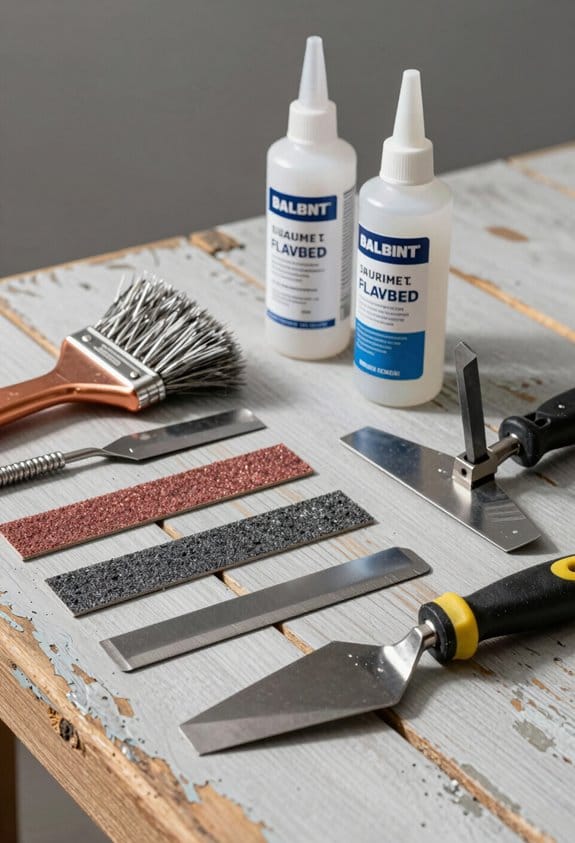
Want to get that surface looking smooth after scraping off old paint? Start with some 220-grit sandpaper or a sanding sponge. This is a great way to gently smooth out those areas where the paint just didn’t want to let go. Remember to always sand in the direction of the wood grain. Why? Because it helps prevent scratches and gives you that sleek finish you’re after.
Now, if you’ve got some pesky holes or divots, don’t stress out. Just grab some wood putty and a putty knife to fill those in before you start sanding. This little step can make a huge difference in the end result.
After you’ve done your sanding, clean the surface thoroughly with a rag to get rid of all that dust and debris. If you really want to ensure it’s clean, using a shop vac can be a smart move. It gets rid of flaking paint residue too, which means you’re setting yourself up for a smooth transition into the next steps of your project.
For repairs that require filling larger holes or damages, choosing the right wall patch repair kit can save both time and effort while delivering a flawless finish.
Pick the Perfect Primer for Wood
Choosing the right primer for wood can feel overwhelming. What if I told you that a good primer can make all the difference in how your paint job turns out? Aqualock Plus has proven to be a solid option, offering moisture control and a mildew-resistant coating.
Here’s the trick: start with a thin layer of primer and give it about 30 minutes to dry before applying a second coat. Doing this not only improves coverage but also sets a strong foundation for your paint. You might wonder why this step is so crucial. Well, the right primer works in tandem with the paint, and when they’re compatible, it can really elevate the final look.
Now, let’s talk durability. It’s important to choose a primer that seals porous surfaces effectively. This helps prevent moisture intrusion, which can lead to issues like peeling or stains down the line. If you want your hard work to last, take this step seriously.
Additionally, considering primers with low VOC levels will improve indoor air quality and safety during your project.
Recommended Products


Made of solid pine, their design combines the richness of natural material with the durability of craftsmanship construction.

Seals Concrete & Masonry Floors - Designed to block high moisture vapor transmission from concrete and masonry surfaces, reducing the risk of coating failure.
Best Practices for a Lasting Paint Finish
Ready to tackle that paint project? Before you dive in, let’s talk about how to set the stage for a finish that’ll last. First off, you need to get rid of all the loose or old paint. Grab a scraper and start removing—it’s surprisingly satisfying to see the transformation.
For flat surfaces, filling in the larger holes is a must. Use wood putty for this and sand the area smooth once it’s dry. After your surface is looking good, it’s time for primer. I recommend a high-quality option like Aqualock, which offers moisture resistance to keep your paint looking fresh over time.
Now, here’s the trick: when it comes to applying the paint, three light coats are ideal. Just remember to wait 2-4 hours between each coat for the best results. If you’re worried about peeling, take off the painter’s tape while the last coat is still wet. This little step really does make a difference in a clean finish.
So, why go through all this trouble? A strong bond is crucial for avoiding issues down the line, and you definitely want your hard work to last. Using moisture resistant drywall in repair areas can further protect your surface from damage.
In the end, just make sure to take your time with each step. With a little patience and effort, you’ll have a paint job that not only looks great but stands the test of time. What project are you thinking of tackling next?
Recommended Products

SUPERIOR FLEXIBLE SEALANT: Liquid Rubber's foundation sealer creates a permanent waterproof membrane for basement waterproofing, foundation leak repair, shower liners, and planter boxes. This professional-grade sealer delivers unmatched protection with 900% elongation, preventing leaks and water damage more effectively than traditional sealants

Zero VOC and VOHAP-free formula, UV resistant for long-lasting color and clarity

Synthetic rubber adhesive has good shear strength to fiber board surfaces for bundling, strapping and reinforcing applications.
Essential Maintenance Tips for Painted Windows and Trim
Got painted windows and trim that need some love? Regular check-ups are essential for keeping them in top shape. First things first, take a good look for any loose or peeling paint. If you spot any, grab a paint scraper or a wire brush to take care of that flaking paint, particularly in those tricky corners and around hardware.
After scraping, it’s a good idea to sand the area down with 220-grit sandpaper. This helps to smooth out any rough spots. Once that’s done, you’re going to want to apply a quality primer. Look for one with moisture control—my go-to is Aqua Lock Plus. This step is all about protecting your paint job from future problems.
And here’s the kicker: when it comes to the final layers, stick with three light coats of a high-quality paint. Benjamin Moore’s Simply White in a semi-gloss sheen works wonders. It’s a bit of a process, but trust me—it guarantees a long-lasting finish that looks great.
Avoid These Common Paint Removal Mistakes
When it comes to removing paint, a few common mistakes can really throw a wrench in the works. Ever thought about using an open flame tool? It might sound like a good idea, but it comes with some serious fire risks. Seriously, stick with a hot air gun to keep things safe and sound.
Now, let’s talk safety gear. It’s easy to overlook, but don’t forget to wear a filter mask and goggles. Those fumes can be nasty, and you want to protect yourself as much as possible. Trust me, taking these precautions is worth it in the long run.
Another tip? Always test your paint removal method on a small area first. If you skip this step, you might be in for some unexpected damage that could have been easily avoided. And while we’re at it, don’t forget about neutralization after using caustic strippers. This step matters because it helps maintain the integrity of the wood and ensures that your new paint will stick!
And here’s a big one: be careful with sanding. Over-sanding can really wreck the wood underneath, so it pays to choose the right sandpaper grit. You’ll want something that’ll get the job done without harming the surface.
To sum it up, take your time and be mindful of these potential pitfalls. Using tools with ergonomic designs can also reduce fatigue and improve safety during paint removal. What other paint removal tips have you come across?
Recommended Products

VERSATILE, FAST & EFFICIENT: Speedheater works to remove all types of paint, varnish, and glue on all interior and exterior wooden surfaces such as windows, furniture, boats, stairs, doors as well as concrete!Speedheater works to heat the surface of paint and varnish just enough so that it melts away with ease. Heat your surface and scrape after just a few seconds for quick and easy removal.
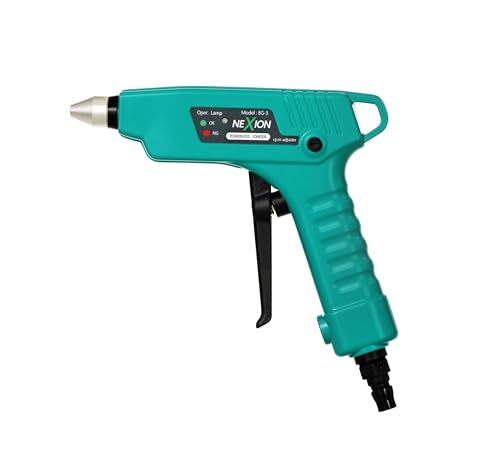
Self-Generating Ion Technology - Generates powerful ions without any external power source. Powered purely by compressed air for maximum portability and safety. (No Power Cable | No Battery | No Recharging)

EVERYTHING YOU NEED IN 1 KIT: The Cobra Renovation Kit includes the Speedheater Cobra IR unit, carrying case, sharpening + grinding kit, raw linseed (accelerator) oil, plus 6 tools including the Clapboard Scraper, Profile Scraper, Boomerang Scraper, Putty Scraper Putty Chisel, and Flexi Scraper!
Frequently Asked Questions
How to Scrape off Loose Paint?
To scrape off loose paint, we’ll use paint scraping tools effectively. We should follow safety precautions like wearing masks, applying effective scraping techniques, and prepping surfaces by thoroughly cleaning them for ideal paint removal tips.
How to Remove Paint From Awkward Places?
Removing paint from awkward places can feel like unraveling a wild puzzle! We’ve got our trusty paint removal tools, some creative scraping methods, and essential safety precautions to tackle those difficult surfaces with ease and confidence.
How to Repair Large Areas of Peeling Paint?
To repair large areas of peeling paint, we should use effective paint removal techniques, assess damage extent, employ surface preparation methods, apply primer correctly, and choose high-quality paint materials for a lasting finish.
How to Get Old Paint Out of Crevices?
To get old paint out of crevices, we’ll use paint removal techniques like fine wire brushes and scrapers. We’ll follow with surface preparation tips and effective post removal cleaning to guarantee a pristine finish.