Ever tried applying mud to your walls and ended up with a bumpy disaster? You’re not alone—getting a smooth, professional finish can feel tricky, but it doesn’t have to be. Here’s how to nail those thin coats of mud.
Start off with a 5-inch putty knife for your first layer. You want to spread a coat that’s about 1/16 to 1/8 inch thick over the joints and tape. It might seem simple, but getting it right is key.
After letting it dry for at least 24 hours, grab a 10-inch knife to feather the edges. So, what’s the trick? Making sure to smooth those edges will help blend the mud seamlessly into the wall.
Once you’ve got that done, you’ll want to gently sand the surface. A sanding sponge is perfect for this, but be careful not to damage the tape underneath. You want a silky finish, after all.
Remember, patience is your best friend here. Wait another 24 hours before applying your next coat. I know it can be tempting to rush, but taking your time will really pay off in the end.
To sum it up, thin coats are all about the right tools and a little patience. Have you ever noticed how it’s the small details that make a huge difference? Give this a try and see for yourself!
Key Takeaways
- Apply joint compound in thin layers of 1/16 to 1/8 inch to minimize bulging and cracking for a professional finish.
- Feather edges with a wider knife to ensure seamless transitions between coats and improve visual smoothness.
- Allow at least 24 hours of drying time between coats to ensure better adhesion and a smoother final surface.
- Sand gently between coats using a sanding sponge for a light touch, enhancing surface preparation without damaging the paper tape.
- Choose low-shrinkage joint compounds to reduce cracks and ensure a durable finish that preps well for priming and painting.
Understanding the Importance of Thin Coats in Drywall Finishing
When you’re tackling drywall finishing, have you ever noticed that your layers seem to bulge or crack? One way to avoid that headache is by applying thin coats of mud. Thin layers significantly lower the chance of damaging the underlying tape or drywall surface. Plus, they can create that smooth finish we all crave.
Here’s the trick: instead of slapping on a thick coat and calling it a day, focus on laying down several thin coats. Aim for about 1/16 to 1/8 inch thick for each layer. This way, you’ll have better adhesion and a more polished look. And remember, patience is key. You should wait at least 24 hours between each coat to ensure it’s completely dry. Honestly, this method helps avoid moisture-related rework and saves time because it dries faster overall.
Additionally, understanding the moisture resistance of materials involved can further improve your finishing results by preventing damage over time.
So, why does this matter? Well, by sticking to these simple guidelines, you can get those professional-quality results in your drywall projects without all the stress. Plus, you’ll feel pretty accomplished when you see that flawless finish.
To recap, thin coats are your best friend when finishing drywall. They’re easier to work with and keep you moving on your project smoothly. Have you tried this method before?
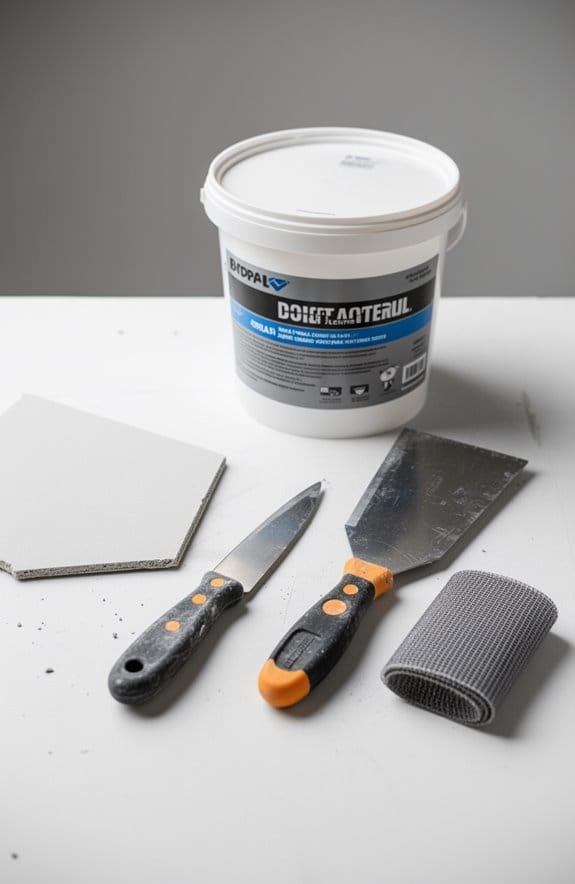
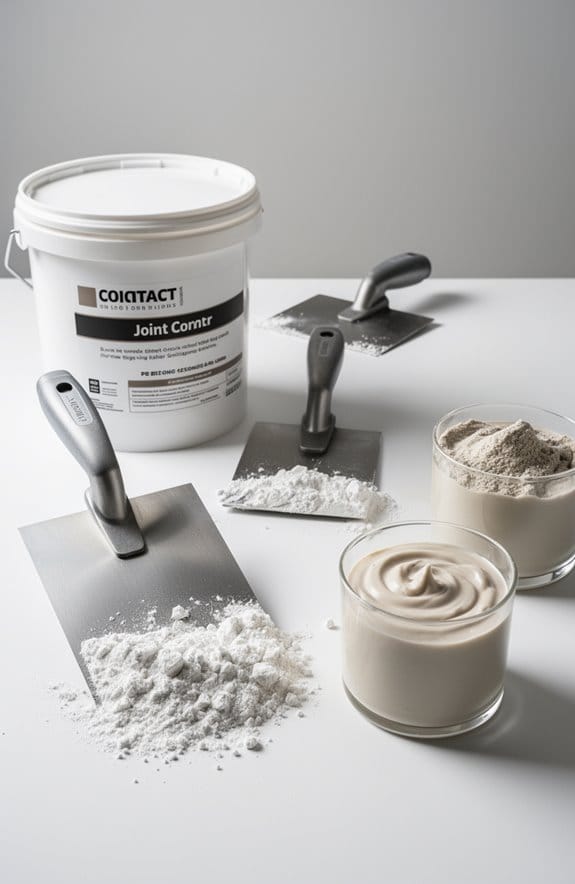
Essential Tools for Applying Joint Compound Effectively
When tackling a drywall project, there’s nothing more frustrating than a bumpy finish. You want it to look smooth and professional, right? That’s where having the right tools makes all the difference.
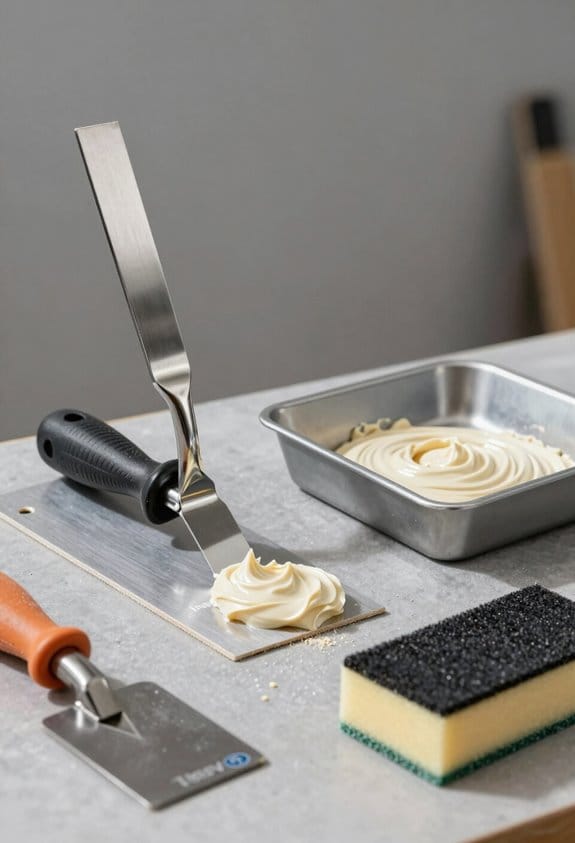
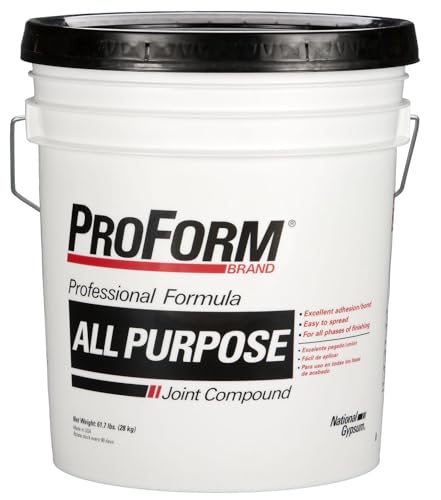
Start with two sizes of putty knives. A 5-inch taping knife is perfect for applying the joint compound, while a 10-inch knife helps feather those edges between coats. It’s smoother and so much easier than trying to wing it with just one. For the joint compound itself, go with a premixed all-purpose variety. It saves you the hassle of mixing and makes application a breeze.
Now, once that compound dries, you’ll need a swivel-head pole sander. It’ll come in handy with medium and fine-grit sandpaper to help you achieve that flawless finish. Honestly, don’t skip on getting a sanding block as well; it’s great for those tight corners where the pole sander just can’t reach.
Also, let’s not forget about safety—wear a dust mask and safety glasses while sanding. Dust can be nasty, and protecting yourself is key. And before you start, take a moment to organize your tools. It saves time and keeps you focused on the job.
For best results, consider using a quick-drying compound to speed up your project timeline.
So, to recap: get yourself a couple of putty knives, a good premixed compound, a pole sander, and always play it safe with a mask and glasses.
Are you ready to dive into your drywall project?
Recommended Products
Excellent adhesion/bond

PAVING JOINT FILLER: This EasyJoint Select range is developed from our best-selling EASYJoint Original and is equally easy to use and faster than traditional methods. Our easy joint compound is used by professionals and DIY installers all around the world. Quick, effective, and aesthetically pleasing way to fill joints between paving. For all joints of 3mm wide and over

This product adds a great value
Preparing Your Drywall Surface for Joint Compound Application
Before diving into applying joint compound, let’s talk about getting your drywall surface prepped just right. Have you ever noticed those annoying screwheads poking through the surface? If so, it’s essential to recess them so they’re not visible once you’re done.
While you’re at it, take a good look at the drywall for any loose or torn paper. Removing that will give you a clean, solid area for the joint compound to stick. And don’t forget, you want to protect your floor from all that dust and any spills, so laying down drop cloths is a smart move.
Now, here’s a tip: make sure your workspace has good ventilation and stable temperatures. This helps the joint compound dry nicely and evenly. Keeping your tools and materials organized can also save you a lot of headaches as you go through the coating process.
Choosing materials that are mildew and mold-resistant can also enhance the durability of your drywall finishing, especially in humid areas.
Honestly, getting these prep steps right makes a huge difference. It’s easier to work with a clean slate. Plus, it’s all about setting yourself up for success, don’t you think?
In short, inspect for screws, clean up any rough spots, protect your area, and ensure a good environment for drying. It all boils down to making your job smoother and the final result better. So, are you ready to tackle that joint compound?
Recommended Products

Climatek Indoor/Outdoor Coating: ICC-ES AC257 code approved for treated lumber. Also available in white for color-matching cabinets

package dimensions :20.32 cm L x 33.02 cm W x 33.528 cm H
Made of good quality products
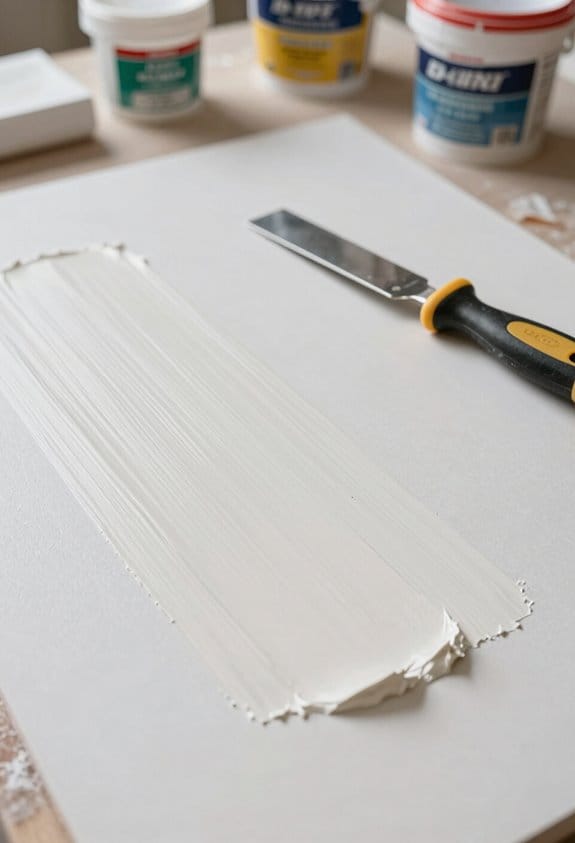
How to Apply Your First Coat of Mud
Applying your first coat of mud can feel a bit daunting, can’t it? But with some solid prep and the right technique, you can definitely nail that smooth finish.
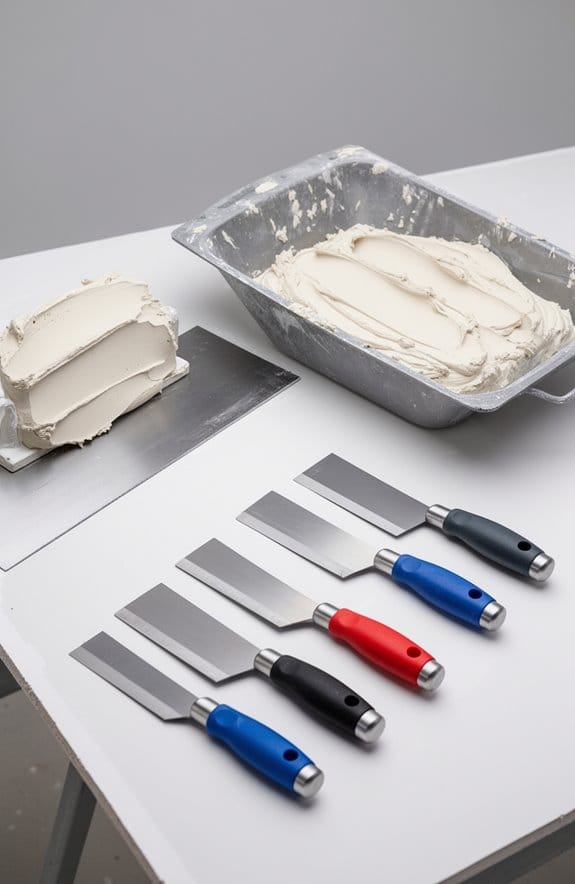
Start by mixing your joint compound to a thick consistency—think of it like quick concrete. You want it to hold its shape but still be workable. Now, grab your 5-inch putty knife and apply a thin layer of that compound over the joints and tape. Don’t press too hard; you want to properly bed the tape without making a mess of it.
The trick is in how you feather out the edges. Use a 10-inch knife and apply less pressure as you extend outwards. This way, you avoid those harsh lines that can pop up if you press too hard. Once you’ve got that first coat down, just let it dry completely. It’s best to wait at least 24 hours before you even think about sanding.
When it’s time to sand, use a swivel-head pole sander, and remember: be gentle! You don’t want to damage the paper tape that’s holding it all together. For more durable repairs, consider using heavy-duty steel clips to secure patches before applying mud, ensuring a stable surface for finishing.
Recommended Products

EVERYTHING YOU NEED | This full drywall finishing kit contains the tools necessary to complete most sheetrock jobs. Premium stainless steel is a must for a long wear life

PLEASE NOTE: These professional finish tools feature high carbon and blue steel blades. They require proper care and storage or they will corrode/rust (see care instructions in description below).

Complete Drywall Skimming Blade Set: This Drywall Skimming Blade Set with Case includes 2 pcs 32 in blades, 2 pcs 24 in blades, 2 pcs 16 in blades, 2 pcs 10 in blades, 4 blade sleeves, 1 curved spatula, 1 inside corner trowel, 1 paint roller and 1 5 in taping knife, providing a practical tool selection for drywall finishing and wall repair projects
What Are Effective Feathering Techniques?
Feathering techniques are a real puzzle for many DIYers, especially if you’re aiming for that flawless finish with joint compound. One thing you can try is grabbing a wider knife—at least 10 inches. It really does make a difference when you start working on the edges of your joints. Apply the compound in the center and gently push it outwards. This method creates a tapered edge that smoothly blends with the surrounding surface.
You might be wondering how long to wait after each coat. It’s crucial to let that joint compound dry completely for about 24 hours. Trust me, rushing this step will only lead to frustration later on. And when you do get around to sanding those feathered edges, a sanding sponge will do wonders, allowing for a lighter touch between coats.
For a bit of a hack, a 14-16 inch trowel can be a game-changer. You’ll be amazed at how much control and smoother finish you can achieve, especially over larger areas. Are you starting to see why these techniques matter? The best part is that they can really make your work look professional.
To wrap it up, mastering feathering techniques can elevate your project from amateur to exceptional. Have you tried any of these tips before, or is there a technique you’re eager to test? Using a fast-drying compound can also help speed up your overall workflow, allowing you to apply and sand multiple coats in a shorter period.
Why Drying Time Is Key Between Coats
Achieving that perfect, smooth finish with joint compound can feel like a bit of a juggling act, right? One key factor you can’t overlook is drying time between coats. So how long should you wait? Well, it’s best to allow at least 24 hours of drying time before slapping on the next layer of joint compound. This isn’t just a suggestion; it really helps ensure that the previous layer is fully dry and ready for its partner.
Humidity and temperature can really throw a wrench in your plans, affecting how long it takes for those layers to dry. So, it’s wise to keep an eye on the weather. What’s the point of rushing if it leads to issues like bubbling or separation later on? Properly dried coats mean the next layer will adhere better and give you that seamless finish you’re after.
Look out for the color change in the joint compound—it’s a good sign that it’s ready for the next coat. And honestly, rushing this process can lead to an uneven surface that requires even more sanding, which nobody wants. You’re already investing time into this project, so a little patience now will yield far better results later. Additionally, choosing a compound with low shrinkage helps ensure a crack-free and durable finish that complements proper drying time.
Tips for Sanding Between Coats Without Damaging the Surface
Ever find yourself itching to jump to the next coat of joint compound? Well, hold that thought. Taking the time to sand between coats really makes a difference for a smooth finish.
First off, make sure each coat is fully dry before you dive in. When you’re ready, grab a sanding sponge and gently smooth the surface. It’s super important to be careful so you don’t damage the drywall or the paper tape underneath. Here’s the trick: use a medium-grit sandpaper, around 120-grit, and work in gentle circular motions. This helps you avoid creating those dreaded depressions from oversanding.
Once you’ve got the area sanded down, don’t skip this step—take a damp cloth and wipe away any dust. Dust can ruin all your hard work and mess with the adhesion of the next coat. Remember, every little detail counts if you want a pro finish.
So, why does this matter? Because a little patience and care in this step can make all the difference when you finally see the final product. Keeping things clean and smooth ensures those following coats stick properly, leading to an impressive result.
In short, don’t rush. Sanding between coats might feel tedious, but you’ll be glad you took the time once you see that flawless finish. For best results, consider using a sanding sponge with hook-and-loop backing for easy attachment and removal during your project. Ready to get started on your next project?
Recommended Products

Bulk Box of 100 Sponges

VERSATILE GRIT OPTIONS: Includes a range of sanding sponges from 120 grit to 400 grit for drywall, wood, and model projects. Achieve smooth finishes on various surfaces with ease.

Abundant Quantity: tired of constantly changing sandpaper blocks of different grits? Our double-sided 80/ 120 grit sanding sponges let you do both coarse and fine sanding with just one tool
How to Solve Common Problems When Applying Thin Layers of Joint Compound
Have you ever found yourself frustrated while trying to apply thin layers of joint compound? It’s one of those tasks that seem straightforward but can lead to some annoying issues. You know, like bubbles or blisters popping up when you least expect them. To keep those pesky imperfections at bay, make sure to mix your joint compound thoroughly and apply it evenly across the surface.
Now, if you’re noticing visible drywall tape poking through after several layers, that’s a clear sign you might need to rethink your approach. Grab a larger knife and put down a thicker coat of compound, feathering those edges to blend it nicely. This simple adjustment can really help you achieve that smooth finish we all strive for.
When choosing between tape options, paper tape is generally your best bet. It sticks well to the joint compound, helping create a much stronger bond than mesh tape. So, why does this matter? Because a solid foundation helps avoid those little annoyances down the line.
Don’t forget about the sanding! It’s easy to overlook, but lightly sanding between coats goes a long way in making sure everything transitions seamlessly. And I can’t stress this enough—patience is key. Let each coat dry fully before moving on to the next one. Usually, that means waiting about 24 hours, but keep an eye on the humidity and temperature, as they can change things up.
Also, selecting the right fiberglass joint tape can significantly affect the durability and final appearance of your drywall repair.
In a nutshell, tackling thin layers of joint compound doesn’t have to be a headache. Just remember these tips to keep your project on track. Have you tried any other tricks for getting smooth results?
Recommended Products

✅【Fiberglass Mesh Tape】Fiberglass mesh is made of high quality and high density glass fiber. Corrosion resistant, high temperature resistant, toughness
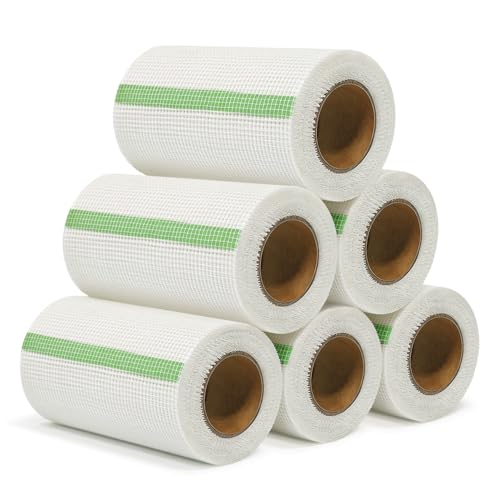
✅ STRONG FIBERGLASS MESH – Made of high-tensile fiberglass material, QILIMA drywall tape provides superior reinforcement for drywall joints, cracks, and seams. Perfect for drywall repair, sheetrock taping, and plaster reinforcement, ensuring long-lasting durability.

Ideal for off angles and outside 90 deg
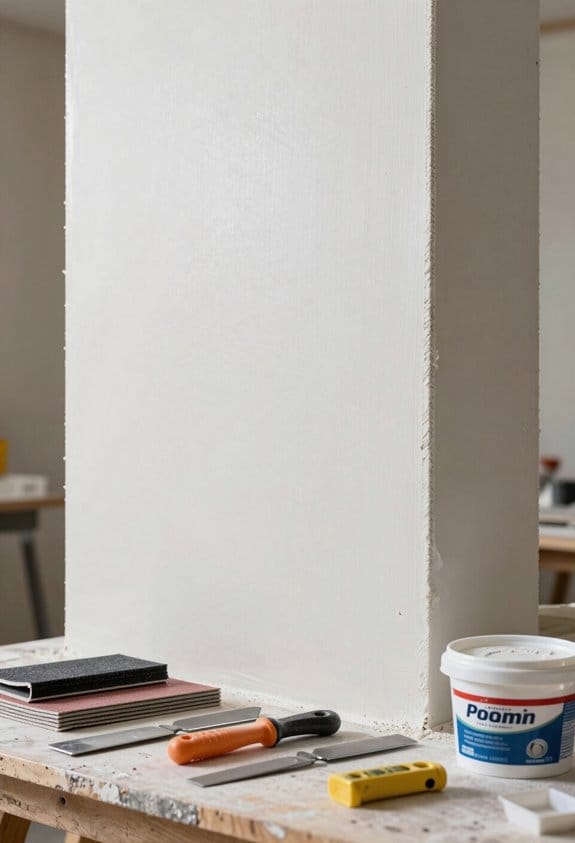
Preparing the Surface for Priming and Painting After Finishing
Preparing the surface for priming and painting is crucial for getting that polished look you want. What’s the first step? Inspecting for any imperfections. If you come across gaps, dents, or cracks, don’t just ignore them. Fill those bad boys with joint compound and give them time to dry. Honestly, after you finish your drywall work, it’s best to wait at least 24 hours after the final skim coat before you move forward.
Once that’s done, grab a damp cloth and wipe down the surface to get rid of any sanding dust. It might not seem like a big deal, but every little bit helps when it comes to how your final paint job will turn out. When the primer’s completely dry, you’ll want to go ahead and use a drywall-specific primer. This type will conceal any remaining imperfections and set you up for an even paint finish.
Choosing a joint compound with low dust generation during sanding can make cleaning the surface easier and improve the final outcome.
Frequently Asked Questions
How to Apply Thin Drywall Mud?
In our drywall mud application, we start with tool selection, using a wider knife. We focus on smoothing techniques across multiple thin coats, ensuring each layer dries properly to achieve smooth texture finishes and lasting results.
How Thin Should the Last Coat of Drywall Mud Be?
The last coat’s got to be about 1/16 inch thick for a flawless finish. We often overlook proper surface preparation and drying techniques, but avoiding common mistakes makes that final coat thickness truly shine.
How Much Water to Add to Mud for Skim Coat?
We should add about 1/4 to 1/2 cup of water to 5 gallons of mud to achieve the right consistency for smooth application. Using proper mixing techniques helps prevent common mistakes and guarantees ideal curing time.
Why Do People Put Dawn Dish Soap in Drywall Mud?
We use Dawn dish soap in drywall mud for its benefits, enhancing texture and workability. Mixing it helps achieve smoother application techniques, resulting in professional finishes without clumping or bubbles, ensuring a superior final result.