Ever tried tackling drywall work only to find yourself frustrated by the results? You’re definitely not alone. If you want a smooth, professional-looking finish, it’s essential to layer on those coats of joint compound, and I can assure you that three is the magic number.
Start with your first coat. This is where you’ll seal the tape and fill in any gaps. The second coat is all about smoothing things out, making it look way more presentable.
For the initial layer, it’s best to use setting-type mud. It dries hard and gives a solid base. For your next coats, stick with premixed joint compound.
Now, if you’re aiming for that perfect Level 5 finish, you can’t skip the final skim coat. It’s what gives that ultra-smooth, polished look that makes a wall truly shine. Honestly, going through these steps seriously improves your results.
So, what have we learned? Three coats: the first to seal and fill, the second for smoothness, and a third skim coat for that professional flair.
You might be wondering, why put in all this effort? The answer is simple: for a finish that you can be proud of. Don’t skip the prep work; it’s what sets the foundation for everything else.
Take your time, and you’ll end up with walls that look like they belong in a magazine.
Are you ready to dive into your drywall project?
Key Takeaways
- A Level 4 finish requires at least three coats of joint compound for optimal results.
- The first coat fills gaps and seals tape, while the second coat smooths the surface.
- For a Level 5 finish, an additional skim coat is necessary on top of the three base coats.
- Insufficient coats can lead to visible imperfections; proper feathering and sanding are crucial.
- A skim coat ensures a flawless finish, especially beneficial for dark or rich paint colors.
How Many Coats of Joint Compound Are Essential for a Perfect Finish?

How many coats of joint compound do you really need for a flawless finish? When it comes to a Level 4 drywall finish, you’ll want to aim for at least three coats of joint compound. The first coat is crucial for filling gaps and establishing a solid base. Once that dries, applying a second coat smooths out any rough spots, and then a third coat ensures you have a perfectly flat surface.
But what if you’re striving for a Level 5 finish? You’ll need to throw in an extra skim coat. This additional layer makes your surface even smoother and prepped for painting. Why bother with all this? A well-finished wall not only looks great, but it also enhances your paint job, making colors pop.
Here’s the thing: you have to let each coat dry completely before adding another. This step is vital for ensuring good adhesion and preventing any peeling down the line. It takes a little patience, but it’s worth it in the end. Using a fast-drying compound can speed up the process and improve your workflow.
What Are the Key Differences Between the First and Second Coat of Joint Compound?

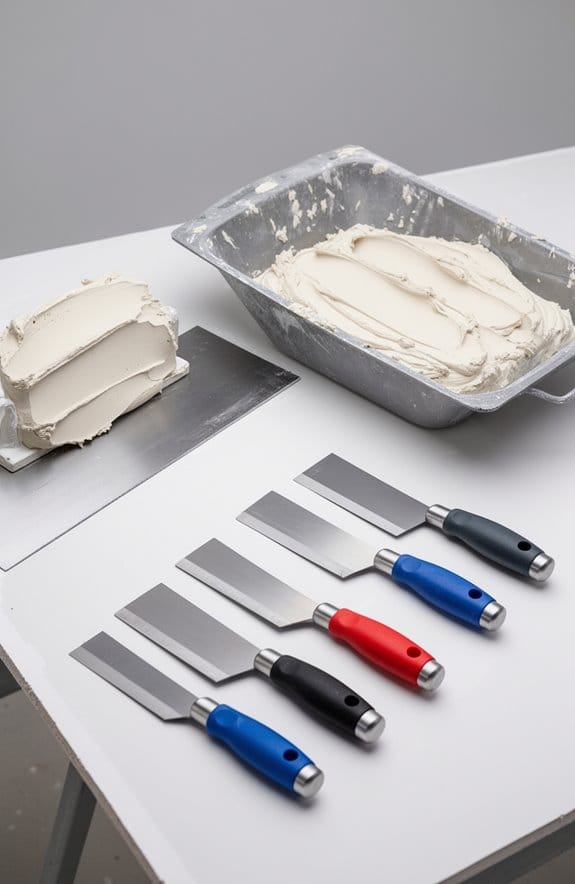
When it comes to applying joint compound, you’ve probably noticed that the first and second coats play very different roles in achieving that smooth finish we all want. The first coat is all about sealing the tape and filling in those stubborn gaps, but let’s be honest—it can also highlight imperfections. For this initial layer, I usually reach for a setting type mud since it dries quickly and gets the job done.
Now, the second coat? That’s where the magic happens. This is when you switch to premixed joint compound, which really helps create a smoother and more uniform surface. Here’s the trick: this layer fills in any leftover gaps from the first coat, giving you a refined finish that almost looks professional. One essential tip is to feather the edges properly while applying this coat; it guarantees a seamless transition between the compound and the drywall. Trust me, this little detail is what will set your work apart and prep everything perfectly for the final layer. Additionally, using a lightweight joint compound can reduce physical strain and improve workability during these finishing steps.
Recommended Products
Excellent adhesion/bond

BASALT COLOR – One Component Premixed Jointing Mortar; 27.5 lbs. sealed in a durable plastic bag. Twice as much resin as Rompox EASY for incredibly strong joints with the same beautiful appearance. DIY – This is a professional mason product designed for contractors and the average homeowner. For pedestrian loads, not recommended for vehicular applications or driveways.

Ready mixed filler
Do You Need a Third Coat for Level 4 and 5 Finishes?

So, you’re wondering if you really need that third coat when aiming for a Level 4 or Level 5 finish? It’s a common question, especially once you’ve nailed the first two layers. For a Level 4 finish, generally, you’ll need three coats of joint compound to get that smooth surface ready for paint. But if you’re aiming higher with a Level 5 finish, there’s a bit more involved.
Achieving a Level 5 finish is a bit of a process. You’ll still apply those three coats, but then you’ll add a skim coat on top. This extra layer gives you that silky-smooth texture, which is perfect if you’re working with dark or deep-tone paints. You see, each coat fills in any gaps and tackles any shrinkage that might occur, making sure the whole surface is uniform.
Wondering why this all matters? Without the proper number of coats, you might end up with visible imperfections that stick out like a sore thumb. Applying the necessary layers not only boosts the wall’s durability but also really enhances its overall look.
Additionally, using lightweight compounds can help reduce drying time between coats, making your project more efficient.
In short, sticking to these recommendations will pay off in the long run. Are you ready to take your wall finishes to the next level?
Recommended Products

LEVEL 5+ SMOOTH FINISH: Ideal for seams, base coats, and finish coats. Formulated to deliver a consistent, professional Level 5+ smooth finish. (For heavy repairs and textured surfaces, check out the Heavy Duty Formula)
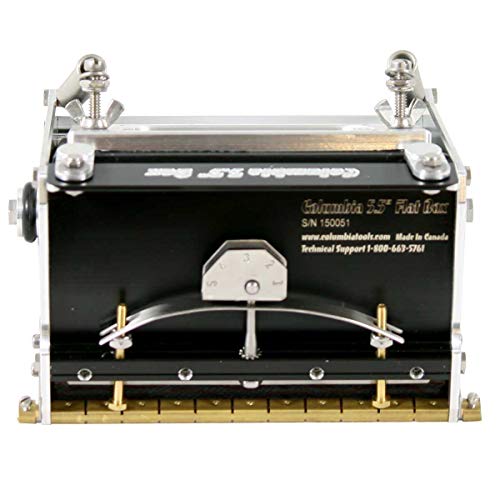
Narrow flat box is ideal for tight areas and detail finishing

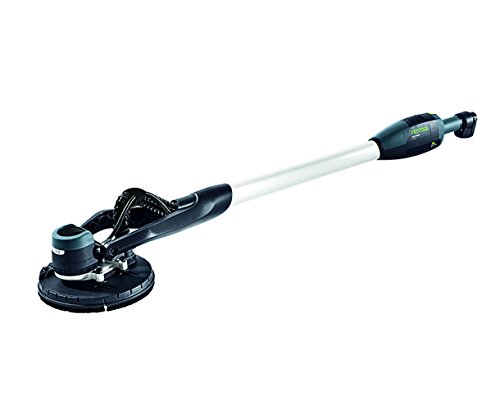
FAST LEARNING CURVE | Once you've used automatic drywall finishing tools, you'll wonder why you didn't start sooner.
What Is the Importance of a Skim Coat for a Smooth, Professional Look?
Have you ever painted a room only to see every little flaw on the wall? It can be super frustrating, right? That’s why applying a skim coat is so important if you want a flawless finish on your drywall. It might feel like one more step, but it really sets the stage for a look that feels professional and polished.
A skim coat helps achieve that Level 5 finish, which is crucial if you’re planning to use dark or rich colors. This coat smooths out any imperfections from previous joint compounds and creates a more uniform texture across the surface. You’re going to want to consider techniques like using a drywall flat box or even a spray finish. These can help you get the job done faster, making your life a bit easier.
So, what’s the benefit of taking the time to skim coat? For starters, it can help prevent problems down the line, like peeling or cracking paint. Nobody wants to deal with that hassle later on. Plus, when you invest time in this process, you’re not just aiming for aesthetics—you’re ensuring that the surface stands the test of time and looks great in your space.
When you take this step seriously, you’re not just making your walls prettier; you’re preparing them for longevity. A smooth finish makes such a difference when it comes to creating the right atmosphere in your room. Honestly, isn’t that what we all want?
In short, don’t skip the skim coat if you want walls that impress. Have you tried doing a skim coat in your painting projects before? Using a Durabond joint compound can further enhance your finish’s durability and resistance to humidity, making your efforts last longer.
Recommended Products

GUARANTEED TOUGH | Designed and built using nearly 20 years of input from professional finishers. Our tools are meant for reliable, daily use on the job site.

GUARANTEED TOUGH | Designed and built using nearly 20 years of input from professional finishers. Our tools are meant for reliable, daily use on the job site.
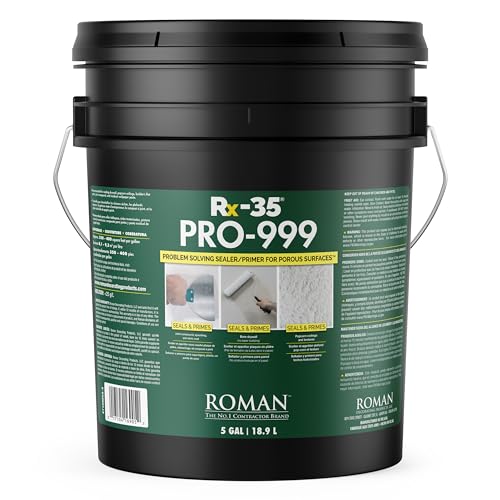
IDEAL DRYWALL PRIMER - ROMAN Clear Primer is excellent for priming over torn or bare drywall and most other porous surfaces. Ready to hang wallcoverings after approximately 4 hours dry time.
Frequent Pitfalls in Joint Compound Application and How to Avoid Them
Applying joint compound can feel like a daunting task, right? If you’re not careful, it’s easy to make a few common mistakes that can really mess things up. One big blunder I see is putting on a thick first coat. It might seem like a good idea at the time, but trust me, it can shrink and leave gaps later. Instead, go for a smooth, thin layer right off the bat.
Also, don’t skip the sanding between coats! I can’t stress this enough—if you skip that step, those imperfections are going to show up later, and nobody wants that. When you’re feathering the edges, apply even pressure with your taping knife. This makes a world of difference in ensuring those transitions are as smooth as possible.
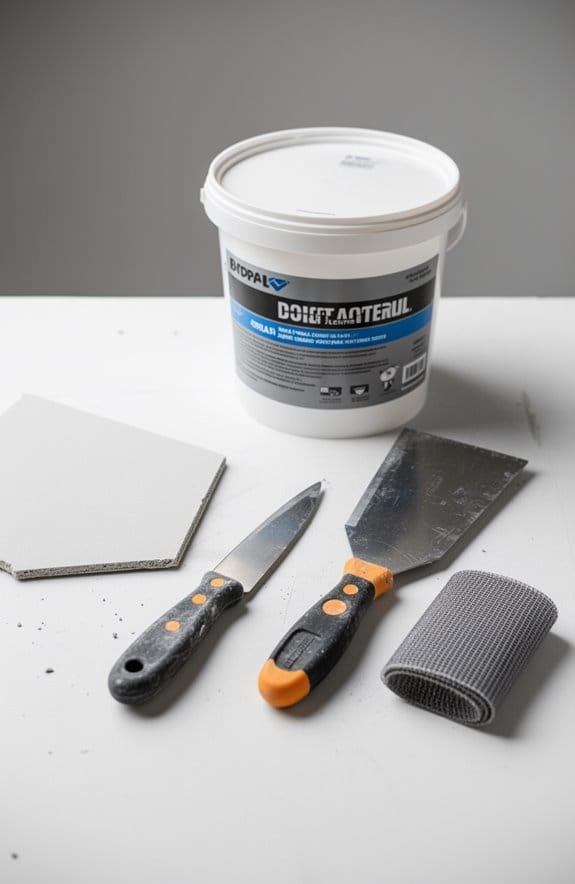
Now, let’s talk about the type of joint compound you use. Using the wrong kind can really derail your project. You want to start with a setting type mud for that first coat, then switch to premixed compounds for the layers after that. It’s just the best way to ensure a solid bond.
And here’s a little tip I’ve learned: mix your joint compound to about the consistency of pudding. It’ll make spreading it much easier, giving you better control during application. Additionally, choosing a compound with minimal shrinkage and crack resistance helps maintain the durability and smoothness of your finish.
What Are the Best Techniques for Applying Additional Coats?
When you’re gearing up to apply additional coats of joint compound, it’s crucial to nail down your technique to avoid frustration down the line. Ever dealt with those annoying edges or lap marks? Lightly sanding your first coat can really help smooth things out before moving on.
Here’s the trick: consider thinning the joint compound to a pudding-like consistency. This makes for so much easier application. Grab an 8-inch drywall knife and apply that second coat with even pressure. Don’t forget to feather the edges to blend them in with the drywall—this will make a world of difference in your finish.
As you work on your final coat, start from the corner and pull the knife in manageable sections. Finish it off with a long, even swipe for a polished look. Truth is, sanding can be a pain, especially in those awkward angles and corners. A round sander can really help speed things up between coats and get into those tricky spots.
To sum it up, take your time with each step, and don’t rush the process. You want that smooth finish, right? What’s your go-to tip for achieving a flawless surface? Using ergonomic drywall tools can also reduce hand fatigue and improve control during the application process.
Recommended Products

LIGHTWEIGHT BUILD FOR LONG HOURS Weighing just 7.1 lb, the Mirka electric drywall sander reduces fatigue during extended sanding on ceilings and walls—ideal for popcorn ceiling removal, painting prep, or full-room renovation work.
Simple set-up and intuitive controls let you focus on results.
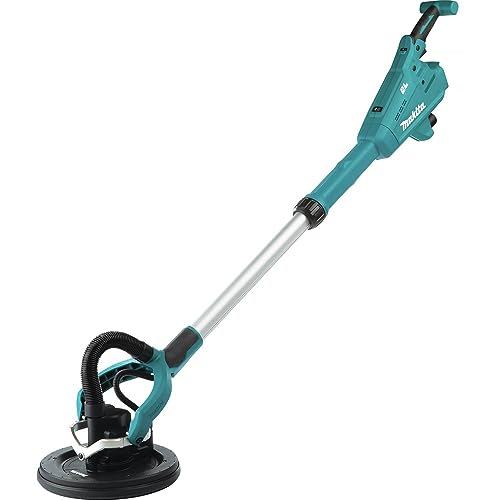
Direct drive Makita-built brushless motor positioned at the sanding head for increased sanding efficiency and reduced maintenance
Tips for Achieving the Best Results With Your Joint Compound Application
Got a DIY project in mind and looking to nail that joint compound finish? You’re not alone! Many people struggle with this step, but getting it right makes a big difference.
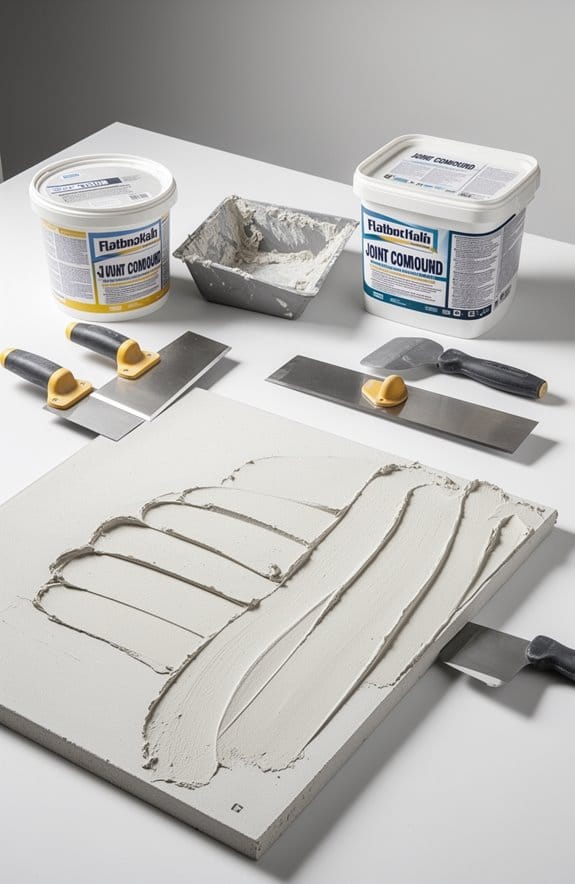
Start by mixing your joint compound with water until it feels smooth and creamy—kind of like pudding. Sounds simple, right? When you’re aiming for a Level 4 finish, apply three coats. If you’re going for that high-end Level 5 finish, toss in a skim coat too.
To make things easier, grab a drywall flat box. It’s a handy tool that lets you apply the compound without slathering on way too much mud. After each coat, take a bit of time to lightly sand the edges and any marks—using 80 to 120 grit sandpaper works best. You really don’t need to overdo it; just enough to get a flat surface will do.
Now, here’s the trick: feather the outer edges of your joint compound. This helps create those seamless transitions you want, so you don’t end up with any annoying ripple lines. So, why does this matter? A smooth finish not only looks great but also makes your walls much easier to paint and ultimately enhances your space.
Many drywall repair kits also include quick-drying compounds that speed up the overall project completion time.
To wrap it up, keep these tips in mind for a professional-looking finish. Have you tried any of these methods before, or are you gearing up to take on a new project?
Recommended Products

TIME = MONEY | Make the shift from hand finishing tools to automatic tools and dramatically increase your finishing speed with no compromises in quality.

TIME = MONEY | Make the shift from hand finishing tools to automatic tools and dramatically increase your finishing speed with no compromises in quality.

GENUINE LEVEL5 | If quality, performance, and reliability of your finishing tools matters, choose LEVEL5 brand tools.
Frequently Asked Questions
Are Two Coats of Drywall Mud Enough?
Two coats of drywall mud may be enough for a basic finish, but we’ve found that a third coat enhances the smoothness markedly, especially if we’re aiming for a professional look or darker paint.
How Long to Wait for the Second Coat of Joint Compound?
After applying that first coat, we should patiently wait 24 hours for drying time to guarantee it’s hard and ready. If it’s thick, we might need extra time, especially with humidity in the air.
Is It Necessary to Sand Between Coats of Joint Compound?
Yes, it’s necessary to sand between coats of joint compound. Using proper sanding techniques with joint compound grit between layers guarantees a smoother finish and better adhesion for the subsequent coat, leading to professional results.
How to Apply a Second Coat of Drywall Compound?
Let’s layer on the love! For perfect joint compound application techniques, we start by sanding, then thin the compound, tackle corners first, and feather edges for flawless drywall finishing. It’s all about achieving smooth refinement!