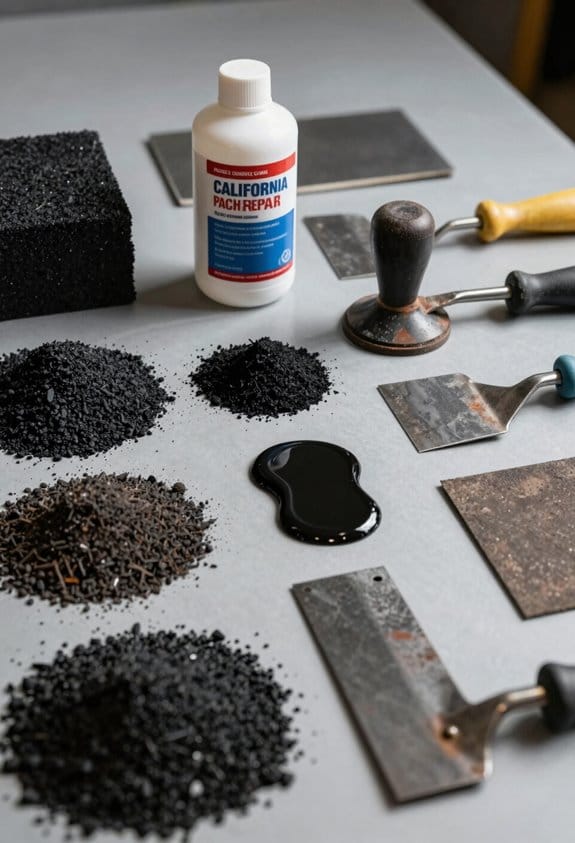
Have you ever noticed a hole in your drywall that just keeps staring back at you? If it’s under 6 inches wide and in a non-load-bearing area, a California patch is a straightforward way to tackle that issue without calling in the pros.
To pull this off, you’ll need a few supplies. Get yourself a piece of drywall that’s at least 3 inches by 4 inches, a utility knife, and some drywall screws. Start by cutting out a piece of drywall that fits over the hole and securing it in place.
After that, it’s all about applying joint compound, sanding it smooth, and then priming and painting to match the rest of your wall.
Try to gather these steps in your mind:
- Cut the drywall patch to size.
- Secure it with screws.
- Apply joint compound.
- Sand it smooth.
- Prime and paint to finish.
So, why does this matter? A California patch not only improves the look of your wall but can also boost the overall value of your home.
Honestly, passing off DIY projects can be such a rewarding experience, even if it’s just putting the finishing touches back on a wall.
Truth is, once you get the hang of it, these repairs become easier each time. In just a few simple steps, you can fix those annoying holes and feel proud of your handiwork.
Have you tried your hand at drywall repair before, or is this your first go? Give it a shot—you might surprise yourself!
Key Takeaways
- A California Patch is a drywall repair method suitable for holes up to 6 inches wide in non-load-bearing areas.
- It uses a piece of drywall cut slightly larger than the hole for a snug fit.
- The technique involves applying joint compound around the patch to blend it with the wall.
- Ideal for DIY repairs, it restores wall integrity and creates a seamless appearance.
- Proper drying time between layers and priming before painting are crucial for a successful finish.
What Is a California Patch and When Should You Use It?

Got a hole in your drywall that’s bugging you? A California patch might be just what you need to fix it—especially if that hole is up to 6 inches wide. It’s an effective way to handle repairs in non-load-bearing areas, and you can tackle it yourself without calling in a pro.
To get started, measure the hole accurately. Then, cut a new piece of drywall that’s a bit bigger than the hole. Here’s the trick: score the drywall and snap it to size so it fits snugly. After that, apply some joint compound around the edges of the hole. This will help bond the patch in place, and you’ll want to feather the edges for a seamless look. I also recommend using drywall tape over the patch. It makes blending it in with the wall much easier.
Now, truth is, patience is key here. Let the joint compound dry completely before you reach for the sandpaper. Give it a good sanding until it’s smooth, then you’re ready to paint. Honestly, taking these steps can lead to a repair that looks so good, you might forget there was ever a hole.
For faster and durable results, consider using fiber reinforced compounds recommended in many top wall hole repair kits.
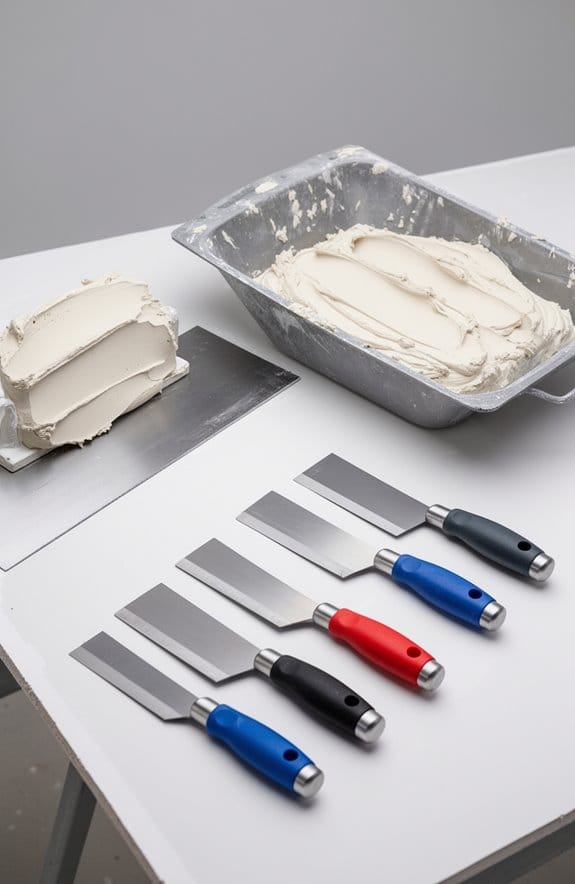
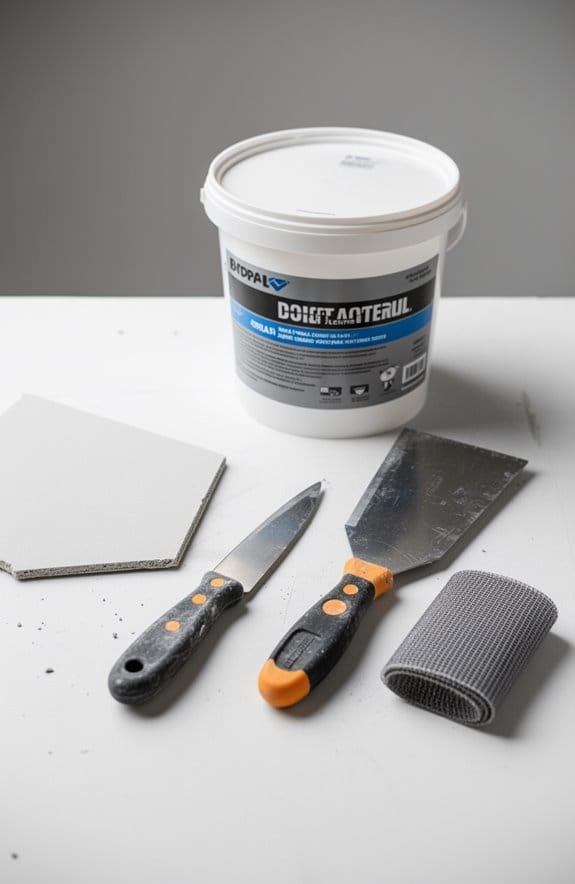
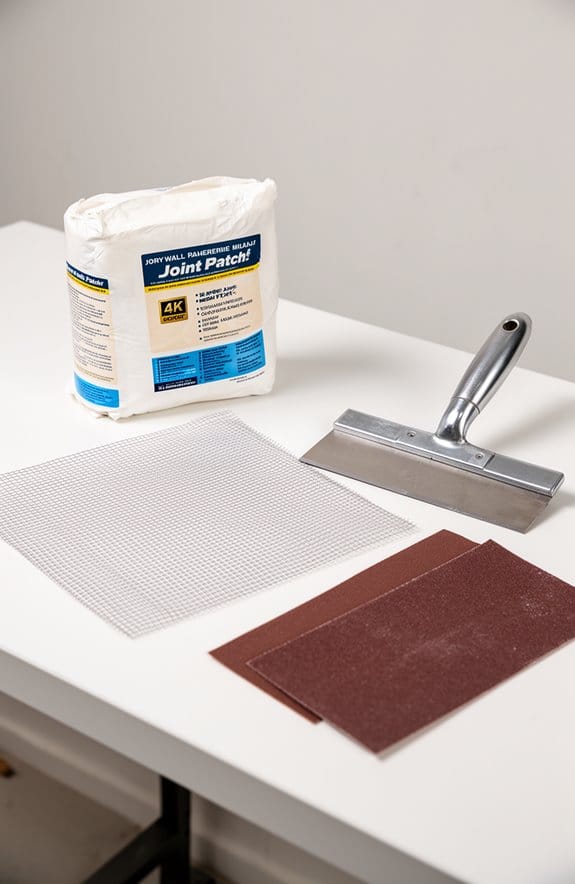
Essential Supplies for California Patch Repairs
Have you ever looked at a hole in your drywall and felt a wave of dread wash over you? You’re not alone. Patch repairs can seem daunting, but with the right supplies and a little know-how, you can tackle this project like a pro.
First up, you need a piece of drywall that’s at least 3 inches by 4 inches, though bigger is usually better. A utility knife will be your best friend for scoring the drywall, and a jab saw makes cutting out the damaged section a breeze. So, here’s the trick: after you’ve placed the patch in the hole, grab your drywall knife to apply joint compound around the edges. This will help smooth everything out for a clean finish.
Don’t forget about joint tape and drywall screws; they’re crucial for securing the patch and making sure it holds up over time. You’ll want to have a measuring tape and pencil on hand too—accurate measurements are key for a successful repair.
And after the joint compound dries and you’ve sanded it down, it’s time for the final touches. Keep some paint and primer ready to blend the repair with the rest of your wall. Honestly, nothing beats a well-finished patch job. For added efficiency, consider using quick-drying compounds to complete your project faster and with less hassle.
Recommended Products

GENUINE LEVEL5 | If quality, performance, and reliability of your finishing tools matters, choose LEVEL5 brand tools.

GENUINE LEVEL5 | If quality, performance, and reliability of your finishing tools matters, choose LEVEL5 brand tools.

GENUINE LEVEL5 | If quality, performance, and reliability of your finishing tools matters, choose LEVEL5 brand tools.
Step-by-Step Guide to Executing the California Patch Method

Got a hole in your drywall that’s driving you bananas? You’re not alone. This kind of damage can happen to anyone—and it’s easier to fix than you might think. Let’s dive into how you can tackle that repair like a pro.
Start by cutting out the damaged drywall. Make it a square or rectangle, but keep it to about 6 inches max. It’s all about precision here. Measure the hole and then cut a new piece of drywall, remembering to give it a 2-inch margin around the edges. That little bit of extra space will make sure it fits just right. Here’s a tip: score the back of the drywall and snap off any excess material while keeping the outer paper intact. Trust me, that’ll save you some hassle later.
Next up, you’ll need to apply some joint compound. This stuff goes along the edges and on the back of your patch. Once you’ve got that done, slide the patch into the hole and position it so it’s flush with the wall. This part is key, so take your time. Let that first coat dry for about 24 hours. Honestly, you’ll thank yourself later for being patient.
When it’s dry, it’s time for the second coat. Feather the edges this time—this helps blend it in with the wall. Don’t rush through this step; it’s what’ll make the repair less visible. After you’ve applied the compound and it’s dried again, grab some sandpaper. Give it a smooth finish, and then you can prime and paint to match the rest of your wall.
For best results, choosing a joint compound with quick-drying formulations can significantly reduce your downtime and speed up the repair process.
Recommended Products

TapeTech 07TT EasyClean Taper is the most advanced and enhanced drywall taping tool offered by TapeTech. EasyClean lid releases with a quick turn of the single attachment screw, and makes clean-up and cable changes easier than ever. You can expect great TapeTech quality from the rest of the drywall gun as well!

ULTRA FAST TAPING | Significantly increases drywall taping efficiency by applying the first bed of mud and tape in one pass.

PROFESSIONAL GRADE | Expertly dispense an even, consistent layer of drywall joint compound to taped flat and butt joints on walls and ceilings. The flexible brass blade allows you to provide the proper compound application and crown - whether you're applying the first fill coat or the final finish coat. Butt and flat joint edges are also feathered to perfection.
Don’t Make These Common California Patch Mistakes
Repairing drywall using the California Patch method can seem simple, but mistakes can really throw a wrench in your plans. Have you ever cut a patch that just doesn’t fit quite right? If you don’t measure and cut snugly, you’ll end up with uneven edges and frustrating gaps that are hard to hide.
Another thing to watch out for is scoring the back of the drywall. Not doing this right can affect how the patch fits and sticks, which can lead to even more issues down the line. Trust me, taking a few extra minutes to do it properly is worth it.
Don’t forget about drying time between coats of joint compound. Skipping this step might seem tempting if you’re in a hurry, but it can lead to cracks that totally ruin the finish. Feathering the edges of the joint compound is also a must. It helps blend everything in, making those repair lines much less visible.
And hey, one last crucial step: always prime the patched area before you paint. Missing this can cause color discrepancies and hurt paint adhesion, making all your hard work seem a little less perfect.
Additionally, using materials with proper vibration absorption performance can prevent damage to drywall patches caused by structural vibrations over time.
Recommended Products

IDEAL DRYWALL PRIMER - ROMAN Clear Primer is excellent for priming over torn or bare drywall and most other porous surfaces. Ready to hang wallcoverings after approximately 4 hours dry time.

Finishing Your California Patch Seamlessly
Once your joint compound is fully dry, it’s time to tackle that California patch like a pro. You’ll want to give it at least 24 hours before you even think about sanding. Grab a medium-grit sanding sponge and start smoothing out that dried compound. Feathering the edges is key here—it helps it blend seamlessly with the rest of the drywall.
After you’ve sanded, it’s a good idea to apply a second, lightweight coat of joint compound. A wider knife works wonders for better feathering, leaving you with a nice, smooth surface. Then comes the priming stage. It’s not just a step; it’s crucial for creating an even surface that helps your paint stick.
Does the wall have texture? If so, don’t fret! You can match it using the flicking method; it’s easier than it sounds. Finally, once everything’s dry, you can paint. This step gives you that consistent finish, making it look like the patch was never there in the first place. For quicker project completion, consider using quick-drying compounds to reduce waiting times between coats.
Recommended Products

Sanding Kit includes: 1 EKASAND E-Series 3"x4" Central Vacuum Orbital Sander, Hook & Loop 4-hole pad. Our EKASAND 3x4 orbital sanders are ergonomically designed to provide you with more balance, comfort and control. It offers 3 adjustable speeds; 4,000, 7,000 & 9,000, features a brushless 350W motor with a 2 year warranty.

High Speed DC Motor for fast grinding. Direct drive - no belts or pulleys,
Frequently Asked Questions
When to Use a California Patch?
We should consider California patch usage for medium to large holes in dry conditions, focusing on patch size considerations and materials. When not to patch includes unstable areas, while DIY alternatives can suffice for smaller repairs.
What Does the California Patch Protect?
The California Patch protects our walls during the healing process, functioning like a wound protector. It reinforces the skin barrier against moisture retention, infection prevention, and skin irritation, ensuring easy application for everyday use and post-surgery care.
What Are the Benefits of the California Patch?
We benefit from California Patch’s skin healing and inflammation reduction, offering pain relief while promoting moisture retention. With natural remedies and herbal ingredients, it’s perfect for allergy treatment and therapeutic applications, enhancing our overall wound care experience.
How to Use a California Patch?
Let’s grab our trusty tools! For the patch application, we’ll cut the surface, determine patch size, reinforce it, and apply adhesive. After patch drying time, we’ll sand and maintain for a seamless finish. Safety’s key!