
Have you ever looked up at your ceiling and spotted a crack or gap that just won’t go away? It can be really frustrating. When it comes to ceiling repairs, choosing the right tape can make a world of difference.
For those moving joints, paper tape is the way to go. It sticks well with joint compounds, which helps reduce the chances of cracking over time.
On the other hand, if you’re dealing with larger gaps, mesh tape could prove handy. It’s self-adhesive, so repairs can be done quickly. However, keep in mind that it’s not as strong as paper tape.
Here’s the trick: it’s crucial to ensure that both types of tape are fully embedded in the joint compound. If you don’t, you could run into more problems down the line.
Also, try to avoid putting on too many layers — that can mess with your finish and durability.
The best part is that using the right tape doesn’t just improve your repairs; it also makes everything look nicer in the end. So next time you’re tackling a ceiling repair, remember these tips.
What’s your go-to method for handling home repairs?
Key Takeaways
- Mesh tape is ideal for larger gaps due to its strength and self-adhesive quality, making quick repairs efficient.
- Paper tape is best for moving joints, providing strong adhesion and a smoother finish with all-purpose joint compounds.
- Fiberglass mat tape offers increased strength over mesh, preventing seam cracks and requiring no creasing for tight spots.
- Always ensure tape is fully embedded in joint compound for durability, avoiding excessive amounts for a smooth finish.
- Cut grooves into existing cracks to enhance bond strength and prevent future cracking during ceiling repairs.
Why Choosing the Right Tape Matters for Ceiling Repairs

When tackling ceiling repairs, have you ever stopped to think about how important your choice of tape is? It’s not just a small detail—using the right tape can make all the difference. For those larger gaps, mesh tape is usually the best bet. It holds the setting compounds well, giving you the strength to prevent future cracking.
Adhesion and flexibility are crucial, and they can greatly influence the durability of your finish. If you know you’re dealing with moving joints, paper tape is typically a solid option. It manages the seasonal shifts without trouble. On the other hand, if you’re working with general seams, you might want to consider fiberglass mat tape. It can give you a smoother finish and is a breeze to embed. Additionally, choosing a tape with self-adhesive capabilities can simplify installation and reduce application time.
Understanding Different Types of Tape for Drywall
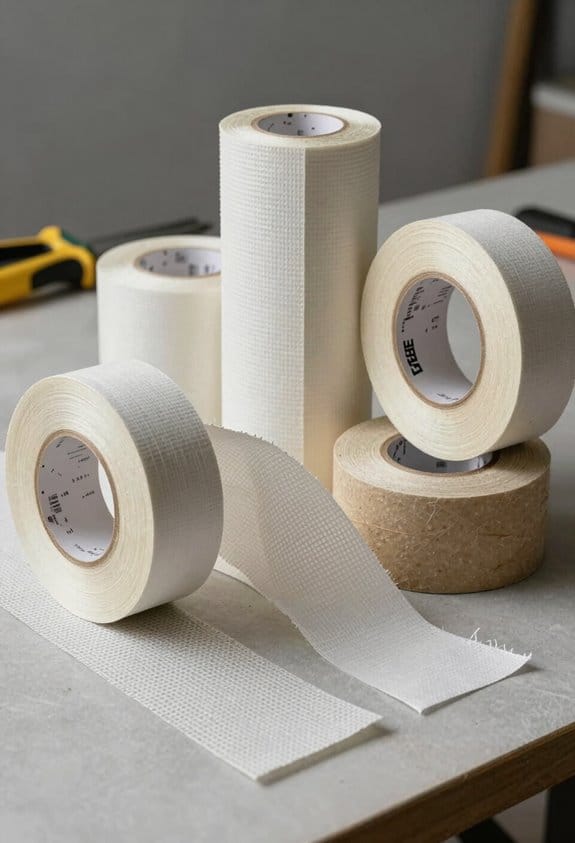
Have you ever tried to patch up drywall and found yourself stumped by what type of tape to use? It can feel overwhelming with so many options out there, but understanding the different types of tape for drywall is crucial for a solid and lasting finish.
Let’s break it down. Mesh tape is a popular choice because it’s self-adhesive, making quick work of larger gaps. However, while it’s easy to apply, it’s often not as strong as paper tape. On the other hand, paper tape is often the go-to for moving joints. It sticks better, especially when paired with all-purpose joint compound. So, which one should you use?
If you’re looking for something that really holds up over time, consider fiberglass mat tape. It’s a tougher alternative to mesh tape and offers a smoother finish since it embeds more easily. Plus, it reduces those pesky air bubbles that can make your drywall look less than perfect.
Here’s the trick: Each type of tape has its strengths and is suited for different kinds of cracks or joints. You’ll want to choose based on the specifics of your project. This choice can even influence how you install drywall screws and finish the overall look of your work. So, why does this matter? The right tape can make all the difference between a professional-looking job and a DIY disaster.
In short, knowing your options helps you get the job done right. Next time you’re at the hardware store, give some thought to which tape will work best for your needs. What type of project are you tackling next? Keep in mind the tape’s adhesive quality and performance to ensure a secure bond and prevent bubbling or wrinkling in your drywall finish.
Recommended Products

12-PACK CASE - Individually packaged in case box with a Plastic Knife in each pack

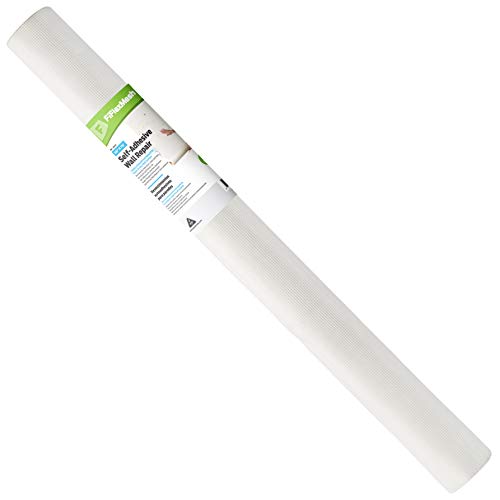
STRONG FIBERGLASS CONSTRUCTION: Durable fiberglass mesh tape provides reliable joint reinforcement for drywall seams and repairs. Ideal for long-lasting wall patching and spackle applications.

Material: Fiberglass mesh is made of platinum fiberglass woven as the base material and soaked and coated with polymer. (please note that this product is not self-adhesive).
When Should You Use Mesh Tape for Ceiling Repairs?
Have you ever found yourself staring at a ceiling crack or hole and thought, “What now?” It can be a real headache to figure out how to fix those pesky gaps. One option to consider is mesh tape, which shines when you’re dealing with larger openings.
So, what’s the deal with mesh tape? For starters, it’s self-adhesive. This means you can slap it on pretty quickly, which is super helpful when you’re in a pinch. Just remember, for the best results, you’ll want to embed that mesh tape into a good setting compound. Grab a taping knife—about 6 inches wide should do the trick—and spread it out evenly.
The flexibility of mesh tape really stands out, especially in ceilings that might get a bit wobbly. It can absorb those minor shifts that happen over time, making it a solid choice. Is it as strong as paper tape in high-movement areas? Not quite. But if speed is key and you want a straightforward solution, mesh tape has got you covered. Just make sure to apply it thoroughly for a sturdy finish.
In short, mesh tape is great for quick ceiling repairs, especially with larger holes. Just don’t forget to back it up with a solid compound. Have you tried using mesh tape for your repairs? What was your experience like?
Additionally, choosing a tape with strong adhesive properties ensures it sticks reliably and prevents slipping during application.
Recommended Products
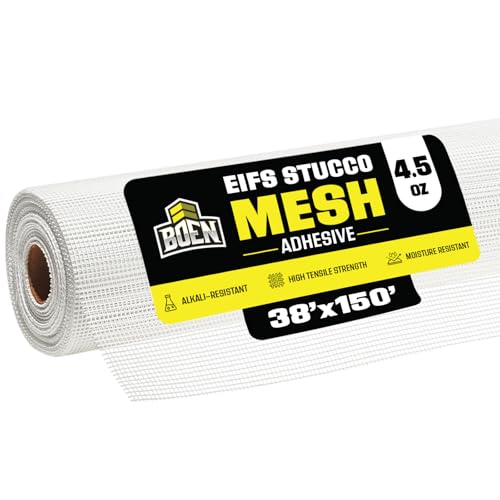
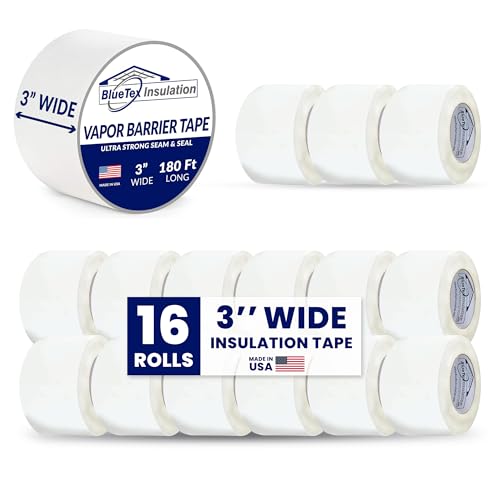
Self-Adhesive: This Dry wall mesh is self-Adhesive and this is its distinctive feature. It goes on your wall like tape and thus it is easier to apply and it looks very neat too.
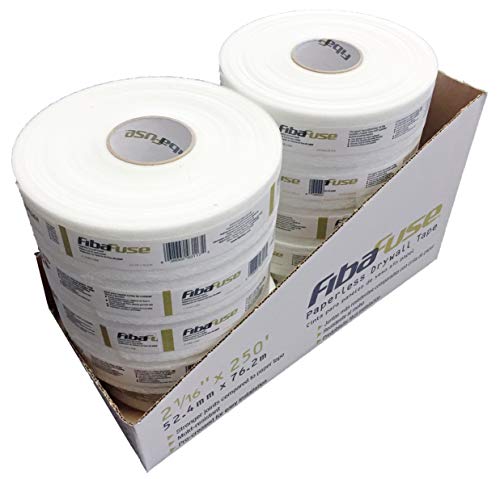
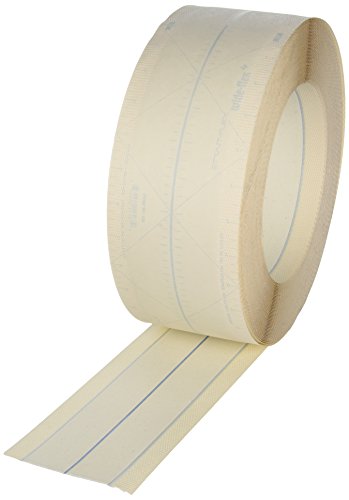
Pack of 10 - Adfors FibaFuse Paperless Drywall Joint Tape 2 in. x 250 ft. White
Self-adhesive, Easy to apply Ideal reinforcement material
Advantages of Paper Tape for Ceiling Repairs
Have you ever started a ceiling repair and wondered if you’re using the right tape? While mesh tape might seem like a quick and easy fix, I can tell you that paper tape has some serious advantages, especially when it comes to ceilings.
For starters, paper tape sticks really well to moving joints. This is key because it helps to minimize cracking over time, ensuring your repairs last. No one wants to redo a repair just a few months later, right? Plus, this tape comes precreased, which makes fitting it into those tricky inside corners a breeze. You don’t have to be a pro to get it right.
When it comes to bonding, paper tape shines as well. It works beautifully with all-purpose drying-type compounds. You’ll find that it creates a stronger hold than mesh tape. And here’s a biggie: paper tape doesn’t trap air bubbles while you’re applying it. This means you’re more likely to end up with a nice, smooth finish on your ceiling.
Another thing worth mentioning? Paper tape is usually more budget-friendly compared to some other options out there. Whether you’re a DIY enthusiast or a seasoned contractor, you’ll appreciate saving a few bucks.
If you decide to go with paper tape, here are a few tools you might want to have on hand: a measuring tape, a utility knife, and a taping knife. Having the right tools makes the process smoother and helps you get the best results.
Additionally, using fiberglass mesh joint tape can provide extra reinforcement for seams and cracks in larger or more damaged areas.
Recommended Products
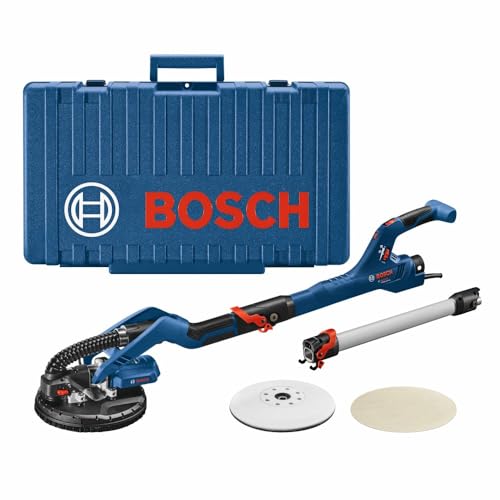
DRYWALL SANDER DESIGN: Helps to sand muds and plasters on the ceiling or wall more quick and easy

Genuine TapeTech Drywall Inside Corner Roller 15TTE with Interchangeable Fiberglass Handle FHTT
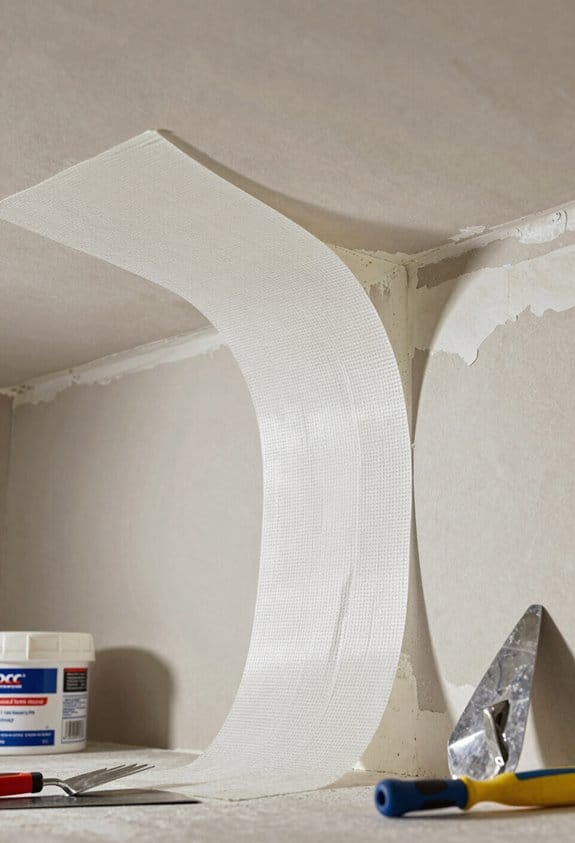
Is Fiberglass Mat Tape Effective for Ceiling Repairs?
Are you dealing with cracks or imperfections on your ceiling? Fiberglass mat tape may just be what you need for those repairs. It’s stronger than regular mesh tape and sticks better when you embed it in joint compounds. This extra durability can be a lifesaver, preventing cracks from showing up again at those pesky seams.
Plus, unlike paper tape, fiberglass mat doesn’t require a crease, making it much easier to work with, especially in tight spots or corners. Nobody wants to deal with air bubbles ruining a smooth finish, right? That’s another win for fiberglass mat tape—it helps keep everything nice and flat.
You can use this tape with both setting and pre-mixed compounds, which gives you flexibility during your repair work. The best part is, you typically don’t need a ton of tools or extra materials to get started.
Additionally, fiberglass mat tapes are often recommended because of their compatibility with joint compound application, ensuring strong adherence and long-lasting repairs.
Recommended Products

.188 inch thick rain glass is textured glass that has a streaked style that provides some privacy

Infinity frameless sliding shower door, fits openings from 56" to 58-1/2", with 70" height, Oil Rubbed Bronze finish, 1/4" clear glass

0.188 inch thick clear glass provides the polished look to showcase your shower
How to Choose the Right Joint Compound
Choosing the right joint compound can feel overwhelming, especially when you’re staring down a ceiling repair that needs tackling. So, how do you figure out which one to go with? Here are some insights to help guide your decision.
When you’re dealing with plaster, it’s worth going for Easy Sand light type setting compound. It bonds beautifully, saving you a lot of frustration down the line. On the other hand, if you’re all about those finishing coats, a pre-mixed all-purpose compound will really do the trick.
For those initial coats on drywall, stick to powder varieties like 20, 45, or 90. These options are a bit thicker and create a more durable layer that can withstand stress, particularly in spots prone to cracking. It’s a smart move to choose compounds that bond well to existing materials too. This helps avoid full-depth cutting, which can save you time and effort.
Now, think about the specific conditions of your property and any crack characteristics you’re dealing with. This is about more than just slapping on a coat of joint compound; you want to achieve solid results, especially when you’re using tape in the mix. Additionally, considering the material composition of your repair materials can enhance the durability and longevity of the ceiling fix.
Step-by-Step Guide to Ceiling Repair
Have you ever stared up at your ceiling and cringed at those unsightly cracks or holes? When it comes to repairing your ceiling, it can feel daunting, but tackling it step by step makes it much more manageable.
First off, the initial step is to cut a clean hole back to the joists. This means creating a nice rectangle for your new plasterboard to fit in snugly. It’s a critical move, so don’t rush this part! After that, you’ll want to install some 2” x 2” noggins along the joists. This extra support really helps hold everything together.
When you’re ready to attach the plasterboard, grab your 38mm drywall screws. Make sure you’re securing it well to both the noggins and the joists. Now, it’s time for taping the seams. Here’s the trick: using paper tape can really make a difference with its strong adhesion. After laying the tape, spread joint filler over it, ensuring to smooth out any bumps and imperfections.
For the best results, consider the drying time of the joint filler to avoid delays before sanding and painting. Finally, don’t skimp on thickness when you’re applying the last bits of joint filler. A sturdy finish will keep your repair lasting longer.
Recommended Products

Adjustable Corner Bead - Strait-Flex Wide-Flex is a mud-on, paper-faced composite corner bead that adjusts to inside, outside, 90°, and off-angle corners. It simplifies drywall finishing on standard or vaulted walls, making outside and inside corner repair faster and easier.
Country of Origin: CHINA

1 case of 24 Packs, 24 Count Total
What Are the Common Mistakes to Avoid When Taping Ceilings?
When you’re tackling a ceiling repair, you might think it’s a straightforward job. But trust me, there are a few common mistakes you’ll want to steer clear of to make sure your work doesn’t backfire later on.
First off, never, ever apply tape over a wet joint. It sounds simple, right? But this mistake can lead to a weak bond that just won’t hold up. You want to tape when everything’s dry to the touch—they’ll thank you later!
Now, let’s talk about cracks. If you notice one, make sure to cut a shallow groove at the edge of the crack. This little trick helps with adhesion. Without that groove, your tape won’t stick properly, and guess what? You might find those cracks reappearing down the line.
Another tip: always ensure the tape is fully embedded in the compound. Leaving air bubbles trapped underneath can compromise your repair, which is the last thing you want. Who wants to do this twice, right?
Avoid slathering on too much compound, either. A bulky seam can be really tricky to smooth out. You want a nice, even finish, and going overboard can make that a real pain.
Lastly, be mindful about the type of tape you’re using. If you have larger gaps, paper tape won’t cut it—stick to fiberglass mesh or joint tape instead. Using the wrong tape can leave your repairs fragile and looking less than professional.
For best results, choose a tape with strong adhesive strength to ensure it stays securely in place during and after application.
How to Ensure Long-Lasting Ceiling Repairs?
How can you ensure your ceiling repairs last for the long haul? First off, picking the right tape is crucial. Paper tape is fantastic for those pesky moving joints because it sticks well, while mesh tape works like a charm for filling in larger gaps.
Here’s the trick: applying a thicker layer of joint compound can really boost the durability of your repairs. It helps to minimize the chances of future cracks forming. If you’re facing existing cracks, cut a shallow groove into them before slapping on the new compound—this can help with the bonding process. Also, make sure to sink screws just below the surface; this not only gives a smooth finish but also prevents paint or finishing compounds from cracking later on.
Frankly, keeping an eye on your ceiling is important. Regular inspections will help catch issues early. If you start seeing those cracks creep back up, consider reinforcing the framing, as you might be dealing with underlying structural problems.
Additionally, using tools with five scan modes can help detect hidden issues behind your ceiling before beginning repairs.
All in all, by taking these steps, you’re setting yourself up for a solid, long-lasting repair. Have you tackled any ceiling repairs lately? What tips do you have to share?
Frequently Asked Questions
What Tape Works Best on a Ceiling?
For our ceiling repairs, we find that mesh tape works best, especially on textured surfaces. It supports larger gaps and blends nicely with various ceiling textures, ensuring a smooth finish for our projects.
What Is the Best Tape to Repair Ceiling Cracks?
When repairing ceiling cracks, we recommend using mesh tape for larger gaps and paper tape for moving joints. Choosing the right tape and applying effective repair techniques is key for a durable, seamless finish.
Can I Use Sheetrock Joint Tape to Fix a Ceiling Patch?
Like weaving a tapestry, we can use joint tape for ceiling patches. Yes, it’s effective, especially when embedded in compound, ensuring our repairs are strong and smooth, ready to withstand the test of time.
What to Use to Patch up a Ceiling?
When patching a ceiling, we can use materials like drywall, joint compound, and fiberglass mat tape. These tools guarantee sturdy repairs that blend seamlessly with existing ceiling materials, giving a professional finish we all appreciate.


