Got a wall that needs some TLC? Dealing with holes or cracks can feel like a hassle, but knowing the difference between spackling and patching can save you time and frustration.
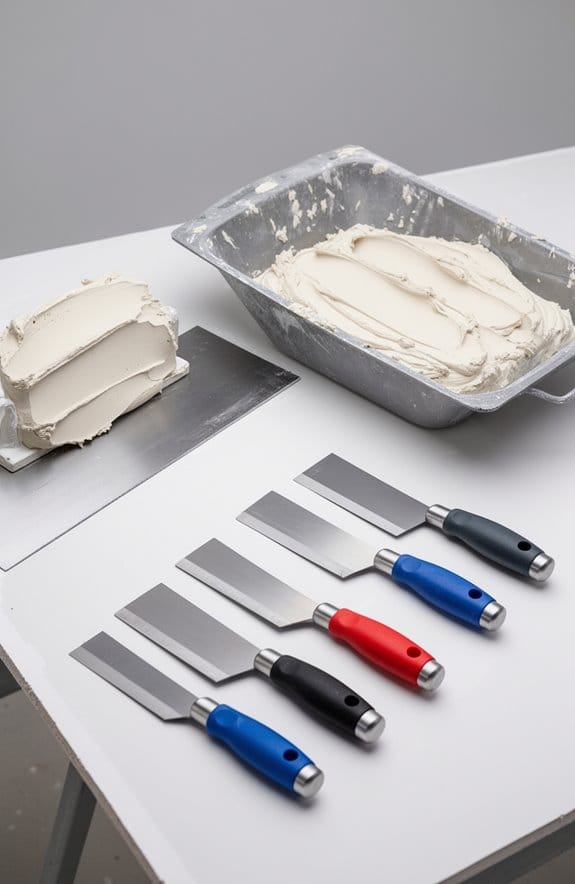
Spackling compound is your go-to for those pesky little holes and imperfections. It’s lightweight and dries pretty quickly—around 30 minutes. So if you’re just touching up a few nail holes or small dents, spackling is the way to go.
Now, when you’re faced with larger damages, like big holes or cracks, that’s where patching material comes into play. This stuff is denser and designed for more serious repairs. Just keep in mind that it takes longer to dry, so plan accordingly.
To get the best finish after you’ve repaired the wall, you’ll want to sand both spackling and patching. It helps create a smooth surface that’ll look great when you paint over it. Using a putty knife will help you with precise application, making sure your repairs blend in nicely.
So, what should you reach for? If it’s minor repairs, stick with spackling. For anything bigger, go for patching. Trust me, choosing the right method can really enhance your results. Before you dive in, consider what you’re really working with.
In summary, understanding the difference between these methods makes all the difference in your wall repair project. Are you ready to tackle those walls?
Key Takeaways
- Spackling is ideal for minor repairs like nail holes, while patching is suited for larger damage such as holes and cracks in drywall.
- Spackling compound is lighter and dries quickly, whereas patching compound is denser and generally requires more drying time.
- Patching involves more complex application techniques compared to the straightforward process of applying spackling.
- Both methods require sanding and painting for a finished look, but ensure thorough drying for optimal results.
- Quality tools and consideration of environmental conditions impact the effectiveness of both spackling and patching repairs.
Understanding Spackling: Its Uses and Benefits

Have you ever stared at a wall and felt frustrated by those little dents and holes? You’re not alone. Spackling is a simple fix for those pesky imperfections. This lightweight compound works wonders on drywall and plaster, perfect for filling in minor nail holes or dings that can make your place look unkempt.
What’s great about spackle is its thicker consistency compared to joint compound, which means it sticks better and doesn’t shrink as it dries. You can easily grab it in premixed tubs, and if you’re in a hurry, you’ll love that it typically dries in about half an hour. Need to patch up some spots on wood, brick, or stone? No problem! Spackle’s versatility means you can use it for both indoor and outdoor projects.
When it comes to minor repairs, a single application often does the trick. This is a huge time-saver compared to other patching materials that may require multiple coats. So, if you want to tackle those little repairs without turning them into a big project, spackling is a solid option.
Honestly, it’s a pretty straightforward process once you get the hang of it. Just grab your spackling knife and some smooth out those imperfections. The best part is you don’t need to be a DIY expert to make your walls look good as new.
In short, spackling is a practical solution for those small fixes around the house. Next time you see a little flaw, why not give it a try? You might just find that with a little spackle, you can bring back that fresh, clean look to your walls! Many spackle products also offer quick drying times, helping you finish repairs faster and get back to your routine.
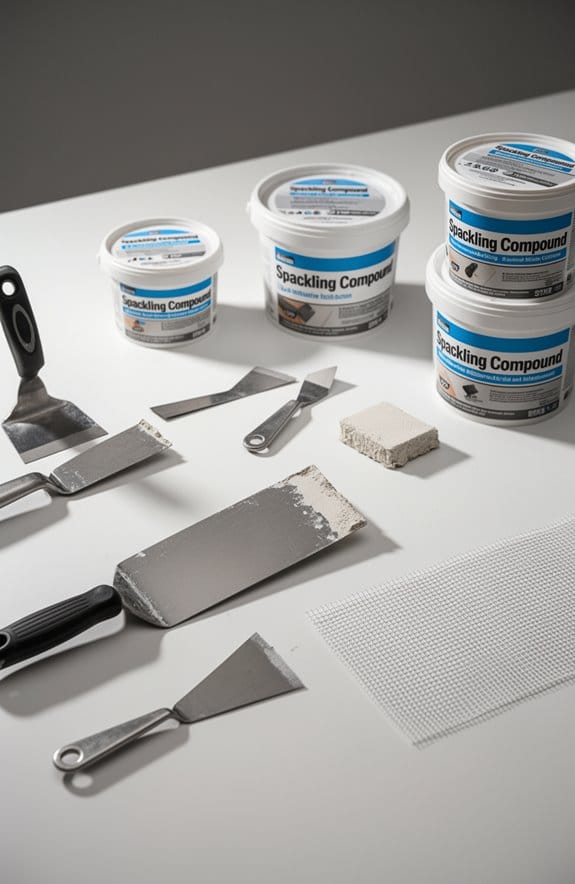
Recommended Products

This product adds a great value

INTERIOR & EXTERIOR USE: Can be used anywhere around the home

PATCHES & PRIMES IN 1 EASY STEP: Saves time and provides a virtually invisible repair
What Is Patching? Key Applications and Use Cases?

Ever looked at a hole in your wall and felt that sinking feeling? We all deal with damage from time to time, whether it’s from a doorknob going rogue, kids playing rough, or just the wear and tear of day-to-day life. When these unfortunate moments happen, patching is a must.
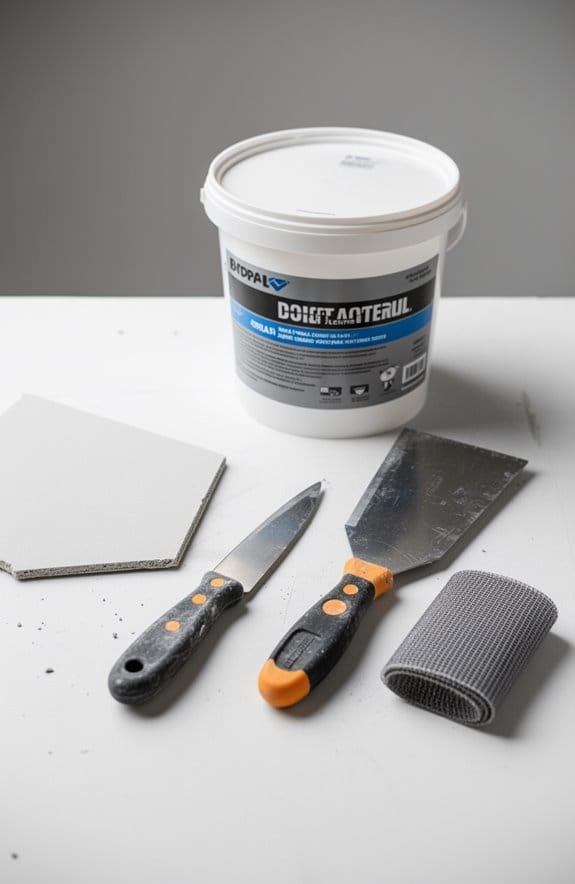
Patching is all about fixing those larger imperfections—think holes, cracks, or seams. It’s not just about making it look pretty; it’s about keeping your walls strong and solid. To tackle this, you’ll want to grab some patching materials, like joint compound or patching plaster. They’re durable and made for the job.
Here’s the trick: for best results, apply multiple coats of your patching material. Let each coat dry thoroughly before adding the next one. It’s a little extra time, but trust me, it makes a huge difference in adhesion and gives you that smooth, professional finish you want. You’ll need some handy tools like putty knives and sanders to blend everything nicely with the surrounding area.
So, how do you decide what materials and methods to use? The size of the damage is key. For deeper repairs, you might need heavier duty products to ensure it holds up over time. It’s all about matching your approach to the specific situation. Using fast-drying compounds can help speed up the repair process without compromising the quality of the finish.
Comparing Spackling and Patching: Key Differences and Applications

Have you ever looked at a damaged wall and thought, “How the heck am I going to fix that?” You’re not alone! When it comes to repairing walls, spackling and patching come into play, but they aren’t the same thing, and knowing the difference can save you time and hassle.
Spackle is your go-to for those tiny fixes. If you’ve got a few nail holes or minor dents to fill, spackle’s got your back. It’s usually premixed, which means you can dive right into the job without any preparation. Plus, it dries quickly and sands smoothly, making it super user-friendly. Just a little bit of spackle can do wonders for small touch-ups.
On the other hand, patching is where you need to step it up a notch. Do you have a larger area to repair? That’s when joint compound or patching plaster comes into play. These materials are built for durability and can handle bigger structural repairs. Keep in mind, it might take you a couple of coats to achieve that smooth finish you’re aiming for. For really extensive damage, techniques like skim coating can help cover everything beautifully.
Here’s the trick: when you’re only dealing with minor issues, stick with spackle. But if you’re facing a big surface repair challenge, seriously consider patching compounds. They’re specifically designed to tackle larger spaces and will hold up better in the long run. Many spackling products are designed to be quick-drying which can speed up your repair work significantly.
Recommended Products

STRONG FIBERGLASS CONSTRUCTION: Durable fiberglass mesh tape provides reliable joint reinforcement for drywall seams and repairs. Ideal for long-lasting wall patching and spackle applications.


Recommended for application to new or previously painted wood, hardboard, metal, drywall, cured plaster, masonry
When to Choose Spackling for Your Repair Needs
When it comes to small repairs around the house, have you ever found yourself staring at those pesky nail holes or slight imperfections in your walls, unsure of what to do? Spackling is often the perfect solution to tackle these minor issues without getting overwhelmed.
Think about it: spackling is super handy for filling in those small holes left behind by picture hangers or patching up minor drywall dents. Its quick-drying nature means you can sand and paint over it in about 30 minutes, making it a time-saver. Plus, the thicker texture is user-friendly — you don’t need to mix anything or haul out a bunch of tools.
Why is this important? When you’re looking at a project that only needs one coat, spackling is way more efficient than joint compound, which usually requires multiple applications to get it right. So when you’re fixing up your interior walls, spackle really shines as a straightforward option that gets the job done quickly.
For quick touch-ups, why not give spackle a shot? It’s a solid choice that keeps things simple while still getting those walls looking fresh. If you’re faced with just a few small repairs, spackling might just be the answer you’ve been looking for. It’s also critical to ensure you have a clean and dry surface before application for the best finish.
What’s your go-to method for wall fixes?
Recommended Products
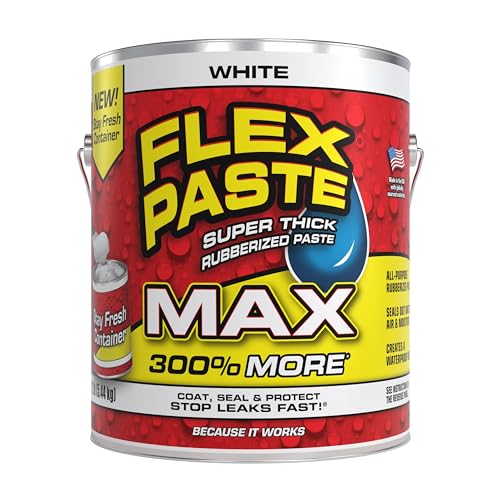
NEW! STAY FRESH CONTAINER – Blocks out air and locks in freshness to extend the sealing power of Flex Paste, with no waste
NEW! STAY FRESH CONTAINER – Blocks out air and locks in freshness to extend the sealing power of Flex Paste, with no waste
NEW! STAY FRESH CONTAINER – Blocks out air and locks in freshness to extend the sealing power of Flex Paste, with no waste
Tips to Nail Your Spackling and Patching Projects
Got a wall that needs some love? Tackling spackling and patching projects can seem daunting, but with the right prep, you’ll be surprised how simple it can be. First things first, make sure you clean the surface. Dust and debris are like unwanted guests at this party; they won’t help your cause at all.
For those pesky little nail holes, grab some lightweight spackle. One coat is usually enough, and it dries pretty quick—perfect for when you’re trying to get things done fast. But if you’re dealing with a larger hole or a drywall seam, joint compound is where it’s at. Just keep in mind, it might take a few coats, and yes, it’ll be a bit slower on the drying time.
Sanding is key here. You want that finish to be smooth, right? Sanding between coats is a must. And when it comes to tools, use a putty knife for spackle and wider knives for the joint compound. The right tools can really make a difference in how professional the final look turns out.
So, why does this matter? Well, a polished finish can actually elevate your space. Plus, paying attention to the drying time based on what materials you’re using and the humidity can save you a lot of headache later on.
Also, using quality tools like an anodized aluminum straight edge can help you achieve perfectly smooth surfaces when sanding or applying compounds.
In a nutshell, prep is everything when it comes to your spackling and patching projects. What’s your next DIY task?
Frequently Asked Questions
Is Spackle the Same as Patching Compound?
No, spackle isn’t the same as patching compound. We’ve seen how spackling techniques excel in quick wall repairs, while patching methods cover larger projects, each with unique drying times and durability, impacting our texture matching efforts.
When Should You Not Use Spackle?
We shouldn’t use spackle for large holes, exterior projects, or high-moisture areas. Instead, we recommend patching techniques for better wall repair, ensuring proper surface preparation and texture matching for lasting results.
Which Is Better, Spackle or Putty?
We believe it depends on the wall repairs needed. For quick spackle application on interiors, it’s perfect, while putty types lend strength for bigger gaps and exterior use. We should consider drying times and cost comparisons too!
What Is Spackle Used For?
We love using spackle for quick repairs on walls and ceilings. With its thick texture, it dries fast, making spackle applications effortless. Using the right tools avoids common mistakes, ensuring great results every time.