How do you know when your jewelry surface is smooth enough? You want to aim for a roughness average (Ra) between 1µin and 2µin. That might sound a bit technical, but trust me, it makes a huge difference in how your pieces look and feel.
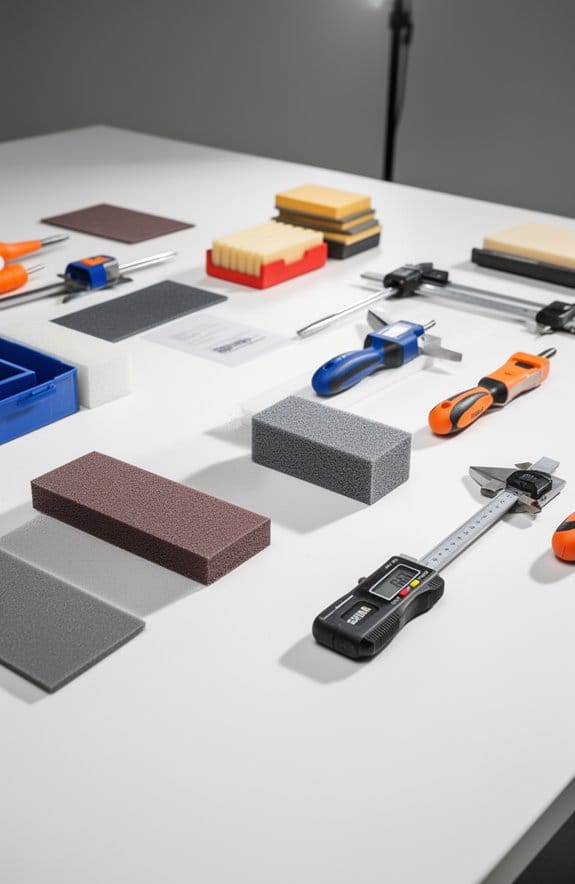
A profilometer is key to getting accurate measurements, so if you don’t have one, consider investing in this tool. It can really help you pinpoint any rough spots that might slip past your eye.
Don’t forget to give your pieces a good visual inspection under bright light. You’ll be surprised by the little imperfections that pop out when you shine a light on them.
Ever thought about how your jewelry feels on your skin? Tactile testing is a great way to gauge usability. Just gently glide your fingers over the surface—if it feels rough at all, that’s a sign you need a little more finishing work. This kind of attention to detail ensures not just a polished look, but a comfortable wear too.
So, why does this matter? Consistency is key. You want all your pieces to feel just as good as they look.
Let’s dive into some effective finishing techniques that will help you nail that ideal smoothness.
In the end, remember that a smooth surface can elevate your jewelry game. Think about what you want your pieces to represent, and take the time to get this right.
What’s your go-to technique for finishing jewelry?
Key Takeaways
- Measure surface roughness using a profilometer, targeting an Ra value between 1µin and 2µin for optimal smoothness.
- Perform tactile tests by gliding fingers over the surface to evaluate comfort and texture against the skin.
- Inspect surfaces under bright light to identify any visible imperfections or inconsistencies that may affect smoothness.
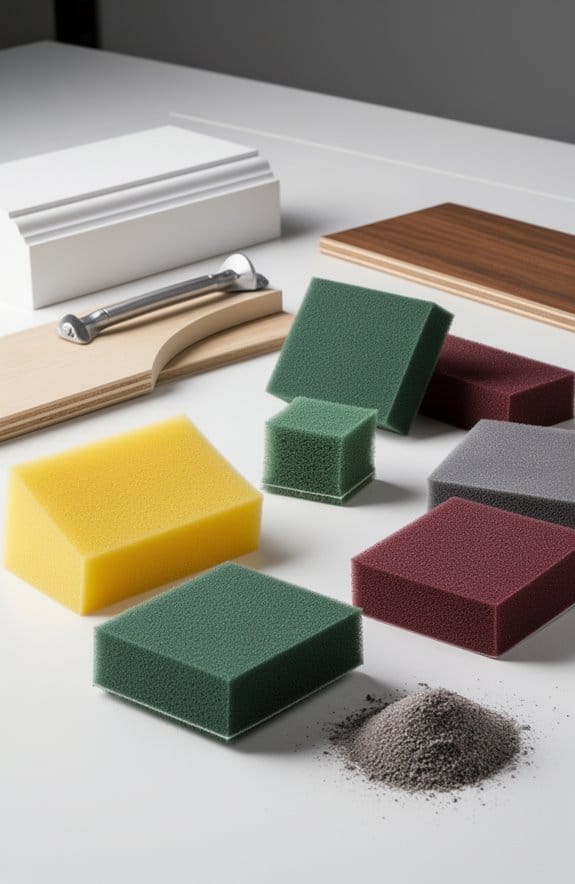
- Use fine sandpaper, gradually progressing through grits, to achieve a smoother finish while preventing damage.
- Regularly compare test pieces side-by-side to visually assess and ensure consistency in surface quality.
Understanding Surface Smoothness: What Does It Mean?
Ever felt a piece of jewelry that was just, well, too rough to enjoy? That’s surface smoothness in action! It’s all about how even a surface feels and looks, and the right surface roughness can make a huge difference. For those creating pieces of jewelry, aiming for a roughness Ra value between 1µin to 2µin should be the goal. A smooth surface not only catches the eye but also feels nice against the skin.
So, what affects that smoothness? The lay of the surface, which is the pattern direction from manufacturing, plays a big role. It can dictate how smooth that surface truly seems. Waviness is another factor, as it refers to larger variations that can impact the overall texture. You might be wondering how to assess all this. Try this: tools like profilometers can help measure the roughness Ra effectively, but keep in mind they might not capture every single detail of the surface.
Honestly, when it comes to jewelry, proper evaluation is crucial. Making sure your pieces meet the desired quality standards not only boosts appeal but also trust. After all, nobody wants a piece that looks stunning but feels like sandpaper, right?
In short, keep these factors in mind when assessing surface smoothness for jewelry. It’s all about creating a delightful experience, both visually and tactilely. What do you think makes jewelry truly shine? Additionally, just as selecting the right paint finish is vital for optimal surface durability and appearance, understanding and controlling surface texture can greatly enhance the quality of finished products like jewelry, similar to how coverage and application guidelines ensure a smooth, lasting finish in painting.
How to Measure Your Jewelry’s Surface Roughness?
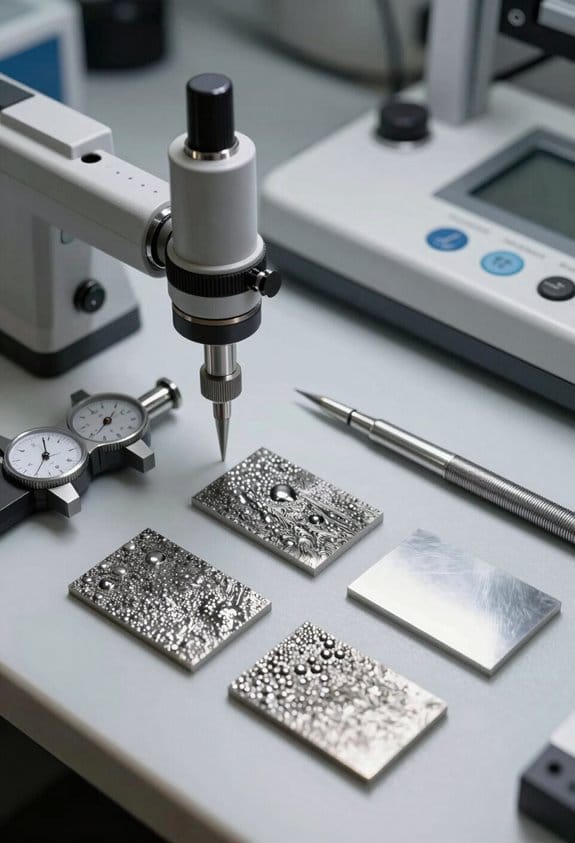
Measuring surface roughness in your jewelry can feel a bit tricky at first, but it’s really not that hard once you have the right tools and a simple technique. Ever tried using a non-contact profilometer? This handy gadget checks for height variations on your piece’s surface without causing any damage. When measuring, you’ll want to focus on two main roughness parameters: Ra, or the roughness average, and Rz, which gives you the mean depth of peaks and valleys. For your early projects, shooting for a roughness average between 1µin and 2µin is a solid goal.
While it might be tempting to just eyeball your designs with a magnifying loupe, it’s really key to back up your visual assessments with some solid numerical data from profilometry. So, why does this matter? Well, having accurate measurements can make a big difference in the quality of your jewelry. Consider different finishing processes, too. Techniques like magnetic float polishing, for example, can help you achieve impressively low Ra values—sometimes as fine as 4.0 nm. This really boosts the overall quality of your creations. Using tools with ergonomic handle design can also improve precision when manually smoothing or polishing surfaces.
Recommended Products

【Upgraded nose pad design】: Our engineers have upgraded the nose pad of this pupillary distance meter to better fit the measurer's nose bridge, which can further improve measurement accuracy

【Simple and accurate】Our digital PD meter adopts high precision sensor and advanced intelligent electronic system to display the measurement results digitally, which is intuitive, accurate and easy to operate. (Please bring your own 2 AA batteries, Not Included in the package)
Industry Standards for Smooth Jewelry Surfaces

Achieving smooth surfaces in jewelry is more important than you might think. It’s not just about looking good; it can affect how safe the piece is for wear. That’s why there are industry standards that give us effective guidelines to aim for. Did you know that a roughness measurement between 1µin to 2µin can actually help with healing and minimize bacteria buildup? Keeping that in mind can make all the difference.
Here’s the trick: Regularly checking the surface roughness is essential. Standards like ISO 1302 and ASTM F2791 suggest that jewelry makers should regularly evaluate surface quality to ensure consistency. This means making evaluations part of your routine to maintain product quality.
And when it comes to finishing, don’t overlook processes like magnetic float polishing. This method can achieve astonishingly low Ra values, even down to 4.0 nm, which is pretty impressive when you think about it. Of course, it’s vital to be open about your desired surface finish and provide clear roughness measurements.
So, why does this matter? Having transparent surface finish goals not only keeps you aligned with industry standards but also boosts the overall quality of your products.
Additionally, using durable materials such as stainless steel can help maintain that smooth finish while ensuring long-term wear resistance.
Recommended Products

ANZZI 76" x 60" Frameless Shower Door with Sliding - Polished Chrome- Horizontal Handle in Chrome - Kahn Series (SD-FRLS05802CH)

Extreme light range of 800m thanks to high-intensity LEDs and focusability

COMPLETE 12 ITEM KIT - This kit contains the airway buffing wheels, buffing compound bars, liquid hand polish, safety flanges, microfibers, and sanding essentials such as 600 grit sanding discs.
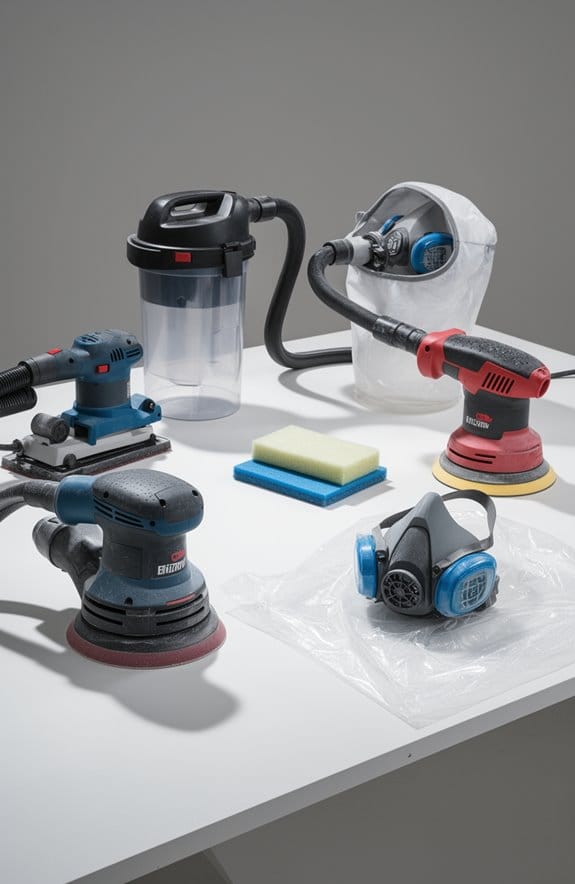
Key Finishing Techniques for Smoother Jewelry Surfaces
Achieving a smooth finish on your jewelry can feel like a daunting task, but it doesn’t have to be. Every jewelry maker faces the challenge of creating pieces that look stunning and feel comfortable. So, how do you get that perfect surface finish?
Grinding, honing, and lapping are essential techniques that can elevate your jewelry game. Lapping, for instance, is great for achieving incredibly smooth surfaces, especially if you’re working on body jewelry. You can actually get surface roughness down to as low as Ra 50 nm, which is pretty impressive!
Magnetic float polishing deserves a mention too. It can bring the roughness level down to around Ra 4.0 nm. That’s not just about looks; this level of smoothness enhances comfort and tissue compatibility—definitely something you want in body jewelry!
Here’s a helpful tip: combine multiple polishing methods for the best results. It may take extra effort, but your final product will shine, literally. Plus, regular measurements using non-contact profilometers will help ensure your surfaces hit the sweet spot of 1µin to 2µin for new productions.
To sum it all up, focusing on these finishing techniques transforms not just the appearance of your jewelry, but also how it feels when worn. And much like selecting the right acoustic textures to enhance sound and style in spaces, choosing the appropriate finishing technique impacts both functionality and aesthetics in jewelry, making texture type selection a crucial consideration.
What finishing tricks have you tried before?
Recommended Products
Single access code—one easy to manage code for all users

Shell Material: in-mold polycarbonate

【Maximizes Space with Elegant Design】 This full-coverage beveled mirror serves as both functional storage and sophisticated wall decor. Its slim, frameless profile preserves valuable floor and walkway space, offering discreet organization for cramped bathrooms or entryways without compromising on a modern aesthetic.
Identifying Visual and Tactile Cues for Surface Quality
How can you tell if your jewelry surfaces are truly top-notch? Getting it right isn’t just about how shiny it looks; you’ve got to pay attention to both what you see and what you feel. Start by inspecting the surface under bright light. This helps reveal any bumps, patches, or imperfections that might be hiding in plain sight. Trust me, a good lighting setup makes a world of difference when scrutinizing for flaws!
Next up, let your fingertips do the talking. Gently glide them across the surface and take note of the texture. Does it feel consistently smooth, or are there rough patches that pop up? This simple tactile test can really help you assess the overall finish. Plus, taking side profile photos can be a handy way to compare different parts of your piece for any inconsistencies.
Here’s the trick to leveling up your surface finish: use fine sandpaper, like 3200 grit, and move through a series of grits progressively. This method is less about rushing through the job and more about taking the time to achieve that perfect polish. And remember, keeping your tools and workspace clean is crucial. A tidy environment prevents unwanted texture variations while you work your magic! Using the right ergonomic tools can also help maintain control and reduce fatigue during these detailed finishing tasks.
Surface Finish: Comparing Ra and Rz Roughness Parameters
When you’re trying to figure out if a surface finish is up to snuff, knowing about Ra and Rz roughness parameters can really help. Ever heard of Ra? It stands for Average Roughness, and it measures the average height variations from the mean line. This one’s popularly used here in the U.S. and typically gives you lower roughness values. On the other hand, Rz, or Mean Roughness Depth, dives a bit deeper into the texture by looking at the average of the five highest peaks and the five lowest valleys. This makes it a lot more sensitive to variations in the surface texture.
So, why does this matter? If you’re working on some initial jewelry, you might want a surface finish with an Ra value ranging from 1µin to 2µin. This range is recommended to help minimize bacterial colonization, which is something you definitely want to think about. For more critical applications, don’t just stick to one parameter. Make sure to consider both Ra and Rz to get a complete picture of the roughness. This gives you a better chance to meet those important surface finish requirements.
Honestly, keeping these differences in mind can save you from a lot of headaches down the line. By measuring both Ra and Rz, you can ensure the quality of your surface finish is really up to par. So, what will you focus on for your next project? Also, using the right lightweight joint compounds can assist in achieving a smoother surface finish with fewer coats and reduced shrinkage.
How Surface Finish Affects Jewelry Comfort and Health
Have you ever put on a beautiful piece of jewelry only to find it uncomfortable after a short while? It can be frustrating. That’s where the finish of the jewelry comes into play. A smooth surface isn’t just for aesthetics—it’s crucial for your comfort and overall health.
The surface roughness of your jewelry matters more than you might think. Aim for a minimum roughness of 1µin to 2µin; that’s the sweet spot for wearability. This level of smoothness helps create a surface that doesn’t cling to your skin, minimizing the chances of irritation or even infections, especially during those early healing days. So, why does this matter? Well, a good finish means fewer worries about skin reactions.
Here are a few important benefits of a well-finished surface:
- Less Bacteria: Smoother textures lead to lower bacterial buildup.
- Better Corrosion Resistance: A good finish protects your jewelry from wear, extending its life.
- Improved Skin Health: Less chance of irritation keeps your skin happy.
Using tools with corrosion-resistant materials ensures the smooth finish is maintained while preventing damage during repair or polishing.
Truth is, if you’re looking to keep your skin healthy and free from irritation, pay attention to those surface finishes. Plus, smoother surfaces can also contribute to less scarring over time. That means an extra layer of comfort, especially if you’re wearing your jewelry daily.
Ensuring Your Jewelry Meets Surface Finish Standards
Ensuring your jewelry meets surface finish standards isn’t just about looks; it’s important for your comfort and health, too. Aiming for a smooth surface with a roughness (R) measurement between 1µin and 2µin can significantly aid in healing and keep bacteria at bay. So, how do you keep up with these standards? Regularly checking the surface roughness between production batches is key to maintaining a consistent quality.
Here’s the trick: techniques like magnetic float polishing can help you achieve smoothness with an Ra value as low as 4.0 nm. This isn’t just for aesthetics; it also boosts corrosion resistance and can make a real difference in the healing process. Thinking about quality control? Using non-contact profilometers lets you take precise measurements of the surface finishes, ensuring each piece of jewelry shines for the right reasons.
Don’t forget the importance of industry standards like ISO 1302 and ASTM F86. Following these guidelines keeps your jewelry up to par with necessary requirements, which in turn impacts product durability and makes wearing it more comfortable. Honestly, who doesn’t want jewelry that looks good and feels good?
For the best long-term results, consider materials that offer durability and resistance to wear, ensuring your jewelry maintains its smooth finish over time.
Tips for Selecting the Right Surface Finish Technique
Finding the right surface finish for your products can feel like a puzzle, especially if you’re aiming for that perfect fit or finish. So, how do you figure out what you really need? Start by zoning in on the specific requirements for your application. If your parts have to fit snugly, aim for smoother surfaces with lower Ra values.
For instance, grinding can help you achieve roughness values around 256-250 nm, but if you want something ultra-smooth, polishing techniques like ion beam machining can get you down to 0.1 nm. That’s some serious precision!
Next, think about the manufacturing processes at your disposal. Have you heard of magnetic float polishing? It’s pretty impressive and often gives better surface quality compared to more traditional methods. It’s worth exploring new techniques that may surprise you with their quality.
Finally, don’t skip the step of checking out industry standards, such as ISO and ASTM. Making sure that your chosen surface finish meets these benchmarks can save you from headaches down the line, especially regarding average deviation for specific materials.
Also, when working on projects requiring smooth finishes, consider using tools crafted from high-quality stainless steel to ensure durability and optimal performance.
To recap, knowing your application, exploring available techniques, and checking industry standards are all key steps. So, what surface finish will you try for your next project?
Recommended Products

Colorful Moon Lamp - With Changeable 7 Colors. Touch control to change colors with White, Warm Light, Blue, Green, Yellow Green, Aqua Blue, Colorful, etc. Soft LED light is good for eyes!

15W Wireless Charging Pad- The magnetic levitation moon lamp features a built in wireless charger for Phones which have wireless charging function. No need to sick of cords. This is the PERFECT LAMP for you!

✅ Style and Personality: Elevate your interior décor with the Displaybug picture frame stand, a minimalist masterpiece designed to showcase your most cherished memories and achievements in a sophisticated and contemporary manner, accentuating the inherent beauty of every photograph.
Frequently Asked Questions
How to Know if a Surface Is Smooth?
To know if a surface is smooth, we’ll examine its texture closely, using various finishing techniques and sanding methods. If it feels flawless and meets our benchmarks, we’ve likely achieved that smoothness we’re aiming for.
How Do I Know if I’ve Sanded Enough?
We understand we’ve sanded enough by feeling for an even texture, inspecting under good light, and using various grit sizes. Applying finishing products afterward can confirm our surface is ready for that final touch.
What Is Considered a Smooth Surface Finish?
A smooth surface finish meets certain standards, typically with low roughness values. We’re measuring smoothness using techniques like profilometry, ensuring it’s suitable for sensitive applications, where precision and reduced bacteria adhesion are essential for success.
How to Test for Smoothness?
Did you know 70% of crafters struggle with surface smoothness? We use various surface testing techniques, like tactile inspections and visual checks, to measure smoothness and work toward achieving the perfect finish on our projects.