Are you tired of dealing with drywall dust that seems to cover everything after a sanding job? It can be super frustrating, but there are ways to keep that mess to a minimum.
Try using finer grit sandpaper, like 120-150. It creates less dust, which means less cleanup later. Wet sanding with a damp sponge is another trick you might want to consider. It really does help keep the dust down and makes for a smoother finish.
If you can get your hands on a vacuum sander, go for it! These tools are great at capturing dust right where it’s generated—some can catch up to 99% of it.
Here’s a tip: before you start, seal off your workspace. Use plastic sheeting to cover doors and other openings, and set up specific entry points. This simple step can really help control where the dust goes.
So, why does all this matter? Well, maintaining a clean workspace not only saves you time during cleanup, but it also leads to better results in your projects.
To wrap it up, using finer sandpaper, wet sanding, and keeping your area sealed off can make a big difference. Have you tried any of these methods before?
Key Takeaways
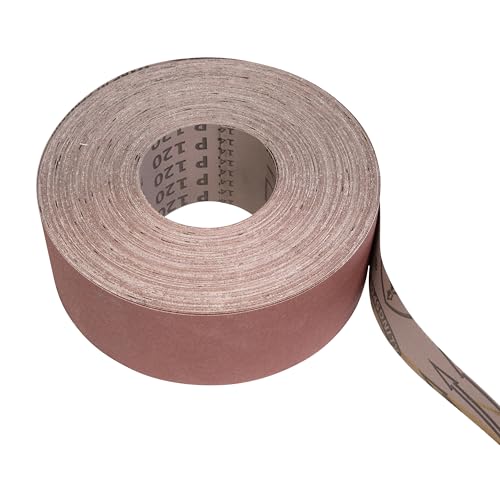
- Use finer grit sandpaper (120-150) for a smoother finish and reduced dust production.
- Employ dust-free sanding tools that connect to wet/dry vacuums for effective dust capture.
- Seal the workspace tightly with plastic sheeting and cover furniture to prevent dust spread.
- Consider wet sanding with a damp sponge to contain dust and reduce scattering during sanding.
- Apply joint compound in thinner layers and scrape peaks before drying to minimize sanding and dust generation.
The Importance of Reducing Dust When Sanding Drywall

Are you tired of dealing with a dust storm every time you sand drywall? Trust me, managing dust isn’t just about keeping things tidy; it’s crucial for your health too. When you’re sanding, all that fine dust can really mess with your breathing. A good way to tackle this is by using vacuum sanders that have built-in dust collection systems. These nifty tools can capture nearly all of those pesky particles, leading to a much cleaner and safer workspace.
Think about your grit choice as well. Going with coarser grits, like 80-100, might help you remove material faster, but be prepared for more dust clouds. On the flip side, if you pick finer grits, say 120-150, you’ll likely end up with a smoother finish and less dust flying around. So, which approach works best for you?
Sealing off the area with plastic sheeting is also key. It keeps the dust contained, so you don’t have to dust everything in your house later. And please don’t skip the personal protective equipment (PPE). Masks and goggles aren’t just for show; they’re essential for keeping you safe during the sanding process.
Prioritizing these tips is a simple way to maintain better air quality indoors. After all, a little effort goes a long way in protecting both your space and your health. To maximize dust reduction, consider using sanding equipment designed with dust collection efficiency to capture up to 99% of particles. So, what’s your go-to method for tackling dust?
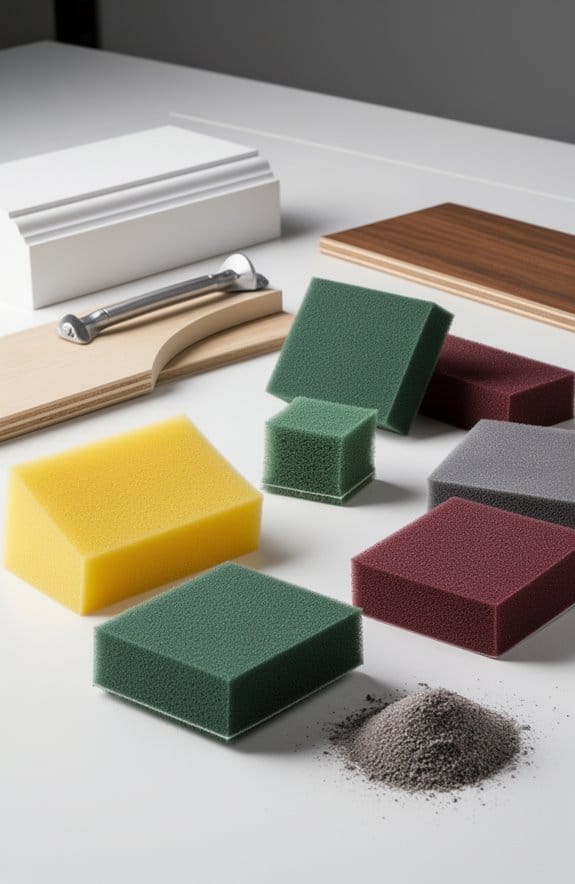
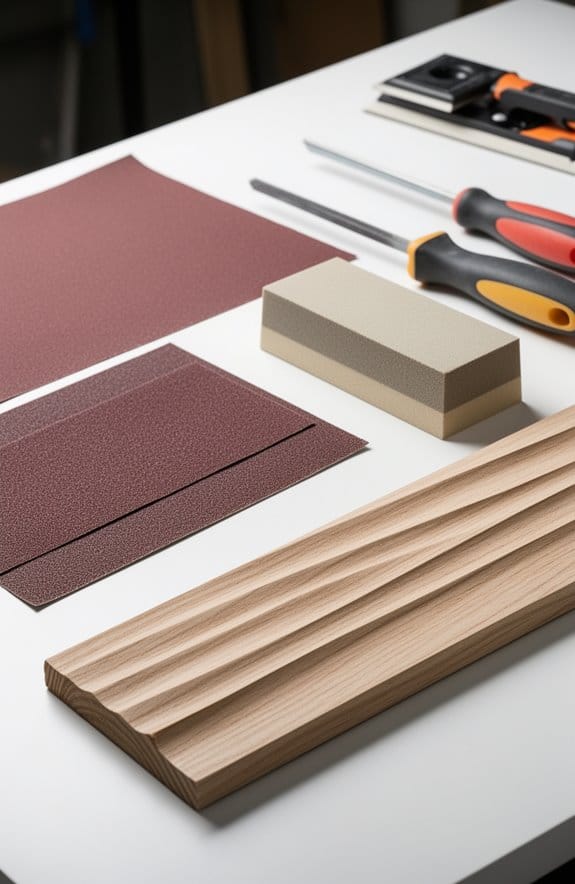
Best Sandpaper Grits for Reducing Dust

Sanding drywall can be a messy job, and if you’ve ever done it, you know how much dust it can kick up. So, how do you keep the dust from taking over your whole space? The key lies in your choice of sandpaper grit. Opt for finer grits like 120 or 150. They might take a bit longer to get the job done, but they produce way less dust than those rougher grits like 80 or 100 that can leave your lungs begging for relief.
Consider this: if you’re using joint compounds specially designed to reduce airborne dust, paired with those finer grits, you’ve got a solid plan for dust management. Plus, don’t overlook sanding screens. They not only help prevent clogging but also let the dust pass through, keeping your workspace clearer.
Have you thought about the tools you’re using? Investing in specialized dust-free sanding tools can make a real difference. These tools capture almost all the dust that gets created, which means a cleaner environment for you while you work.
Truth is, being mindful about your sandpaper choices can lead to a much smoother finish while significantly cutting down on the dust in the air. Using a drywall sander with a built-in vacuum dust collector can increase dust collection efficiency up to 99%. So, next time you pick up that sandpaper, remember: the right grit makes all the difference. What steps are you taking to keep dust at bay on your next project?
Recommended Products
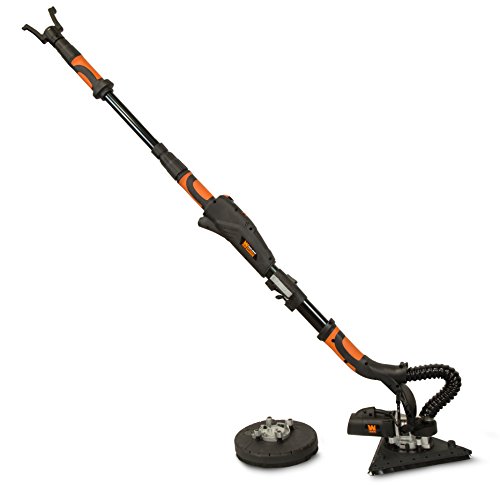
Features both triangular and circular hook-and loop sanding heads with tool-free installation
Compatible with JET and Performax drum sanders, as well as other sanders

Durable Structure & Efficiency: Constructed of plastic and metal body, this electric drywall sander is durable for long-term use. Ergonomic handles fit comfortably. Easy to operate with accessible switches. 7 Level variable speed: 800-1750 rpm. A pure copper motor provides 850W power. You can try yourself instead of paying someone to do finishing work.
Effective Methods for Wet Sanding to Minimize Dust

Are you tired of sanding drywall and leaving a cloud of dust in your wake? If you’re looking for a cleaner way to get that smooth finish, wet sanding techniques might just be the solution you need. This method not only helps trap dust but also keeps your workspace a lot cleaner.
So, how does it work? It’s pretty straightforward: you use a damp sponge or sanding screen along with some water. The moisture keeps the dust from turning into a mini storm, allowing you to work without worrying about breathing in a bunch of particles. Just remember, applying gentle pressure is key to avoiding any damage to the drywall. Nobody wants to deal with oversaturation that could lead to unwanted repairs!
You’ll also want to protect any electrical outlets and switches from getting wet. It’s a simple precaution that can save you headaches later on. And if you can find wet sanding tools with built-in dust collection systems, that’s even better. They make the process smoother and help keep your project looking tidy.
Here’s the trick: take your time and don’t rush it. While you’re sanding, keep your sponge damp, not dripping, to strike that perfect balance. So, why does this matter? Less dust means a better finish and a more pleasant working environment.
To wrap it up, wet sanding is an effective way to minimize the mess while you work on drywall. Using built-in vacuums with sanding tools can further reduce cleanup efforts and improve air quality. Have you tried this method before, or are you ready to give it a shot? Your next project could turn out cleaner and easier than ever!
How to Use a Vacuum Sander for Cleaner Results
Are you tired of dealing with the mess that comes from sanding drywall? It’s a common issue, but there’s a way to make the process a lot cleaner. Vacuum sanders can really cut down on dust, and they catch it right when it’s created. This not only helps you maintain better air quality but also means less clean-up at the end of the day.
When picking out a vacuum sander, consider one with long extension handles. This feature lets you reach those tricky high spots without straining yourself. Plus, don’t forget about the sandpaper grit you choose. The proper grit paired with your vacuum sander can deliver smooth surfaces while keeping dust under control.
Here’s the trick: tools from Hyde Tools are often recommended for dust-free sanding, and they’ve built a solid reputation for good reason. Using a wet/dry vacuum alongside your sander can also boost dust containment, making the whole process simpler. So, why does this matter? A cleaner workspace means less hassle and a much more pleasant experience while you work. Investing in a sander with up to 99% dust extraction efficiency significantly enhances dust control during your projects.
How to Seal Your Workspace to Keep Dust In
Before you dive into sanding, sealing off your workspace is key to keeping dust at bay. Have you ever started a project only to find dust everywhere? It’s a hassle, so let’s make sure that doesn’t happen.
First things first, check that all doors and windows are tightly shut. Even a small gap can let dust sneak out. Cover any furniture and the floors with plastic sheeting or drop cloths, and don’t forget to secure them down with painter’s tape. This ensures a tight seal that keeps everything protected.
Setting up a separate entry and exit point is another smart move. This simple step can drastically cut down on dust spreading. Think about it—having one path for getting in and out helps keep work dust contained, which is a huge relief for your home.
To up your dust containment game, consider putting up a heavy-duty plastic wall or a dust barrier around the work area. This isn’t just extra protection—it really helps minimize dust migration to other parts of your home. And while you’re at it, check those seals or coverings regularly. If something’s damaged, go ahead and replace it to maintain that dust-free zone.
Truth is, wearing personal protective equipment (PPE) is still important during this whole process. You want to protect yourself while you work, right?
Sealing your workspace might seem tedious, but it’s worth it in the end. A little prep can save you from a whole lot of cleanup later on. What steps do you think you’ll take to keep dust from ruining your project? Using a dust barrier pole system can simplify the process and enhance dust containment effectiveness.
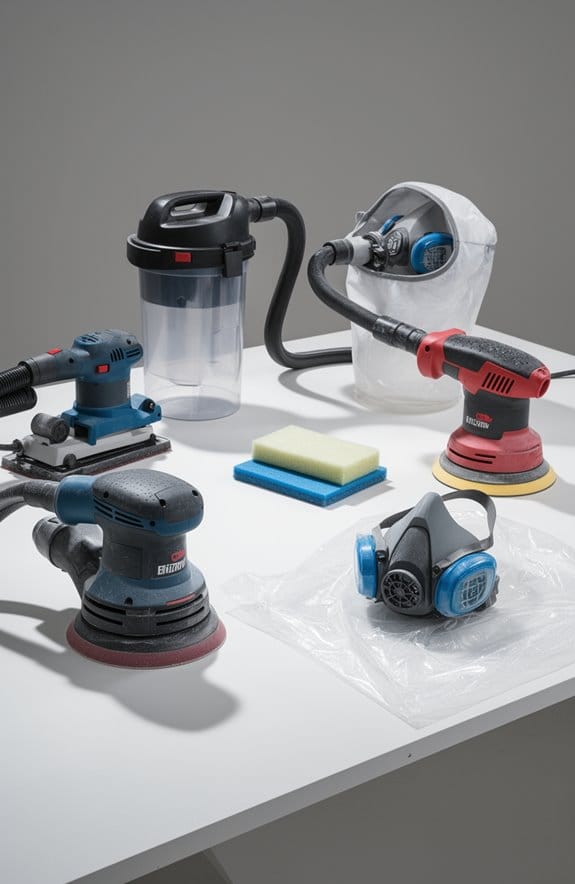
Essential Personal Protective Equipment to Protect Yourself From Dust
When it comes to working with drywall, you probably know the dust can be a real hassle. Have you ever felt that gritty feeling in your lungs after a long day of sanding? That’s why having the right personal protective equipment (PPE) is crucial to keep you safe while you tackle those projects.
First things first, a dust mask or respirator should be at the top of your list. These will help keep you from inhaling all those nasty particles floating around, especially when you’re sanding. The difference it makes in your comfort level is huge.
Next up, don’t forget about safety goggles. Protecting your eyes from dust irritants isn’t just about comfort—it’s about being able to see clearly while you work. You definitely don’t want to stop halfway through because something got in your eye.
Gloves are another must-have. They keep your hands clean and shield you from any dust exposure. It’s really about maintaining your health, which is something we all can appreciate. And let’s be real, getting rid of that dust later is way harder!
Also, consider wearing a hat or dust hood. While it might seem minor, keeping dust out of your hair can make a big difference in how comfortable you feel. Trust me, nothing is more distracting than wiping off your forehead every five minutes to get rid of that annoying debris.
If you’re thinking about getting PPE, make sure to invest in high quality. It will enhance your health and comfort during drywall sanding, trust me on this. Prioritizing PPE isn’t just a good idea; it’s essential for anyone who wants to safely complete their work.
Additionally, using drywall sanders equipped with built-in vacuum dust collection can significantly reduce airborne dust and improve your working environment.
Recommended Products

KIT INCLUDES: Disposable hood, PAPR unit, high capacity battery and charger, easy clean belt, high efficiency filter, spark arrestor, pre-filter, length adjusting breathing tube and cover, and airflow indicator

PROTECTION AGAINST dust, mist, fumes, radionuclides and radon daughter – ideal for lead, asbestos, mold and other hazardous particulates

AIR-CIRCULATING FACESHIELD: The Trend Airshield Pro provides excellent protection from the inhalation of harmful dust - included Twin Fine Dust Filters that filter particulates down to 0.6 microns with 98% efficiency.
Using Dust-Free Sanding Tools for Improved Cleanliness
Sanding drywall can create a huge mess, right? That’s why it’s essential to choose the right tools to keep your workspace cleaner. Dust-free sanding tools, like those from Hyde Tools, are a solid option because they connect easily to wet/dry vacuums. These tools catch dust effectively as you work, which means less cleanup for you later.
What’s great about these tools is their special dust collection attachments that help reduce airborne particles. So, you can breathe easier while you sand. For even smoother finishes, consider trying a wet sanding sponge tool; it traps particles in moisture, making for a much more pleasant experience.
If you’re tackling larger areas or hard-to-reach spots, pole sanders with dust collection are a great choice too. They help keep the dust at bay while you get the job done. Models with adjustable telescopic handles typically extend from 3.9 to 5.5 feet, offering enhanced reach and maneuverability.
Recommended Products

Sanding with integrated light: all-round LED light ring to reveal unevenness

LIGHTWEIGHT BUILD FOR LONG HOURS Weighing just 7.1 lb, the Mirka electric drywall sander reduces fatigue during extended sanding on ceilings and walls—ideal for popcorn ceiling removal, painting prep, or full-room renovation work.
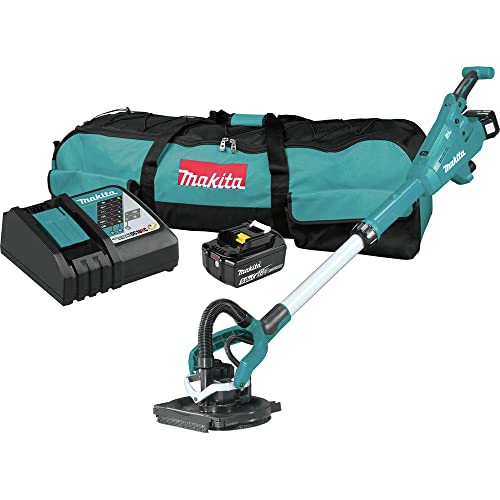
Delivers up to 35 minutes of run-time, using 120 grit abrasive discs with one 18V LXT 5.0Ah Battery
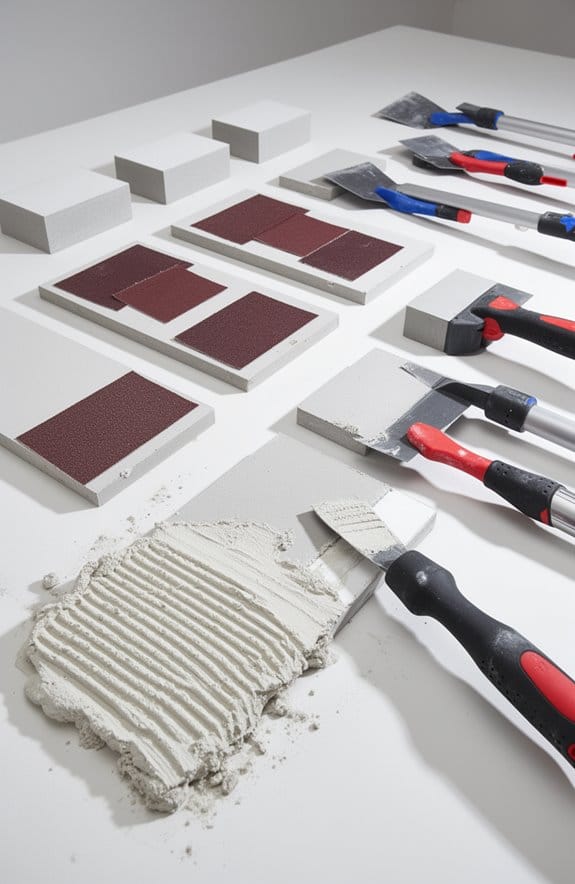
Strategies for Minimizing Joint Compound Application
Ever find yourself drowning in dust after a joint compound project? It’s a common struggle, but there are ways to keep that mess to a minimum while still getting a smooth finish.
Try applying joint compound in thinner layers. Not only does this reduce how much you need to sand later, but it also cuts down on dust. It’s simple: the less you sand, the less debris ends up in the air. You might also want to look into compounds that are designed to reduce airborne dust. These products help bond fine particles, so there’s less floating around in your breathing space.
Before that compound dries, take a moment to scrape any peaks and edges. This little tip can significantly lessen the amount of sanding you’ll need to do afterward. For your final coat, use a wider knife—it really helps create a smoother finish. If there are deeper imperfections, consider using a filler first. It cuts down on how much joint compound you’ll need, which means less dust to deal with.
Using low VOC formulations during your project can also improve indoor air quality by reducing harmful emissions while you work.
So, why does this matter? Keeping the dust down not only makes your job easier but also keeps your work area cleaner and healthier.
In the end, paying attention to how you apply joint compound can make a world of difference. Have you tried any of these tips before, or do you have your own go-to strategy?
Best Practices for Cleanup After Sanding
After you’ve applied joint compound, getting ready for that smooth surface is super important, but you can’t skip the cleanup part. It can be a bit of a hassle, but trust me, it’s worth it in the end.
First off, grab a wet/dry vacuum with the right sanding tools. This gear can really help capture all that pesky dust while you clean up after drywall sanding. And don’t forget to place dustpans under areas where you’re hand sanding. It’s a small step that makes a huge difference in quickly collecting debris and stopping it from spreading all over the place.
Now, let’s talk about avoiding those annoying joint compound spills. Painter’s tape is your best friend here. Use it to secure edges before diving into your work. Honestly, it saves you extra cleanup later. And speaking of cleanup, it helps to scrape off any peaks or uneven edges of joint compound before they dry. By doing this, you can reduce the amount of sanding you have to do later on.
When you’re on your final coat, use a wide knife. This little tip promotes a smoother finish and means less dust to deal with afterward. Also, don’t forget your personal protective equipment (PPE)! You want to keep yourself safe while you’re working. Using tools with ergonomic handle designs can also reduce hand fatigue, making your cleanup and sanding tasks more comfortable overall.
What Factors Contribute to Achieving a Smooth, Dust-Free Finish?
Achieving that perfect smooth, dust-free finish on your drywall can feel like a daunting task, but it doesn’t have to be! You want a look that feels polished without the hassle of dust flying everywhere. So, what can you do to nail this?
First off, trade in your standard sandpaper grits for finer ones, like 120 or 150. These grits won’t just smooth your surfaces; they also help reduce airborne dust. It’s all about creating a cleaner workspace, right?
Here’s the trick: try wet sanding. Using damp sanding screens or sponges can really help bind dust particles, making the cleanup a lot less of a chore. Plus, if you grab a vacuum sander with a built-in dust collection system, you can capture the dust right as you work. That means less mess to deal with later!
To keep things tidy while you work, seal off your area with plastic sheeting and painter’s tape. This simple step can make a huge difference in keeping the dust contained. You definitely don’t want it spreading all over your home!
And let’s not forget about your health. Honestly, wearing personal protective equipment (PPE) like dust masks or respirators is a must. It’s pretty easy to overlook, but it really makes a difference in keeping you safe from inhaling those pesky dust particles.
Choosing a sander with an advanced vacuum system can capture up to 99% of dust, making your sanding process cleaner and more efficient.
Frequently Asked Questions
How to Keep Dust Down When Sanding Drywall?
To keep dust down when sanding drywall, we should use specialized sanding tools and techniques. Employing finer grit sandpaper, a vacuum sander, and effective dust control measures can help us considerably reduce airborne particles effectively.
How to Make Sanding Less Dusty?
To make sanding less dusty, we should utilize effective sanding techniques like using finer grit sandpaper and dust collection systems. Implementing these strategies will greatly reduce airborne particles, ensuring a cleaner and safer work environment.
How to Finish Drywall With Minimal Dust?
As we transform our space, let’s use drywall finishing techniques that incorporate effective dust barriers, like sealing areas with plastic sheeting, ensuring a clean environment while enjoying our project without the cloud of dust.
How to Make Drywall Sanding Easier?
To make drywall sanding easier, we can use effective drywall tools like a vacuum sander and try finer sanding techniques. This minimizes effort while achieving smoother surfaces, keeping our workspace cleaner and more manageable.