Have you ever tackled a DIY project only to realize your sanding tools just aren’t cutting it? Sanding sponges might be what you need. These flexible foam tools are coated with abrasives and are perfect for getting into those tricky, uneven areas that traditional sandpaper struggles with.
Whether you’re a hobbyist or a professional, these sponges can really come in handy.
They come in different grits, so here’s a quick guide:
- Coarse (36-60 grit): Great for heavy material removal.
- Medium (80-120 grit): Ideal for smoothing surfaces and prepping for finishing.
- Fine (120-220 grit): Perfect for that final touch, giving a smooth finish.
Choosing the right grit is all about the task at hand. Applying light pressure is key; it helps maintain the sponge’s shape and ensures an even finish.
So, why does this matter? It means you can avoid those pesky scratch marks that you might get with harder tools.
When it comes to maintenance, it’s really straightforward. Just rinse the sponge under water to remove dust and debris, and it’ll be good as new. Honestly, keeping them clean can extend their life significantly.
The best part is, whether you’re doing some minor touch-ups or deep sanding, these sponges can handle it.
So next time you’re gearing up for a project, consider adding sanding sponges to your toolkit. They might just save you a lot of hassle.
In short, sanding sponges are versatile and user-friendly tools. Have you tried using one in your projects yet?
Key Takeaways
- Sanding sponges are flexible foam tools coated with abrasives, ideal for sanding uneven surfaces in various materials.
- They are versatile and can be used for both rough and smooth surface sanding tasks.
- Available in different grits, sanding sponges are suitable for tasks from aggressive material removal to fine finishing touches.
- Use sanding sponges when working in tight spaces or needing to contour surfaces for a better finish.
- Their washable and reusable nature makes sanding sponges a cost-effective option for DIY and professional projects alike.
What Is a Sanding Sponge and How Does It Work?

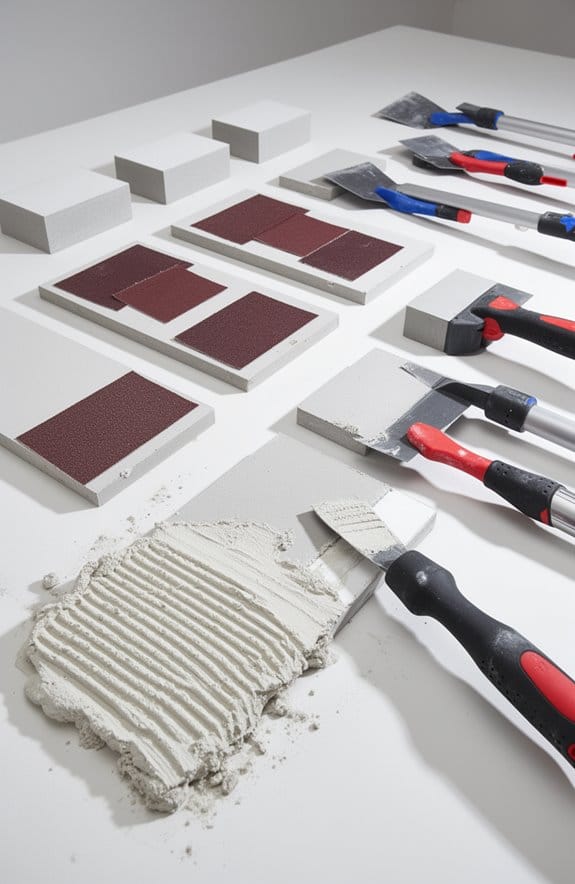
Have you ever struggled to sand those tricky corners or uneven surfaces? A sanding sponge could be exactly what you need. This tool is flexible foam coated with abrasives, which makes it perfect for sanding smoothly across materials like wood and drywall.
You’ll find sanding sponges in a variety of shapes and sizes, letting you tackle both flat and contoured areas with ease. Their ergonomic design isn’t just for show; it helps you get a good grip while sanding, so you can apply just the right amount of pressure without feeling strained. It really does make a difference when you’re trying to get into those tight spots — the dust channels on many of them help manage debris, keeping your workspace cleaner.
The best part? Sanding sponges are washable and reusable. This means you can use them over and over again, ensuring you maintain a consistent finish across different projects without frequently buying new ones. So, why does this matter? Well, it saves you both time and money, and makes cleanup a breeze.
In short, a sanding sponge is a practical addition to your toolkit. Give it a try and see how much easier sanding can be! Have you had a chance to use one yet? Many sanding sponges come with multiple grit variations to suit different stages of your sanding project.
Top Benefits of Using Sanding Sponges in Projects

Ever get frustrated when sanding those tricky spots? Sanding sponges might just be what you need to tackle those uneven surfaces, both flat and curved. These flexible foam blocks fit into all sorts of shapes, allowing you to apply even pressure as you work.
What’s really handy is that they come in different grits, from coarse to super fine. This means you can switch things up easily, whether you need to remove old finishes or just smooth things out for a polished look. Trust me, having a variety on hand makes a big difference as you move through different project stages.
When you’re working for long periods, comfort matters. Sanding sponges are designed with ergonomics in mind, so your grip stays comfortable without causing too much hand fatigue. Plus, they’re a win for the wallet since you can wash and reuse them, making them a smart choice for any DIYer.
And let’s talk about the mess. These sponges have dust channels that really help manage debris. You won’t need to constantly clean your workspace, which keeps visibility up while you’re aiming for a smooth finish on those intricate details. For larger sanding tasks, using tools with variable speed settings can help tailor the sanding process for better results.
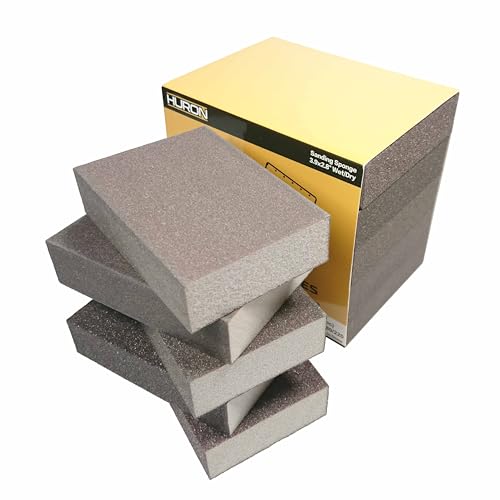
Recommended Products

Bulk Box of 100 Sponges

Abundant Quantity: tired of constantly changing sandpaper blocks of different grits? Our double-sided 80/ 120 grit sanding sponges let you do both coarse and fine sanding with just one tool

How to Pick the Right Grit for Your Project?

Choosing the right grit for your project can feel overwhelming, but it doesn’t have to be. Ever started sanding, only to realize you’ve got the wrong grit? It’s frustrating! Here’s a breakdown of what you need to know for a smooth and professional finish.
First, think about coarse grit sanding sponges, which fall between 36 and 60 grit. These are great for heavy-duty work, like removing material or smoothing out rough edges. If you’re working on a project with a lot of uneven surfaces, this is your go-to option.
Once you’ve got the surface prepped, the next step is to switch to medium grit sanding sponges, within the 80 to 120 grit range. This is where you start blending surfaces and tackling any visible imperfections. Trust me, this step is crucial if you want a seamless look.
When you’re ready for those final touches, grab some fine grit sanding sponges, which range from 120 to 220 grit. This helps ensure a super smooth surface, perfect for when you’re about to apply paint or varnish. Think of it like the icing on the cake!
And for those ultra-smooth finishes? That’s where superfine grit sponges come into play, with a grit rating of 320 and above. They’re especially handy for touch-ups or during sanding between layers. Honestly, these sponges can make a world of difference.
For best results, it’s also recommended to use sequential grit progression to achieve the smoothest finish possible.
Recommended Products

PREMIUM ALUMINUM OXIDE GRAIN: Our sanding belt is made with high-quality aluminum oxide grain, designed for both sanding wood and metal. Whether you’re using a belt sander or grinder belt sander attachment, the aluminum oxide ensures smooth material removal and long-lasting results. Ideal for sanding belts, belt sanders for woodworking, and sanding belts for metalworking, it provides a consistent finish. Suitable for fine sanding bands and grit sanding belts for precise sanding.
Huron sanding sponges are perfect for a wide variety of uses and surfaces: wood, plastic, metal, glass, paint; furniture construction and finishing, auto body abrasion removal, fastener finishing, mildew removal, and many, many more applications
Various Types of Sanding Sponges for Your Tasks
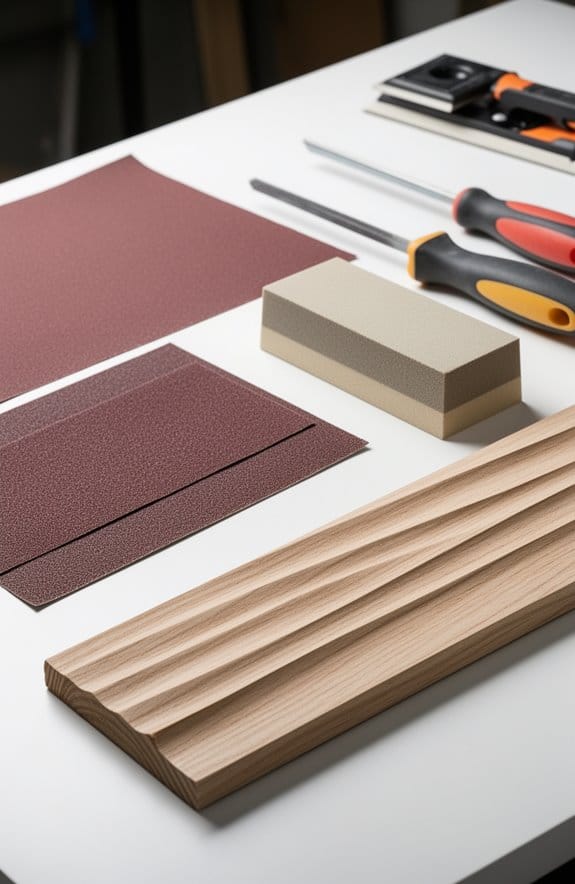
Are you tired of uneven finishes and corners that just won’t cooperate? Choosing the right sanding sponge can really make a difference in your DIY projects. Trust me, a little knowledge about what’s out there can seriously up your sanding game.
Let’s break down the different types you might want to consider. Dual-angle sponges have two angled sides, which are perfect for getting into tight corners or detailed work on molding. They make it so much easier when precision is key! You might prefer single-angle sponges for those flat surfaces. They have just one angled side that helps you achieve a smooth finish along edges, allowing for a clean look without much effort.
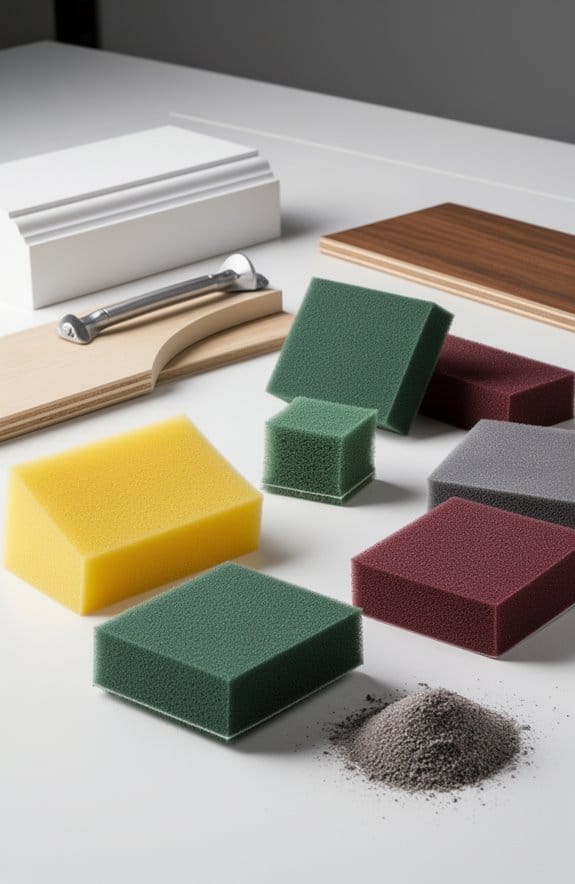
If you’re tackling larger flat areas, standard sanding sponges can be your best friend. They’ve got flat surfaces on both sides, making them ideal for evenly applying pressure and improving efficiency. So why is this important? It helps you maintain a consistent finish across the surface, which is what we all want at the end of the day.
Each sponge is designed with a specific application in mind, so picking the right one based on the shape and contour of your project can really improve the quality of your work. The best part is, it doesn’t have to be complicated! Just remember to match the sponge to your project needs. Additionally, many sanding sponges come with washable and reusable features, making them a cost-effective choice for multiple uses.
In short, the right sanding sponge can elevate your finishing game. Just think about your project’s requirements and choose accordingly. Which type do you think will help you the most in your next project?
Recommended Products
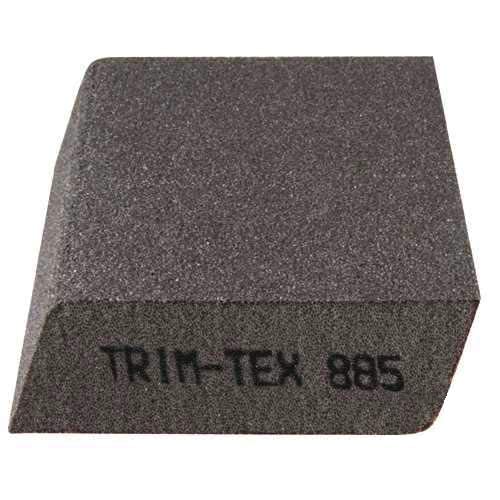
Flawless Finish – Prevents gouging and scuffing for smooth, professional drywall results.

Wide Application: Our versatile drywall sander is a highly optimized tool for achieving smooth and polished surfaces. It is suitable for lime wall and putty wall. A great wall sander tool for both DIY home projects, professional renovation and construction work.

- Gentle angles allow for easy reach into difficult areas. - Flexible, easy to hold, sands contour and flat services. - Rinse and reuse, sand wet or dry. - Works harder than sandpaper.
Top Tips for Using Sanding Sponges
How many times have you tackled a DIY project and struggled with getting that perfect smooth finish? Sanding sponges can make a world of difference if you know how to use them right. Here are a few tips that can help you get the job done efficiently.
First, it’s all about choosing the right grit for your specific task. If you’re looking to remove a lot of material, start with coarse grits, like 36-60. On the other hand, once you’re ready to smooth things out, switch to finer grits, say 120-220. This way, you’re really adapting the tool to your needs.
Don’t forget about the pressure you apply. Light pressure is key when working with sanding sponges. If you press too hard, you risk deforming the sponge, which can lead to uneven surfaces. You want to make sure it consistently touches the surface you’re working on.
It’s also a good practice to rinse your sanding sponge regularly. Dust and debris can build up quickly, and washing it off not only keeps it clean but also improves its performance. And let’s be real—no one wants to spend time fighting with an ineffective tool.
Honestly, you’ll know it’s time for a new sponge when the current one shows signs of wear. Keeping your tools in good shape helps you maintain efficiency.
Lastly, remember to always sand with the grain if you’re working on wood. It’s a simple step that can help you avoid scratches and achieve a smoother finish. So, why does this matter? Because nobody wants to waste time on a project that looks less than perfect.
For optimal results, consider using tools with variable speed settings to better match the sanding action to your material and technique.
Maintaining and Caring for Your Sanding Sponges
Have you ever tackled a project only to realize your sanding sponge has lost its touch? It can be frustrating when those little tools you rely on aren’t performing like they used to. Keeping your sanding sponges in top shape is crucial if you want the best results.
Start by giving your sponges a good cleaning now and then. Dust and debris can build up, making the abrasives less effective. Try this: use an air compressor or a stiff brush to clear off the grime. If you’re looking for a deeper clean, let the sponge soak in warm water mixed with some mild detergent for about 10 minutes. After soaking, rinse it well and make sure it dries completely before you put it back to work. This little ritual protects the sponge’s surface and keeps it ready for your next project.
When you’re using your sponges, be mindful of moisture! It’s best to avoid using them on wet or overly damp surfaces. The foam can easily get damaged, which means you’ll have to replace it sooner. Honestly, it’s just not worth the hassle.
Lastly, store your sponges in a dry place. Extreme temperatures can warp them or cause deterioration, so keep them out of direct sunlight or overly humid areas.
For optimal sanding outcomes, also consider using tools with adjustable speed settings to match your project’s specific requirements.
Taking a few moments to care for your sanding sponges can really pay off in project quality. So, how do you usually maintain your tools?
Frequently Asked Questions
What to Use a Sanding Sponge For?
We can use sanding sponges for various sanding tasks, like surface preparation in woodworking projects, paint removal from surfaces, and drywall finishing. Their versatility makes them essential tools for achieving smooth, professional-looking results.
What’s Better, Sandpaper or Sanding Sponge?
When it comes to sandpaper or sanding sponges, we often prefer sponges for detailed work due to their flexibility and gentler touch, but user preferences may vary based on application techniques and durability factors.
Are You Supposed to Wet a Sanding Sponge?
Absolutely, wet sanding’s benefits are like a painter’s touch, smoothing surfaces beautifully. We should choose the best sponge grades, mind drying times, and follow technique tips while ensuring safety precautions for an effective, flawless finish.
What Is the Golden Rule of Sanding?
The golden rule of sanding is to work with the grain of the material, ensuring ideal surface preparation. By using proper grit selection, we enhance sanding efficiency and achieve excellent results across different material types.