Have you ever finished painting a room, only to notice that the texture looks off? It’s a common issue, and there are several reasons why this might happen.
For starters, high humidity can mess with the drying process, leading to uneven results. On the other hand, extreme temperatures can affect how smooth the finish turns out.
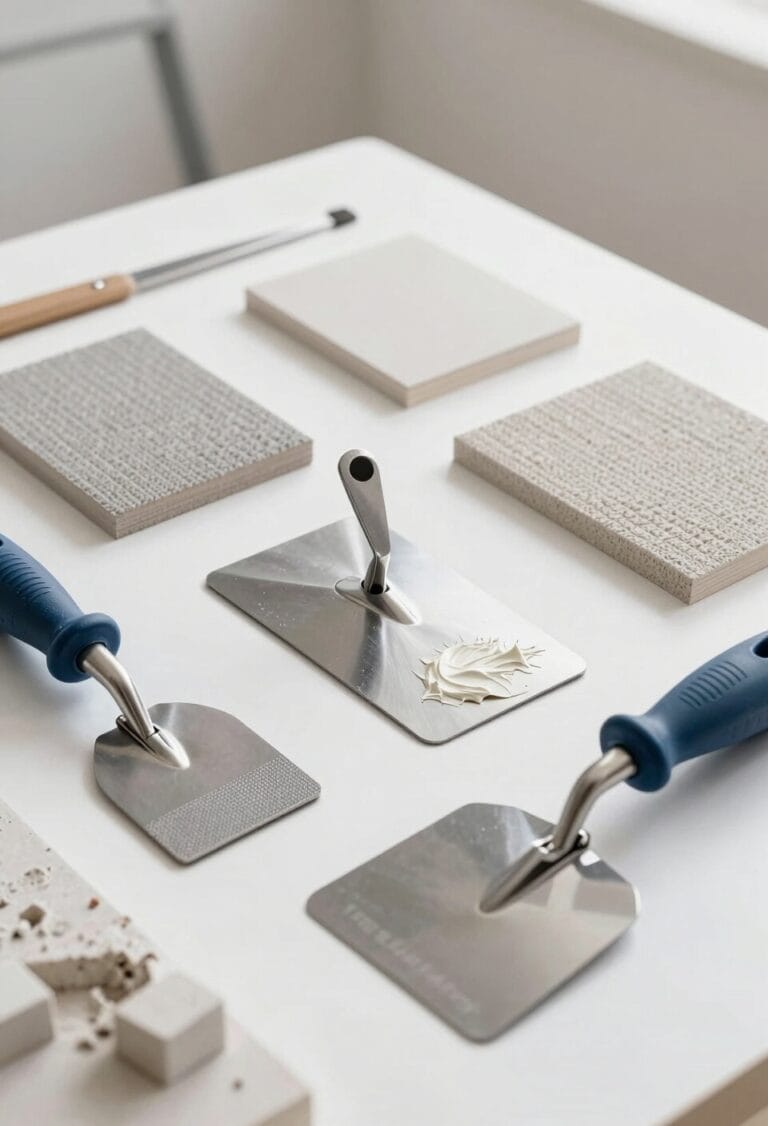
Thorough surface preparation is another crucial step. Before you dive into painting, make sure you clean and sand the surface using 120-grit sandpaper. It might seem like an extra task, but trust me, it’s worth it for a smooth finish.
You can also improve your application technique by using a “W” or “M” pattern; this helps spread the paint evenly and prevents those pesky uneven patches.
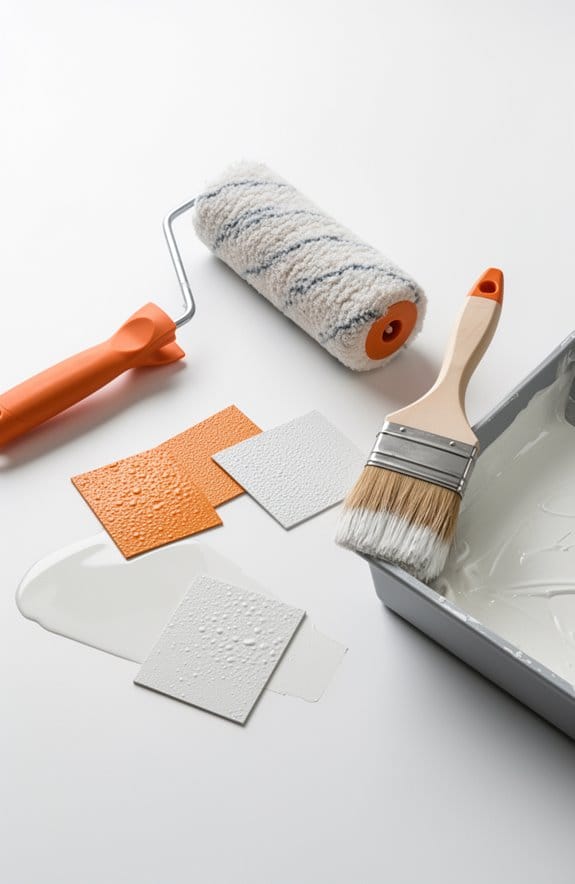
Selecting the right tools can make a big difference too. Look for high-quality brushes and rollers that are 2 to 3 inches wide. They’re easier to control and can give you that uniform look you’re aiming for.
Honestly, the right tools combined with good techniques make all the difference in how your paint job turns out.
So, what’s the takeaway? If you want a tidy finish, pay attention to these details. By preparing properly and applying wisely, you’ll avoid most texture issues.
Have you ever dealt with uneven paint textures? What did you do to fix it?
Key Takeaways
- Surface preparation issues, like dirt or imperfections, can lead to an uneven texture after painting.
- The choice of roller and brush types affects the paint’s final texture, with some tools leaving more texture than others.
- Environmental conditions, such as humidity and temperature, can cause paint to dry unevenly, impacting the texture.
- High-quality paints with better self-leveling properties tend to yield a smoother finish compared to lower-quality options.
- Inconsistent application techniques, like varying pressure or stroke patterns, can result in visible differences in the texture of the painted surface.
What Causes Texture Variations in Painting?

Have you ever looked at your freshly painted wall and noticed that some areas just look… off? You’re not alone. Varying textures in paint can be frustrating, but understanding the causes can help you get a better finish.
One major factor is how you apply the paint. A roller with a heavy nap tends to leave a stippled texture, while a smooth roller creates a sleek, flat finish. The choice you make here really matters. When you apply pressure or keep going over the same area repeatedly, it can lead to a wavy or uneven surface.
So, why does this matter? Environmental conditions can throw a wrench in your plans too. If it’s too humid or the temperature swings between hot and cold, you might find the paint drying unevenly. It’s one of those things that’s easy to overlook, but it can totally ruin your hard work.
Preparing the surface you’re painting on is just as important. Skipping the cleaning or priming steps can result in areas that absorb paint differently, leading to those frustrating inconsistencies. It might feel like extra work, but it’s worth it in the end.
Lastly, don’t underestimate the power of quality paint. Using high-quality paint often means it has better self-leveling properties. This can make all the difference, especially after just the first coat.
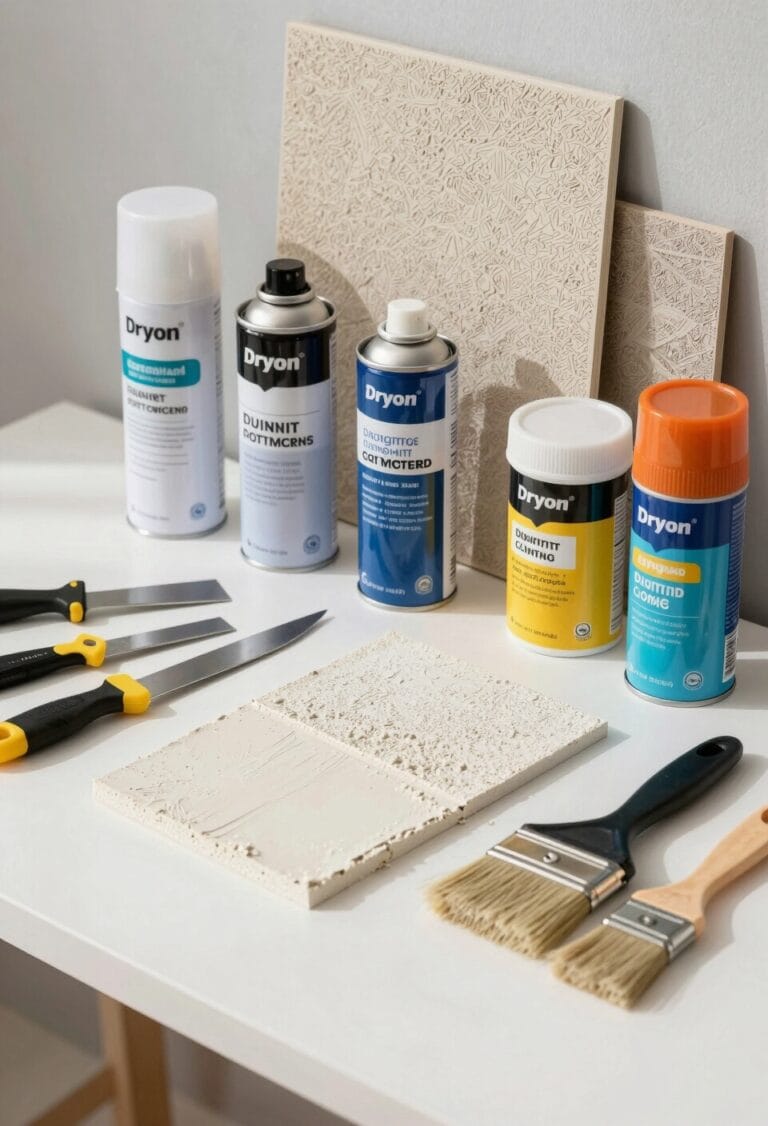
Using products like DryDex spackle, which features a color-change indicator, can help ensure surface repairs are smooth and ready for painting, contributing to a more even texture.
In a nutshell, paying attention to your application technique, environmental conditions, surface preparation, and the paint you choose can all impact the texture you end up with. So, are you ready to tackle your next painting project with a little extra knowledge?
Humidity and Temperature Effects on Paint Texture

Humidity and temperature can really mess with your paint job. Ever noticed how paint can dry all lumpy and weird? That’s often due to high humidity hanging around while you’re trying to get a smooth finish. When it’s too humid, the paint can trap air and moisture, which leads to that bumpy texture you definitely don’t want.
On the flip side, extreme temperatures—whether scorching hot or brutally cold—can throw your whole project off. If it’s super hot, paint might dry way too fast, leaving you with a rough finish because it doesn’t get the chance to settle and smooth out. So, what’s the solution? Ideally, you want to paint when the temperature’s between 10-30°C, with low to moderate humidity. This creates those smooth surfaces we’re all aiming for.
Local climate can also play a big part. If you live somewhere like Sydney, pay attention to the weather. It can make or break how well your paint turns out! So, keep this in mind for your next painting project: check the forecast and plan around those perfect conditions to keep that desired texture in check.
Want to nail your next paint job? Stay aware of humidity and temperature—it’s a simple step that can save you a lot of headaches later on. How do you usually manage these conditions when you’re painting? For optimal results, always follow recommended conditions specific to the paint type you’re using to avoid issues with texture.
Recommended Products

TRUE PORTABLE COOLING FREEDOM – Power this camping air conditioner anywhere with flexible AC/DC options. Including 110V AC wall outlets. For 12V/24V vehicle or portable power station use, an external power inverter is required (NOT included). Designed for outdoor adventures, van life, RV travel, trucking, and emergency cooling wherever you go.

TRUE PORTABLE COOLING FREEDOM – Power this camping air conditioner anywhere with flexible AC/DC options. Including 110V AC wall outlets. For 12V/24V vehicle or portable power station use, an external power inverter is required (NOT included). Designed for outdoor adventures, van life, RV travel, trucking, and emergency cooling wherever you go.

Why Surface Preparation Affects Paint Texture?

Have you ever finished painting a room only to realize the texture isn’t what you pictured? It can be super frustrating. But let’s face it: surface preparation is key to achieving that flawless finish you want.
Start by making sure the surface is squeaky clean. Dust, grease, or remnants of old paint can really mess with how your new layer looks. A little tip: use 120-grit sandpaper to smooth out any bumps or imperfections. This makes a big difference in achieving a consistent texture.
Also, don’t skip the primer, especially if you’re dealing with porous surfaces. Applying the right primer helps with paint absorption, preventing those annoying patches where the paint looks uneven. So, why does this matter? Simply put, surface imperfections disrupt paint flow and can ruin the overall look of your project.
Using a drywall sealer primer before painting ensures better adhesion and a more uniform texture.
When it comes time to paint, remember every little flaw you’ve overlooked will be magnified. Every bump and scratch can compromise that picture-perfect finish you’re aiming for. Trust me; putting in the time for surface prep pays off in the long run.
The best part is that investing this effort can significantly cut down on the need for touch-ups later. So take a moment to focus on these steps before you grab that paintbrush. You’ll be amazed at how much of a difference it makes in the end result. Are you ready to put in the prep work for a finish that you’ll be proud of?
Recommended Products

120 grit cloth backed medium sandpaper for stationary sander

COMPLETE WALL SURFACE PREP KIT: 2pcs putty knives (1.5", 6"), 4pcs skimming blades ( 10", 18",24" ,32"), and 3 different sander sets ( Surfex radial and rectangular sets, Pointed detail sander set. Perfect set for wall repairs and skim coats before painting
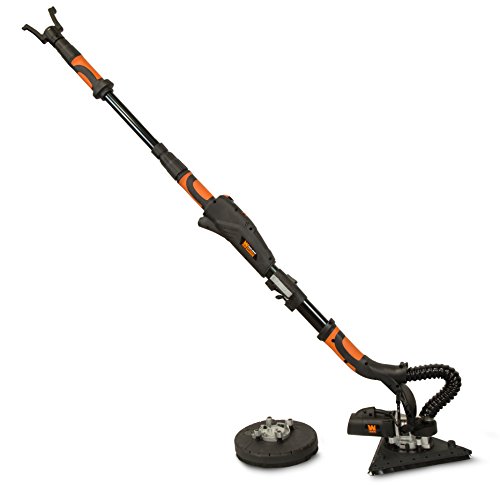
Features both triangular and circular hook-and loop sanding heads with tool-free installation
Key Application Techniques for Avoiding Texture Issues
Ever tried to paint a room only to end up with unsightly texture issues? Trust me, nothing is more frustrating than seeing lap marks or uneven patches when you thought you’d nailed it. The secret really lies in a few key techniques that can elevate your painting game to a whole new level.
First off, keeping a consistent wet edge is crucial. You don’t want to see those dreaded lap marks pop up, especially when applying multiple coats. Focus on using the right roller covers or brushes; they can make a world of difference in achieving that smooth finish you’re after. Remember to apply paint with even strokes and a light touch—this can help reduce drips and styrofoam-like textures.
And don’t rush the drying process between coats! Allowing adequate time for each layer is important; otherwise, you risk losing that nice gloss or end up with visible differences. So, what’s a handy trick to get an even spread, particularly in high-traffic areas? Try using a W or M pattern while applying the paint. It’s an effective way to ensure uniform coverage.
Truth is, these techniques are essential if you want to avoid texture headaches and achieve a professional finish. You definitely can do it! Just remember: preparation, patience, and the right approach can lead to stunning results in your painting projects. Have you tried any of these tips before, or is there another method that you swear by?
Also, ensuring you use products that match your existing ceiling’s texture consistency can help prevent visible repair lines and enhance overall appearance.
Recommended Products

Fits 2021 - 2026 Ford F-150 (incl. Raptor/Lightning) 5' 7" Bed (67.1")

Fits 1999 - 2016 Ford F-250/350/450 Super Duty 8' Bed (96")
Fits 2009 - 2018 Dodge Ram 1500 5' 7" Bed (67.4")
Choosing the Right Tools for a Smooth Paint Finish
When it comes to tackling a painting project, asking yourself what tools you need can set the stage for a beautiful finish. High-quality brushes and rollers that match your paint type are essential. Smooth rollers are a go-to for flat surfaces, while textured ones call for heavier nap rollers that get the job done right.
Think about roller size, too. A good rule of thumb is to stick with rollers that measure between 2 to 3 inches; this size helps you cover more area evenly, keeping the paint from looking thick or uneven. Here’s the trick: use the “wet edge” technique when you’re painting. This helps you keep things consistent and can really cut down on those annoying lap marks that show up when the paint dries.
And let’s not forget about cleaning your tools! Keeping brushes and rollers in good condition can really make or break your finish. Dirty tools often lead to streaks and uneven textures, which no one wants. Using ergonomic designs in your tools can reduce fatigue and improve precision for a smoother finish.
Recommended Products

Gray Base Coat with Gray Blend Flakes - 250 Sq Ft Coverage at 19.4 mils - Ideal for Garage floors, Basement floors, Concrete floors, Wood floors, and More

3 Angles Adjustable Backrest: With backrest angles of 105°, 135°, and 180°, this sofa sleeper allows you to comfortably read a book, lounge for movie nights, or recline flat for restful naps. Our loveseat sleeper sofa for living room are designed to adapt to fit your unique lifestyle.(enjoy exceptional neck and head support with two included soft pillows)

3-In-1 CONVERTIBLE SOFA BED: This small sofa bed effortlessly transforms from a loveseat to a chaise lounge and a cozy bed, meets your various needs. Whether you're sitting, reclining, or sleeping, this pull out sofa bed adapts
Frequently Asked Questions
Why Do My Walls Look Textured After Painting?
Our walls look textured after painting due to improper paint application and surface preparation. Using the wrong roller technique and paint type, along with insufficient primer and varying drying times, can lead to visible color variation and defects.
How Can You Tell a Bad Paint Job?
We can tell a bad paint job by spotting uneven application, a bad finish, and color variation under different lighting. Signs include poor primer, cheap paint, improper technique, inadequate drying, and the wrong roller used.
Will a Second Coat of Paint Get Rid of Roller Marks?
Oh, if only a second coat could magically erase all roller marks! With proper paint application and surface preparation, though, we can substantially diminish texture differences, ensuring a beautifully smooth finish that reflects light just right.
Why Does My Paint Look Different Than the Sample?
Our paint color can look different than the sample due to lighting effects, surface preparation, sheen variations, and varying paint formulas. Improper application techniques and primer importance also contribute to texture changes and sample fidelity issues.