Do you ever find yourself digging through a messy box of tools when a drywall project comes up? It can be such a hassle! Getting organized is key to tackling those repairs efficiently.
Start by gathering some of the essential tools you need for drywall repairs. Think about items like a utility knife with an 18 mm blade and a 10-inch taping knife. I recommend using stackable 20-gallon plastic totes to keep everything sorted and easy to grab. The best part is, you can color-code bins for supplies like joint compound, screws, and tape. It’s so much easier to find what you need when everything has a designated spot.
Now, here’s the trick: for those odd tools that don’t fit neatly into bins, heavy-duty canvas bags work wonders. They’re sturdy and can hold a variety of items without the risk of crushing or breaking them. Have you ever stared at a pile of random tools and wished you had a better way to store them?
Honestly, regular maintenance is crucial. Take some time to clean your tools after each project. It keeps them in good shape and ensures you’re ready for the next time you need to patch something up.
To wrap it up, organizing your drywall repair materials doesn’t have to be overwhelming. Just tidy up your tools and supplies, and you’ll see how much easier your next project can be.
So, what’s stopping you from setting up a system that works for you?
Key Takeaways
- Use stackable plastic totes to categorize and store drywall materials like joint compound, spackle, and screws for easy access.
- Implement a color-coding system to enhance visibility and quickly locate specialized tools and supplies.
- Create custom storage options, such as plywood bins, to tailor organization specific to your repair tools and materials.
- Regularly perform supply checks to ensure essential materials, like joint compound, are fully stocked and ready for use.
- Maintain tools by cleaning them after each use to prevent buildup and ensure they remain in optimal working condition.
Identifying Essential Tools and Materials for Drywall Repair
Have you ever faced a hole in your drywall and thought, “Now what?” You’re not alone! When tackling drywall repair, getting the right tools and materials can make all the difference.
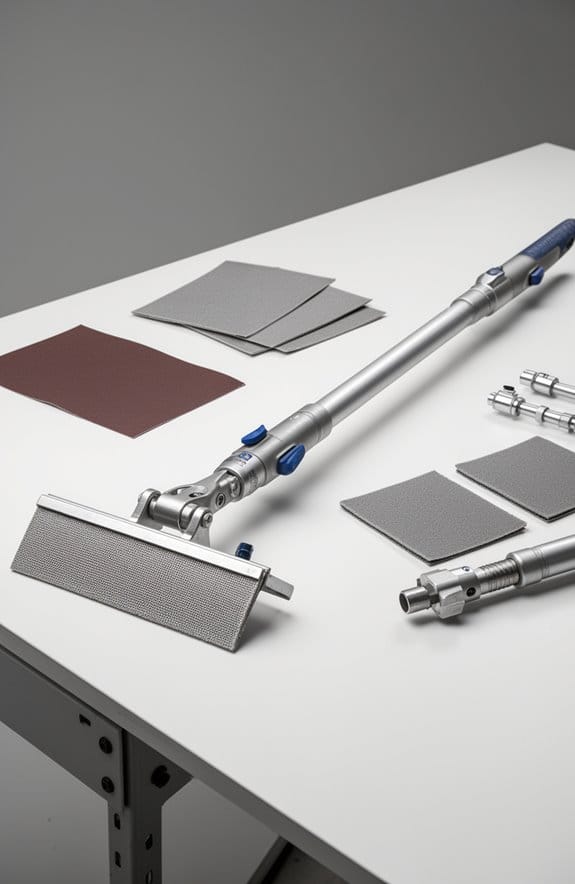
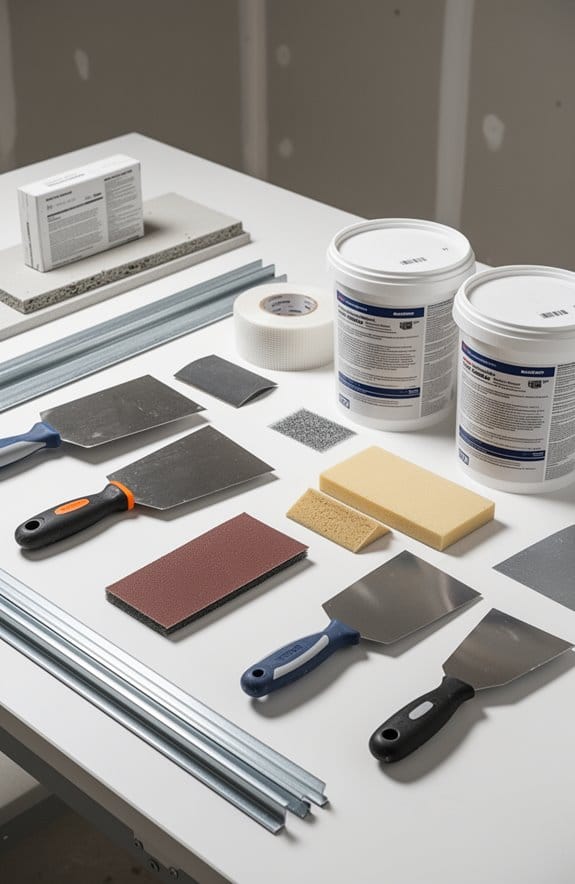
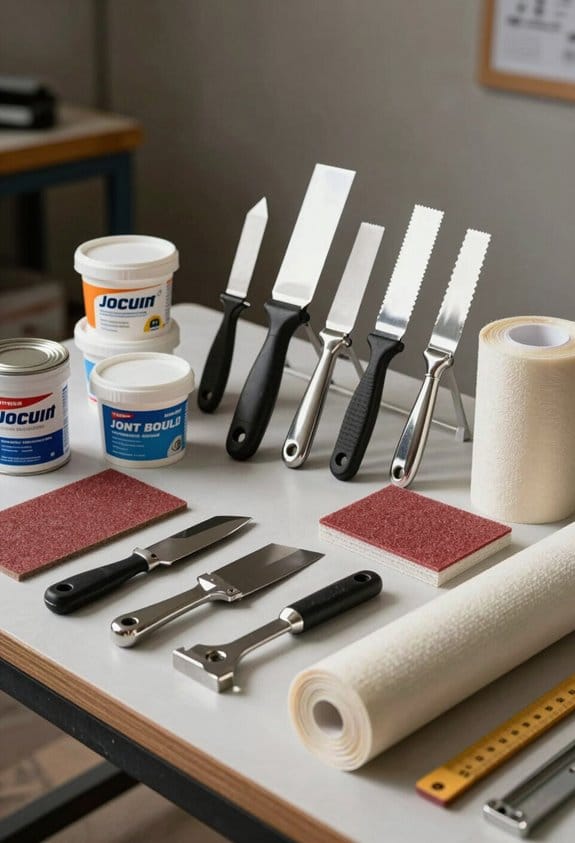
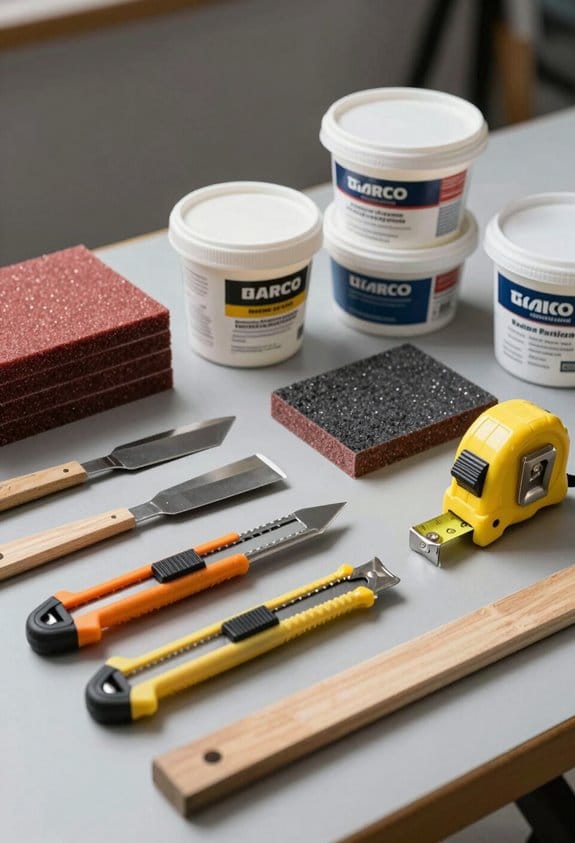
Start with the tools you need. A utility knife with an 18 mm blade is a must for cutting drywall. You’ll also want a drywall saw for those tougher cuts. To smooth out joint compound over your patches, grab a taping knife—one that’s around 10 to 12 inches wide is ideal. It really makes applying compound a lot easier.
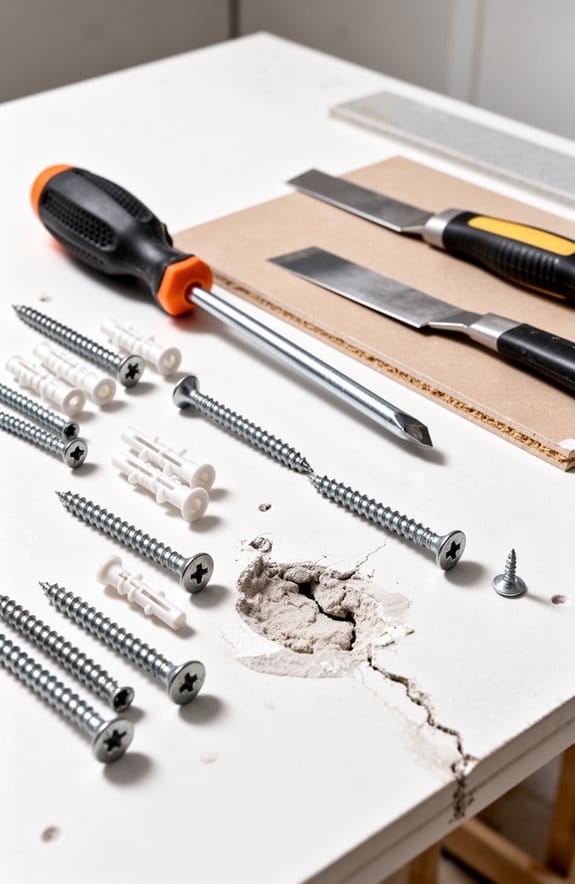
Next up are the materials. You’ll definitely need drywall tape, spackle or joint compound, and some drywall screws. Having a selection of patch kits can be super helpful too since different sizes work for different holes. Honestly, it’s like having a toolbox that’s ready for anything that might come your way.
Alright, let’s not forget safety. It might seem like a hassle, but putting on gloves, goggles, and a dust mask is crucial when you’re working on repairs. You want to avoid any mishaps or unnecessary messes, right?
Additionally, choosing water-based formulas for your joint compounds can make cleanup easier and reduce odors.
Having the right tools and materials on hand not only streamlines the process but makes repairs feel a lot less daunting. So, what do you think? Ready to tackle that drywall?
How to Organize Tools for Drywall Repair Projects
Have you ever started a drywall repair project only to waste time rummaging through a pile of tools? Keeping your drywall repair tools organized can really cut down on the hassle. One practical idea is to grab some 20-gallon plastic totes. These are perfect for storing and transporting your tools, and you can stack them neatly between job sites.
To make life even easier, consider categorizing your tools. It helps to build some custom storage options, maybe using materials you have lying around. You can create separate bins for different tasks like patching, sanding, and applying joint compound. It’s all about making things easy to find when you need them the most.
Don’t forget to pack essential items in your tool kit. Think about including utility knives, drywall screws, and tape. You want to be ready for anything, right? Investing in stainless steel pans for mixing joint compound is another smart move. They’re easy to clean, so you won’t dread that part of the job, and they last longer than plastic pans.
Now, what about those oddball tools like drywall saws and taping knives? Storing them in a heavy-duty canvas or nylon bag is a great way to keep everything accessible during repairs. Plus, you won’t have to dig around searching for them—just grab the bag and go.
Using tools with ergonomic grips and soft handles can also reduce hand fatigue during lengthy drywall repair sessions, making your work more comfortable and efficient.
Categorizing Repair Supplies for Quick Access
Got a drywall project on the horizon? It can feel pretty chaotic, especially when you can’t find the supplies you need. A little organization goes a long way in keeping things smooth and efficient.
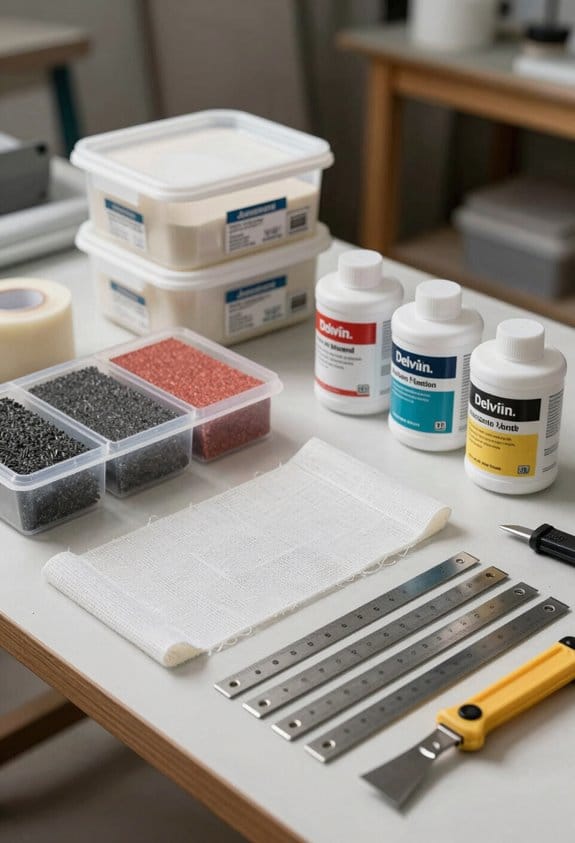
Start by grabbing some 20-gallon plastic totes for all your drywall repair materials. These totes are perfect for stacking, which makes reaching for what you need super easy. Here’s the trick: categorize your materials into different containers or bags. Keep essentials like joint compound, spackle, joint tape, and drywall screws separated so you don’t waste time digging through a mess.
For those specialized tools—think drywall saws and taping knives—heavy-duty canvas bags can do wonders. By grouping them according to the type of repair, you’ll know exactly where everything is when you need it. Frankly, you’re going to save so much time not having to search for your gear.
So, why does this matter? A color-coding system for your supplies can make a big difference in visibility. You can easily spot what you’re after, whether it’s a blue tote for screws or a red one for joint tape. It’s a small step but can have a huge impact on your workflow.
Lastly, make it a habit to regularly check your supplies and restock as needed. There’s nothing worse than running out of joint compound in the middle of a project. You want to ensure that everything you need for drywall repair is at your fingertips. Also, keeping an assortment of patch sizes in your repair kits will help you handle any hole size quickly and efficiently without additional trips.
Keep Your Gear Safe: Smart Storage Tips
Have you ever lost track of your drywall repair tools right when you need them most? It can be frustrating, but with the right storage solutions, you can keep everything organized and easily accessible.
Start with some 20-gallon plastic totes. They’re not just stackable; they provide ample space for screws and other materials that might end up scattered if you’re not careful. If you want to take things a step further, consider using Milwaukee pack-outs or shallow Roughneck totes. They help you classify your tools by type, so when you’re in a pinch, you don’t have to dig around.
For transporting your gear, you might think about heavy-duty canvas bags. But let’s be honest—plastic options often work better for keeping things organized. Think about custom-built storage options, too. Plywood bins can be made to fit your specific tools, especially handy for those drywall knives that need a dedicated spot.
Regular cleaning is key, especially when it comes to stainless steel pans. Taking the time to maintain your tools not only extends their life but ensures they’re ready when your next project rolls around. So, why does this matter? If you’re prepared, you’ll have a smoother workflow and more enjoyable DIY experiences.
Using drywall sanders with built-in dust collection can also help reduce cleanup time and keep your work area tidier.
In short, organizing your drywall repair gear can save you time and headaches. What storage tips have you found helpful in your own projects?
Maintenance Tips for Your Drywall Repair Materials
Ever notice how drywall repair materials can quickly get messy? Keeping your tools in good shape is crucial, and regular cleaning can make a big difference. After you’re done using any knives or pans, don’t skip that warm, soapy water rinse. It helps prevent that annoying compound buildup that can ruin your next repair job.
When it comes to leftover joint compound, storing it properly is key. Try this: put any unused compound in a sealed container. Give it a good mix before you use it next time to make sure it’s nice and even. And don’t forget about your knives. Inspect them regularly and sharpen those edges. A sharp knife means cleaner cuts and less drywall damage. So, why does this matter? Because nobody wants to deal with ragged edges on their repairs — it just adds to the hassle.
As for powder spackling compounds, the best part is they last longer if you keep them in a cool, dry place. Simply store them away from moisture, and they should be good to go for your next project. Lastly, consider using heavy-duty totes or bins to keep all your local drywall materials organized. It makes for easier access when you’re knee-deep in a repair situation. For best results, always check for drying time efficiency to properly schedule your next steps after applying compounds.
Frequently Asked Questions
How Do You Hide Bad Drywall Repair?
To hide bad drywall repair, we should use effective repair techniques like sanding, priming, and matching textures. Taping the area helps prevent cracks, while touch-up paint can seamlessly blend the patched sections with the wall.
What Is a Common Mistake People Make When Applying Mud to Drywall?
One common mistake we make during mud application is using too much joint compound at once. It leads to shrinkage and cracking, creating big problems later. Let’s pay attention to how much we apply for better results!
Should I Use Tape or Mesh for Drywall Repair?
Think of drywall repair like building a bridge; choosing tape types is essential. For larger repairs, we’d favor paper tape for strength, while self-adhesive mesh tape suits smaller fixes where speed’s key. Let’s choose wisely!
How to Repair Drywall for Dummies?
To repair drywall, we identify damage severity, clean, apply spackle or patch, and then sand. Following these drywall basics guarantees a smooth finish—simple techniques lead to effective repairs, even for those new to DIY!