Have you ever been frustrated by a damaged drywall? Whether it’s from a stubborn doorknob or a minor mishap, drywall repair clips are here to help you patch things up smoothly.
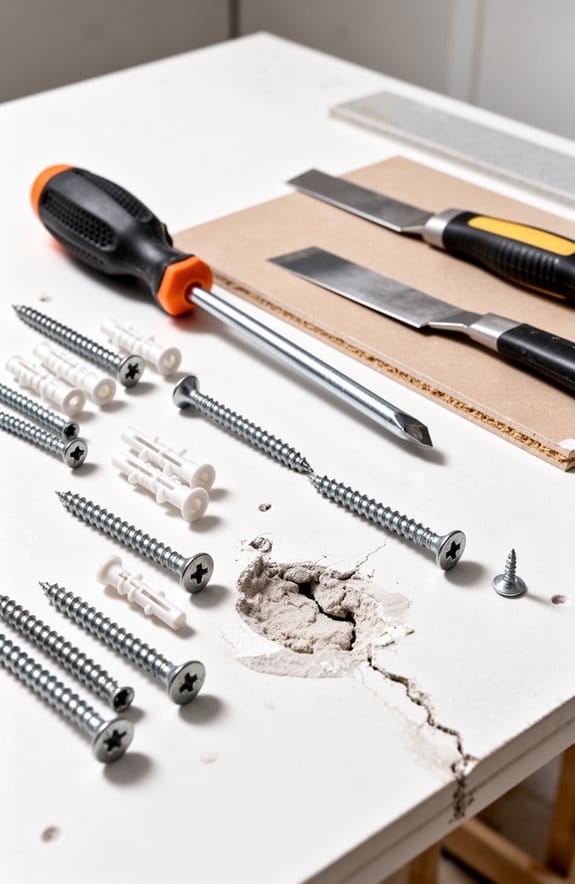
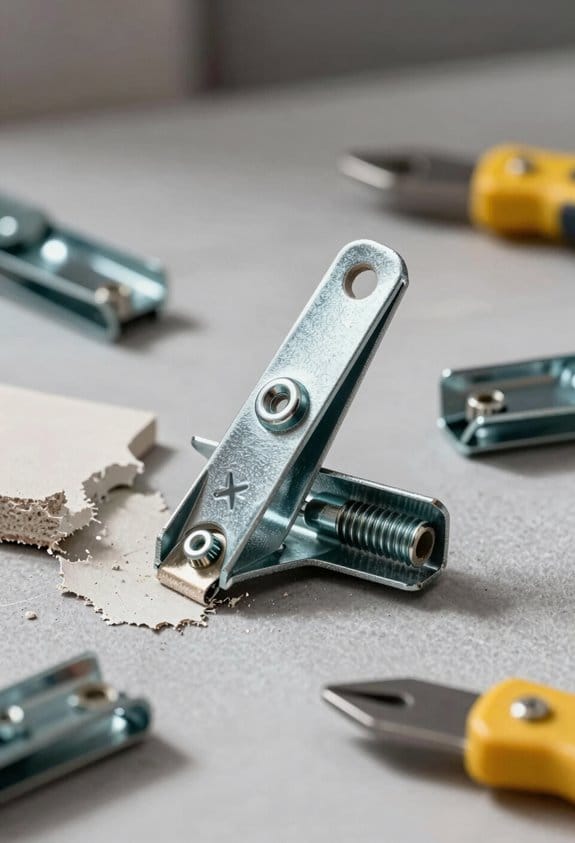
Drywall repair clips are essentially metal brackets that provide support for patches in your damaged drywall. To get started, first, cut away any loose drywall around the hole with a utility knife.
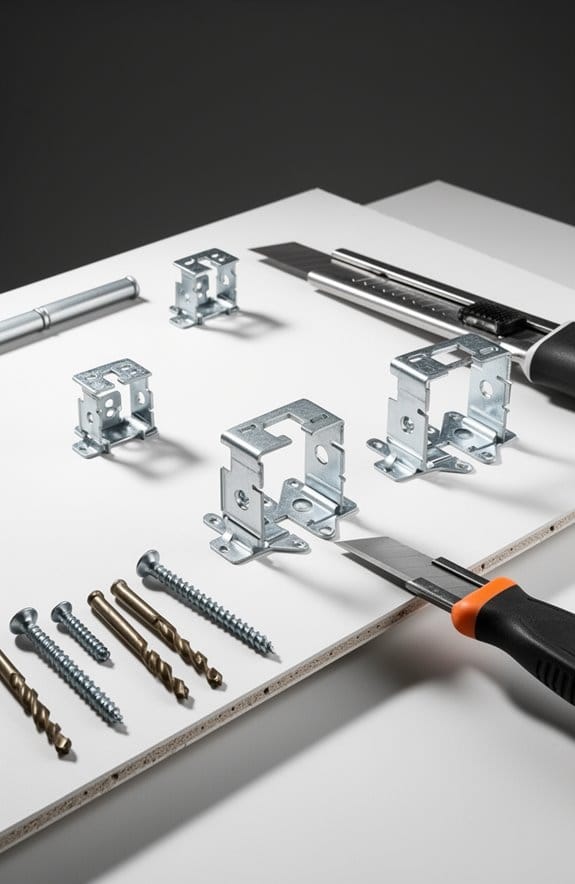
Then, you’ll want to attach the clips around the edges using drywall screws. It’s important to ensure they’re flush against the wall for added stability.
Once the clips are in place, it’s time to secure the drywall patch into them. Tape the seams where your patch meets the existing wall, and then apply a layer of joint compound. This step not only helps smooth things out but also makes the patch nearly invisible once it’s painted.
Finally, don’t forget to finish up with primer and paint for that polished look. You’ll end up forgetting where the damage even was!
So, why put off your repair? Taking on drywall damage doesn’t have to be overwhelming when you have the right tools and steps in place.
In a nutshell, drywall repair clips make fixing those pesky holes easier than you might think. Have you tried this method before, or are you ready to tackle that repair project?
Key Takeaways
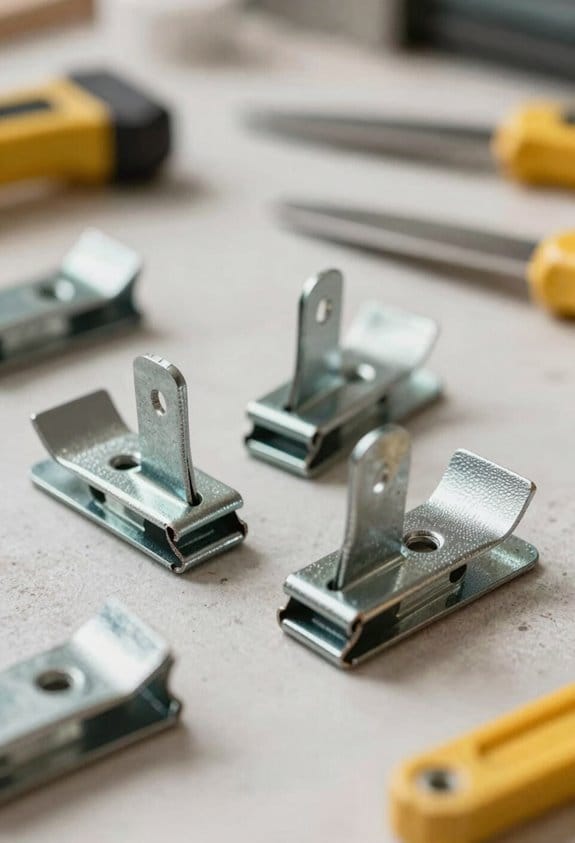
- Drywall repair clips are metal brackets that support patches and eliminate the need for extra framing during repairs.
- To use them, cut away damaged drywall, then attach clips along the edges using drywall screws.
- Secure the drywall patch directly into the clips for strong and stable support.
- Tape seams and apply joint compound to blend the repair seamlessly before finishing with primer and paint.
- Proper installation includes ensuring clips are flush, using tight screws, and verifying correct placement for a professional finish.
Understanding Drywall Repair Clips: Function and Benefits
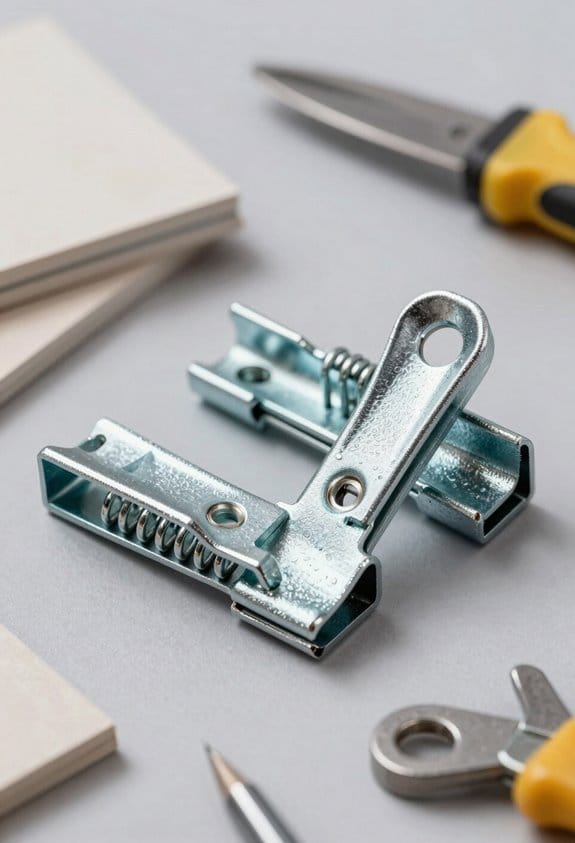
Have you ever stared at a hole in your drywall and wondered how to tackle the fix? It can feel daunting, especially if you’re not a pro, but drywall repair clips can make it a whole lot easier. These handy metal brackets give you the support you need when patching holes, making for a smoother process.
When you install clips around the damage, they create a solid perimeter that holds everything in place. This means your patch won’t shift around and compromise your hard work. Plus, you can skip the hassle of extra framing—which is a huge bonus for DIYers! Simply screw in the clips, and you’re on your way.
Why does this matter? Well, if you’re aiming for a professional-looking finish, using these clips makes all the difference. Combine them with joint tape and compound, and you’ll achieve that seamless look that can fool anyone into thinking you hired a pro.
The best part is that they’re not just for small holes. Whether you’re fixing a larger area or just some minor damage, these clips help ensure your repairs are strong and last. High-quality clips made from stainless steel offer both durability and corrosion resistance, making them suitable even for humid environments.
Recommended Products

Precision machined one-piece stainless steel frames : Provides unmatched durability and a no-leak design with tight tolerances for cleaner corner finishes.

Brushless motor for efficient performance and runtime

【Elegant Curved Scallop Design】: Featuring an elegant curved scalloped frame made of premium stainless steel with a seamless design for a sleek look, the brushed gold bathroom mirror complements any home decor perfectly, creating an eye-catching focal point in your space
Step-by-Step Guide to Using Drywall Repair Clips
Got a drywall hole that’s driving you crazy? You’re not alone! Fixing those pesky damaged spots can feel overwhelming, but using drywall repair clips can make the whole process so much smoother.
First things first, grab your utility knife and cut away any loose or jagged pieces of drywall around the hole. It’s important to have a clean opening to work with. Once you’ve done that, it’s time to bring in the clips. Attach them along the edges of the hole using drywall screws, making sure the flanges sit flush against the existing drywall. This step is crucial because it gives you a solid backing to work with. Get those clips nice and secure!
Now comes the fun part—fitting your drywall patch into the hole. Just screw the patch directly into the clips for some sturdy support. After that, you’ll want to tape the seams and spread some joint compound over them. This will help blend everything in nicely.
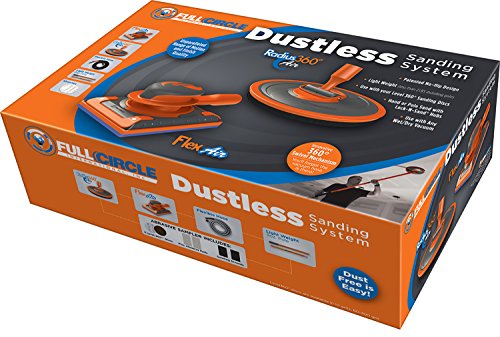
For best results, consider tools that offer mud flow control features to ensure a smooth and consistent application of joint compound.
The best part is, once everything’s dried and smoothed out, you can finish up with a fresh coat of primer and paint. You’ll hardly even notice where the damage used to be!
Recommended Products

M18 Combo hmr dr BL W/1/4 hex Imp driver/2 bat

Set of 2pcs of 8x8 Access Panels

DURABLE AND SHATTERPROOF: Our pill-shaped mirror boasts exceptional quality, with a rustproof stainless steel frame and a shatterproof 4mm HD glass supported by 9mm MDF backboard. The brass mirror is recessed, floating in a thin gap within the frame, ensuring longevity and resilience
Troubleshooting Common Issues With Drywall Repair Clips
Have you ever tried fixing drywall and found yourself frustrated with repair clips? You’re not alone. While it can seem easy, there are a few common hiccups that can make the task tougher than it looks.
First off, make sure the clips are flush against the existing drywall. If they’re sticking out, your patch will look uneven, and no one wants that! And don’t forget about those screws—if they’re not fully driven in, the whole repair could feel wobbly. Even a bit of looseness can affect things down the line.
Now, if you discover that the clips bent during installation, don’t just leave them in. Remove and replace them to keep the repair strong. Check whether the flanges are tight against the edges of the drywall, too; gaps can lead to more problems later.
So, if you have a hard time fitting the patch, take a moment to double-check that all clips are installed properly. They should help support you, not get in the way when you’re applying that joint compound.
Using the appropriate joint tape type with drywall repair clips can enhance the durability and finish of your repair.
In short, a little attention to detail can save you a lot of hassle. Ever faced a tricky drywall repair? What did you do to fix it?
Recommended Products

TAPE TECH DRYWALL MUD TUBE 36" IS COMPATIBLE WITH ANGLE HEADS, GLAZERS, FLUSHERS, MUD HEADS - Finish inside corners, corner bead

Heavy-Duty Construction: Built with robust steel for durability and longevity
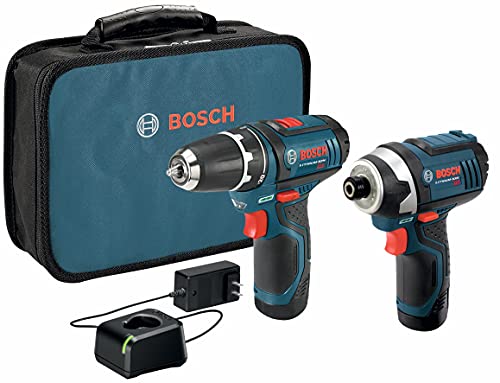
Compact Tool Set: The lightweight design of the PS31 power drill cordless driver is ideal for easy handling in overhead operations and tight spaces and the PS41 impact driver offers the precision of variable speed, a light-body, and a short-head length
Advantages of Drywall Repair Clips for DIY Projects
Ever tackled a drywall repair and wished it would just hold up better? If so, drywall repair clips might just be the answer you’re looking for. These handy little tools can really improve your DIY projects by providing a solid backing for your patches, ensuring they stick well to the existing drywall. That added support helps prevent issues like cracking and sagging down the line, which can be pretty frustrating after all your hard work.
One of the best things about these clips is that they cut out the need for extra support structures, which can make the whole process so much simpler. You’re looking at easier alignment, which helps minimize gaps and misalignment. Honestly, who wants to deal with uneven repairs? Installation’s a breeze too—just grab some standard drywall screws, and you’re good to go.
Here’s the trick: incorporating drywall repair clips not only saves you time but also boosts the quality of your repairs. You can achieve a professional finish without all the fuss. So, if you’re diving into a drywall project, it’s worth considering these clips to make your life easier.
In short, drywall repair clips can really be a helpful addition to your DIY toolkit. For more precision in your repair work, consider pairing these clips with an oscillating tool featuring a variable speed motor for better control. Ready to give them a shot on your next project?
Recommended Products

【Save More with Efficient Lighting】 Experience top-tier illumination while saving energy with our energy saving frontlit & backlit mirror. With a remarkable 32.8% reduction in power consumption, this LED mirror for bathroom is designed to cut down on your energy costs without compromising brightness.

Superior Performance: Brushless motor efficiently drives up to 750 fasteners per charge and 90 pieces per minute to increase productivity for construction contractors and DIYers
Multi-patented pivot joint gives full range of motion
Expert Tips for Efficient Drywall Patching
Have you ever stared at a hole in your drywall, wondering how on earth you’re going to fix it? It can feel like a daunting task, but trust me, it doesn’t have to be.
Start by cleaning the edges of the hole. Getting rid of any dust and debris ensures that the patch will sit flat and bond properly. After that, consider using drywall clips for extra support. These clips really help you secure the patch better. It’s crucial to attach them with drywall screws and double-check that they’re stable. Once those clips are in place, you’re ready to secure your patch with screws driven into those clips. Keep everything tight and aligned—this step matters.
Now comes the fun part. Apply some joint tape over the seams, then cover it with joint compound. This is what helps create a seamless blend between your repair and the wall. Once you’ve got the joint compound on, be patient and allow it to dry completely before moving on to sanding it down for a smooth finish.
So, why does this matter? Getting drywall repairs right not only enhances the look of your room but can also save you from bigger issues down the road. Using a quick-drying formulation can minimize downtime and help you finish your project faster.
In short, with a little patience and these straightforward steps, you’ll have your drywall looking as good as new. What’s the next project you’re tackling?
Recommended Products

Clear Reflection and NO Distortion: ANDY STAR bathroom mirror’s high-reflection crystal glass ensures clear, true-to-life reflections with no distortions, producing clean lines and a more modern home decor and that cannot be compared by any other tempered glass.If you do experience any distortion, simply provide photos for a free replacement
Excellence Reflection: This brass bathroom mirror is made with grade 1 high reflection silver glass that gathers light to give you a clear reflection. With its premium-quality glass, this oval gold mirror is sure to provide a good reflection and look great in any space

Fluid-drive Hydraulic powertrain reduces metal on metal contact within the tool, delivering quieter operation, smoother performance and increased durability over a standard impact
Frequently Asked Questions
How to Use Drywall Repair Clips?
To use drywall repair clips effectively, we place them around the hole’s perimeter, securing them with screws. This technique stabilizes our patch, ensuring a solid foundation for a smooth, professional finish in our repair process.
Do You Actually Need Drywall Anchors?
We don’t always need drywall anchors, but when we’re hanging heavier items, their support’s essential. For lighter pieces, anchor alternatives like adhesive hooks or picture rail systems could suffice, making our choices flexible and efficient.
What Is a Drywall Clip?
A drywall clip is a helpful device that stabilizes drywall patches, eliminating the need for extra backing. Its benefits include easy installation and a seamless look, making our repair projects much more straightforward and efficient.
Are Drywall Clips Suitable for All Drywall Types?
We’ve found that drywall clips aren’t suitable for all drywall types. For instance, when working with moisture-resistant drywall, clip compatibility is vital. Always check your clips to guarantee a proper and stable fit for your project!