When you’re diving into drywall repairs, the right grit sandpaper makes all the difference for that perfect finish. You definitely want to kick things off with 80-120 grit for the initial sanding of your joint compound.
After that, it’s time to step it up to 150-180 grit for the final sanding. This is where you’ll achieve that buttery smooth surface, just right for painting. Using the right grit helps avoid scratches and uneven textures, which nobody wants to see on their walls.
Try this: for small areas, grab a hand sanding block. They’re super handy and give you more control. For larger sections, a power sander is the way to go. It’s quicker and gets the job done with less effort. Honestly, keeping these tips in mind can make your repair process go much smoother and more enjoyable.
So, why does this matter? Well, a smooth surface not only looks better but also allows paint to sit evenly, enhancing the overall appearance of your space. If you’re putting in the effort to fix your drywall, you want the end result to look flawless.
In summary, pick the right grit sandpaper for each stage of your drywall repair. It’s all about that little bit of extra effort for a big impact.
Have you tackled any drywall projects lately?
Key Takeaways
- For initial drywall repairs, use 80-120 grit sandpaper to sand joint compound and seams effectively.
- Level spackle repairs with 120-150 grit sandpaper for optimal smoothness before final sanding.
- Final sanding should be done with 150-180 grit sandpaper for a clean, professional finish prior to painting.
- Avoid coarse grits to prevent scratches and a rough texture on the surface.
- Use sanding tools like hand blocks or pole sanders for best results on various drywall repair sizes.
Why Choosing the Right Grit Matters for Drywall Repairs
When tackling drywall repairs, it’s super important to pick the right grit sandpaper if you want that clean, professional look. For the first round of sanding on joint compound or spackle, stick with 80-120 grit sandpaper. This grit does a great job of smoothing things out without damaging the surface you just worked on.
Now, moving on to that final touch? Grab some 150-180 grit sandpaper. It’s perfect for giving you that buttery smooth finish just before you paint. So, why does this matter? Well, using a grit that’s too rough can leave unsightly scratches, while going too fine might stretch out your sanding time way longer than necessary.
Here’s the trick: using the right grit can not only make your drywall project go a lot smoother, but it also cuts down on the dust you’ll have to deal with later on. Nobody wants to spend hours cleaning up after a repair job, right?
In short, picking the right sandpaper grit plays a crucial role in achieving that flawless result you’re after. It’s also helpful to use sanders with effective dust collection systems to minimize cleanup and keep your workspace clean.
Next time you’re gearing up for a repair, think about your grit choices. What’s your go-to grit for drywall repairs?
Recommended Products

Variable speed adjusts from 600 to 1200 RPM with a head-mounted brushless motor for maximum torque to the sanding disc

Counter-balanced for its specific size backup pad
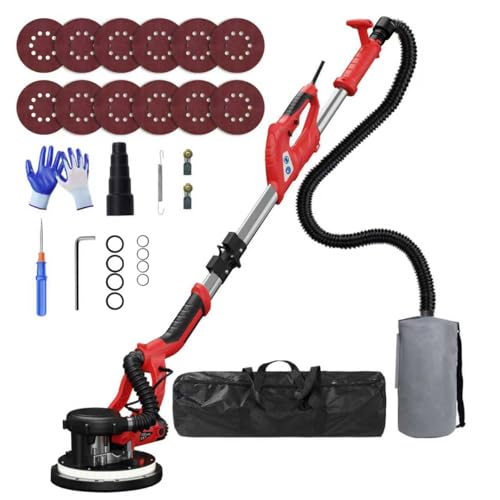
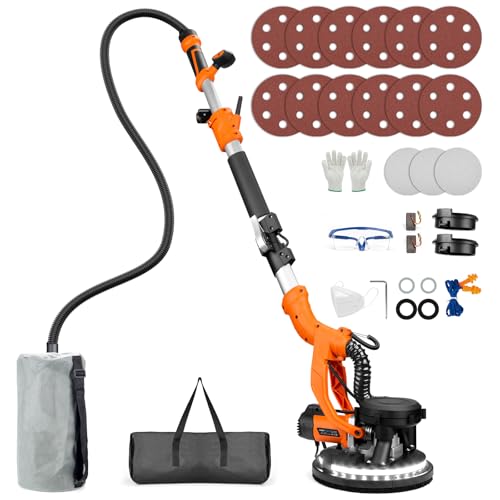
【TELESCOPIC DESIGN & LIGHT WEIGHT】This drywall tools is collapsible. This design will save your space and make it easy to carry and store in the carry bag. The retractable extension rod allow this ceiling sander to extend from 3.9 feet to 5.5 feet to accommodate different working heights and simplify your popcorn ceiling removal vacuum work. This electric sander is only 8.59 pounds, and the total weight of Sander+ Rod+ Dust Hose+ Dust Collection Bag is only 10 pounds, both are much lighter than other electric dry wall sander on the market
How to Choose the Best Grit Sandpaper for Drywall Repairs?

How do you find the right grit sandpaper for drywall repairs? It can be tricky, but it really boils down to a couple of factors: the sanding method you’re using and the specific stage of your project.
For the initial sanding of joint compound and drywall seams, grab some medium grit, like 80-120 grit. This range is great because it helps you create a smooth surface without risking damage to the drywall. When you’re working on leveling small repairs with spackle, you’ll want to bump that up to 120-150 grit. And once you’ve got your repairs shaped up, switching to fine grit—around 150-180 grit—is key for that final sanding layer. This step ensures you get a lovely finish before painting.
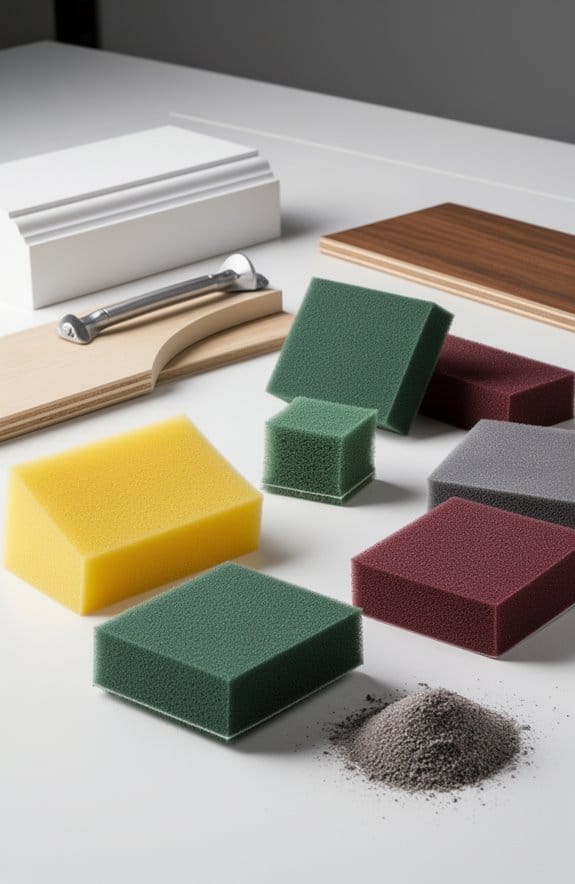
Here’s the trick: avoid coarse grits. They can easily create deep gouges and leave a rough texture that’s further work down the line. So, choosing the right grit makes a big difference in your drywall repair efforts. Also, using 120 to 220 grit sanding blocks can help achieve a smooth finish in exterior repairs just as effectively.
To recap, consider your sanding stage when picking your grit. Got any experiences with drywall repairs that made you want to tear your hair out?
Recommended Products

INCLUDES: (1000pc) 120 Grit Sanding Discs - 5 Inch 8 Hole Pattern with Hook and Loop Backing

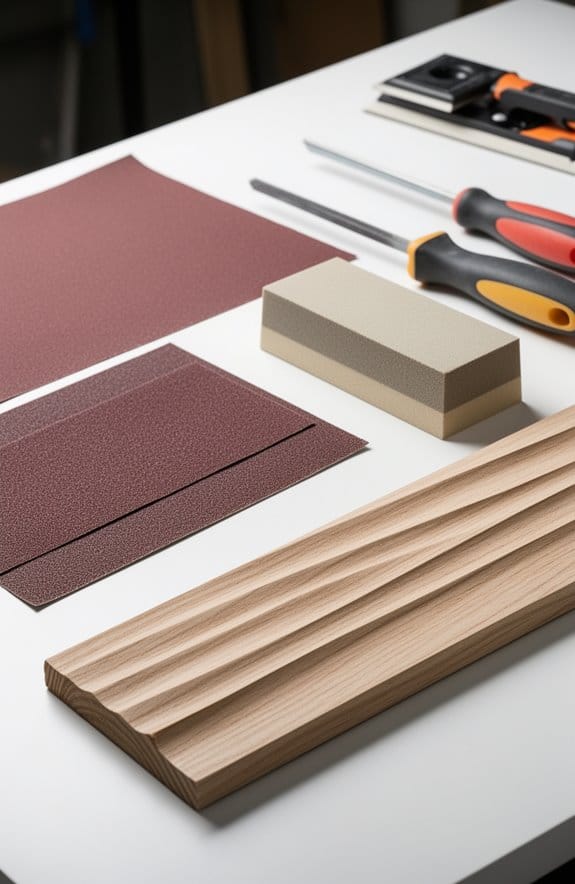
120 grit cloth backed medium sandpaper for stationary sander

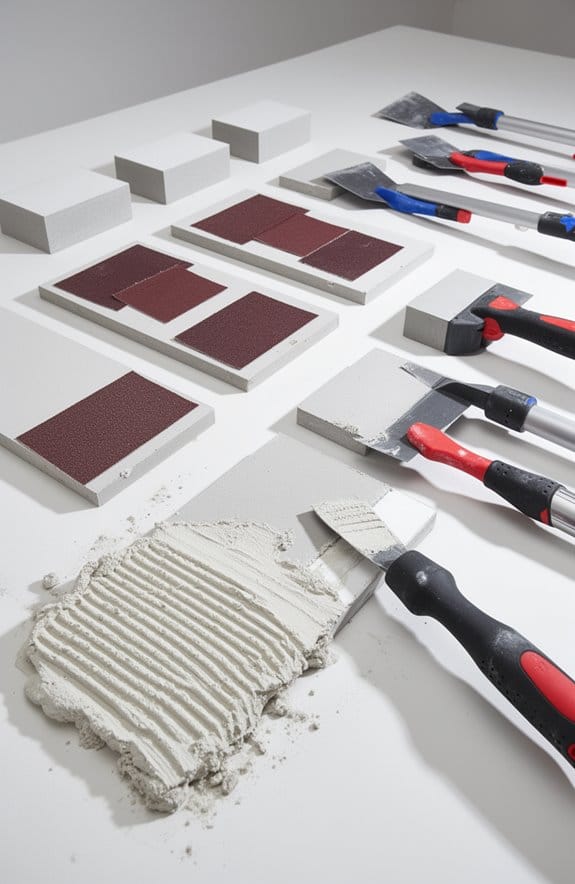
COMPLETE WALL SURFACE PREP KIT: 2pcs putty knives (1.5", 6"), 4pcs skimming blades ( 10", 18",24" ,32"), and 3 different sander sets ( Surfex radial and rectangular sets, Pointed detail sander set. Perfect set for wall repairs and skim coats before painting
Grits for Final Sanding of Drywall

Achieving a smooth finish on drywall repairs can be trickier than it sounds, especially if you don’t use the right grit sandpaper. Aim for a grit in the 150-180 range for your final sanding. This grit is perfect for smoothing out any imperfections in that pesky joint compound. When you’re at this stage, focus on feathering the edges of your patched area. This little detail makes all the difference in blending nicely with the surrounding wall.
So, why does the grit matter? Using anything coarser at this point will leave visible scratches and might create an uneven texture that defeats your hard work. After you finish sanding, don’t skip on the dust removal. A simple damp cloth will do wonders to reveal any leftovers that might not have smoothed out completely. It’s a good practice before you dive into painting. Following these steps can help you achieve a finish that looks like a pro did it. Proper surface preparation before applying textures is essential for the best adhesion and finish quality.
Recommended Products
Features both triangular and circular hook-and loop sanding heads with tool-free installation

Versatile Use: The drywall sander is a highly efficient tool designed to achieve smooth and polished surfaces. It is suitable for various surfaces, including latex walls, painted walls, silicate walls, atomic ash, and putty wall lamps. It is well-suited for DIY home projects, as well as professional renovation and construction work.
[1000W Pure Copper Motor & 2200RPM High Efficiency - Works Perfectly in Any Scene] High-power high-speed electric drywall sander provides powerful power and easy and even sanding of walls or ceilings, with 6 adjustable speeds between 800-2200RPM to meet all your different polishing needs. Perfect for sanding drywall, painted walls, ceilings, cement walls, paint coatings, and loose plaster.
Avoid These Common Mistakes When Sanding Drywall
Sanding drywall can be a real hassle, and it often seems like an easy task until you run into common pitfalls. Have you ever noticed those annoying uneven spots after sanding? A lot of that comes from using the wrong grit sandpaper. It’s super important to choose the right grit number for each phase of sanding.
When it comes to pressure, a light touch is your best friend. Pushing down too hard can gouge the surface, and that’s something you definitely want to avoid. Instead of fixating on one area, try broad, sweeping motions. That’ll help you stay smooth without creating those dreaded divots.
Don’t forget to wipe away the dust regularly. Why’s this important? It keeps you from missing imperfections, and that can make all the difference in achieving a smooth finish. Also, selecting compounds with easy sanding properties will make the finishing process much smoother and less labor-intensive.
Recommended Products

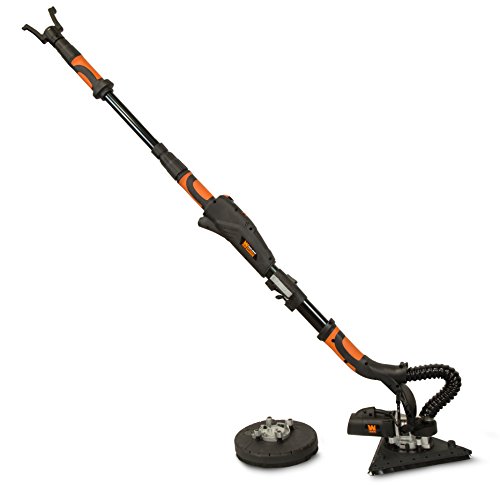
Brushless motor allows for improved runtime and durability, and eliminates the need to change brushes

DESIGNED WITH EVERYONE IN MIND: From the DIYer to the contractor this is the perfect product to fill the grain and seal the pores of wood before painting to get a smooth finish on oak, ash, mahogany, walnut and other porus woods. A favorite product for cabinet and vanity refinishing, millwork, and furniture refinishing. For that glass smooth finish, start and finish all your wood projects with Aqua Coat.

【DUAL-CHANNEL AUTO VACUUM SYSTEM】Our lijadora para drywall has a built-in vacuum system and the dual pipes channel design enable it achieve a strong dust vacuum efficiency which up to 97%-99% if operated properly. It helps you create a clean working environment and minimizes your cleanup work. Keeping the sand disc parallel to the wall will help prevent dust from leaking out
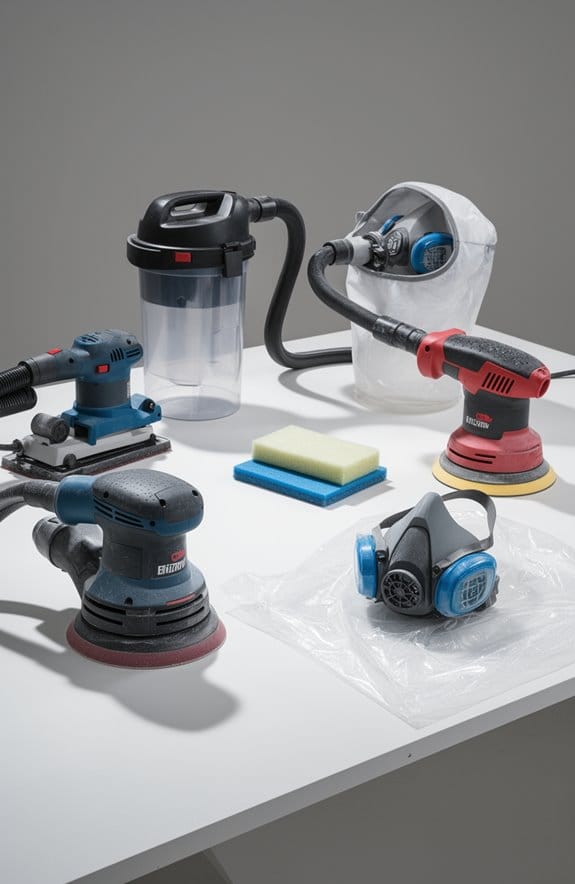
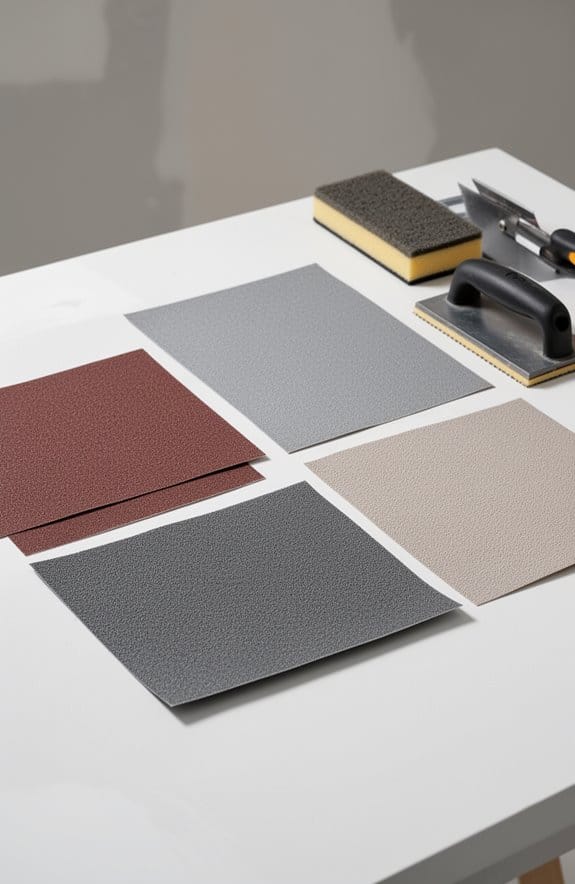
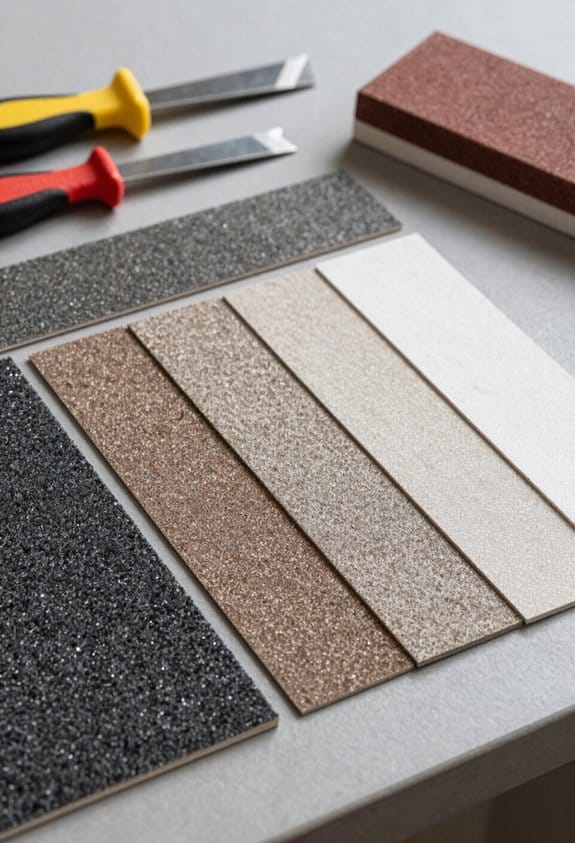
Essential Sanding Tools for Your Drywall Grit Choice
Choosing the right sanding tools can be the difference between a smooth drywall repair and a frustrating mess. You’ll want to have a few staples in your toolkit: hand sanding blocks are perfect for those little patch jobs, while a pole sander can really help when you’re tackling bigger areas. Got edges and corners? Detail sanding sponges are your best friends here.
For larger surfaces, consider using sanding discs with power sanders—they can really speed up the process. And when you need to sand by hand but don’t want to take off too much material, sanding sheets work like a charm. The key is pairing your tool with the right grit. This helps you control the sanding process, making it easier to smooth out those high spots and get that flawless finish you’re aiming for.
Honestly, if you can find a dustless or vacuum-connected sander, you’ll be doing yourself a favor. It cuts down on airborne dust, making the whole project a lot cleaner. But be careful! Choosing the wrong grit can lead you to uneven surfaces, which just means more work down the road. Many sanding pads come with hook-and-loop backing for quick attachment and easy changes during sanding tasks.
Recommended Products

【Customizable Speed Control for Precision】Achieve optimal sanding results with our sanding machine's two-speed control modes. In Mode 1, the Speed Throttle lever allows you to adjust the speed to the maximum level of each setting. In Mode 2, the rpm+/rpm- function offers six levels of fixed speed, giving you precise control over your sanding speed for different applications

Abundant Quantity: tired of constantly changing sandpaper blocks of different grits? Our double-sided 80/ 120 grit sanding sponges let you do both coarse and fine sanding with just one tool

LIGHTWEIGHT WITH POWER AND CONTROL: Sanding block with a firm-but-flexible backing which helps easily restore contours and bodylines.
Frequently Asked Questions
What Grit Sandpaper for Drywall Patching?
For drywall patching, we prefer using 80-120 grit sandpaper for initial sanding, followed by 150-180 grit as we finish. This guarantees perfect surface smoothing and texture matching in our paint preparation process, aiding effective project planning.
What’s Rougher, 60 or 80 Grit?
When it comes to grit comparisons, 60 grit is rougher than 80 grit. We should consider our sanding techniques carefully, especially for drywall finishing, ensuring proper surface preparation for ideal results without excess sanding dust.
Is 220 Grit Sandpaper Good for Drywall?
Yes, 220 grit sandpaper’s effective for drywall. We should follow drywall sanding tips, using ideal grit levels and sanding techniques to achieve surface smoothness while avoiding common mistakes during finishing practices for the best results.
What to Use to Sand a Drywall Patch?
To sand a drywall patch effectively, we should use 80-120 grit sandpaper initially, followed by 150-180 grit. Let’s focus on dust control methods, avoiding common drywall mistakes for smoother finishing and repairing wall textures.