Are you tired of walls that look flat and boring? Creating an orange peel texture can bring life to your space, and it’s not as tricky as it sounds!
To get started, mix your joint compound with water at a 2:1 ratio until it becomes thick and creamy.
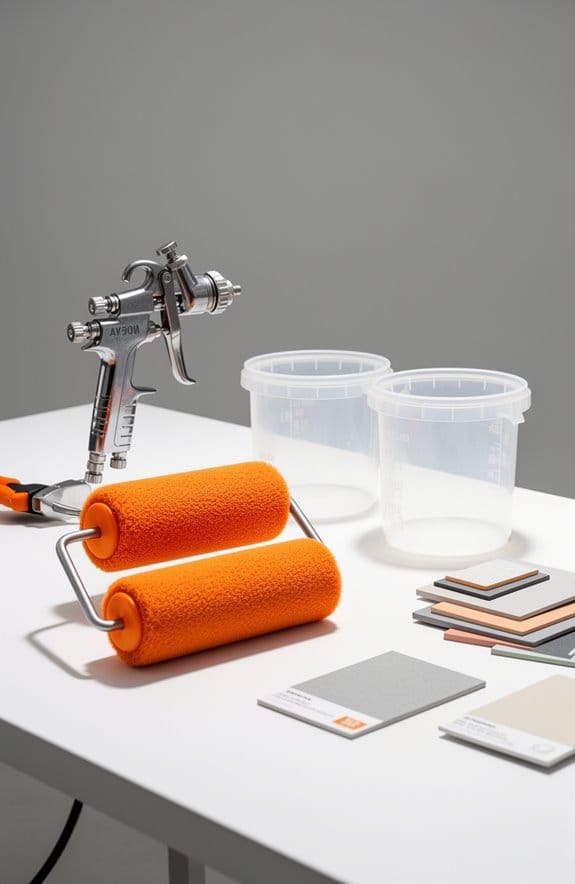
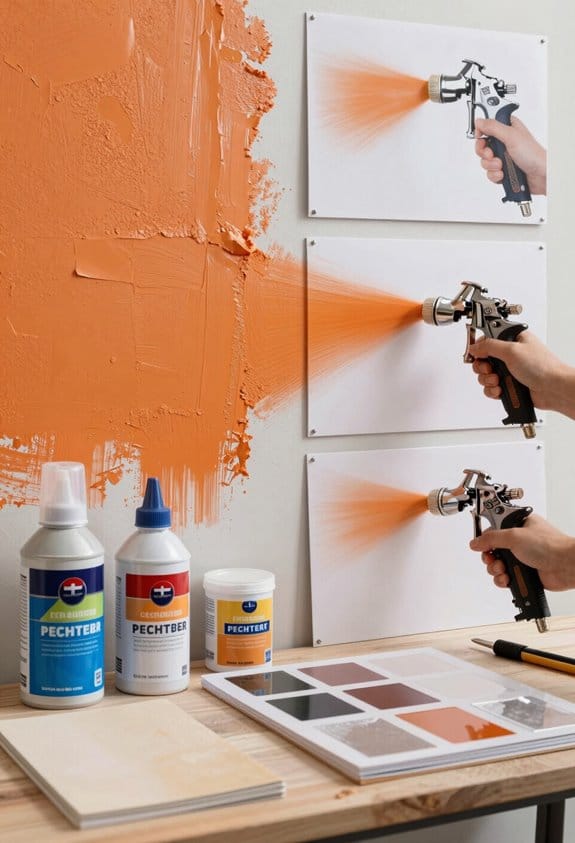
Here’s the trick: use a texture spray gun for an even application, but make sure to keep a consistent distance from the wall. It’s all about those bumps, and you can achieve them by using a circular motion while working in sections.
Don’t skimp on prep work—making sure your surface is well-prepped really helps with adhesion.
Practice makes perfect, and after a few tries, you’ll feel like a pro. Honestly, you’ll be impressed with how a little texture can make a space feel more inviting!
If you’re looking to dive deeper into this technique, let’s chat about the best practices next. What’s your next home project?
Key Takeaways
- Use high-quality joint compound mixed to a thick, creamy consistency for optimal texture application.
- Apply the compound evenly with a texture spray gun, maintaining consistent distance and motion.
- Work in sections to prevent the joint compound from drying out before finishing the texture.
- Monitor repairs closely, blending them seamlessly with the existing texture for uniformity.
- Regularly clean and inspect the orange peel texture to maintain its durability and appearance.
How to Achieve the Perfect Orange Peel Effect

How to Achieve the Perfect Orange Peel Effect
Ever stared at a wall and thought it looked a little too flat? If you’re digging the textured vibes, the orange peel effect is a fantastic way to add some character to your space. Here’s how you can create that look, step by step.
First, you’ll want to mix up a batch of joint compound. The right ratio is about two parts compound to one part water, until it’s thick and creamy. This texture is key, so don’t rush through this part. Take your time mixing—achieving that perfect consistency can make all the difference.
Before you start slinging that texture on the wall, make sure the surface is clean and primed. A smooth wall preps for a better application and helps the texture adhere properly. Think of it like preparing a canvas; a little prep work goes a long way.
Now, let’s talk tools. You’ll need a texture spray gun with a medium or wide nozzle. If you haven’t used one before, practice on a scrap piece of drywall first. Trust me, getting the hang of the motion is key. When you’re ready to shoot texture onto the wall, use a circular or random motion to create those lovely bumps that give the orange peel effect.
So, why does this matter? This technique not only makes the wall look great but also hides minor imperfections. It’s practical and stylish at the same time!
Once you finish applying the texture, allow it to dry completely before you even think about painting. This drying time is crucial. The best part is, once it dries, you’ll be all set for the next steps in your decorating journey. Using a low odor formula during application will make your project more pleasant, especially when working indoors.
Recommended Products
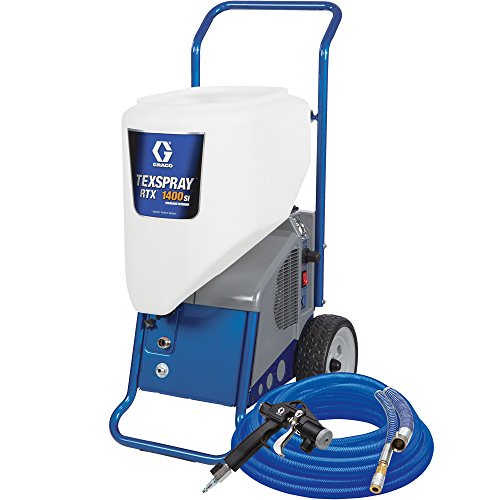
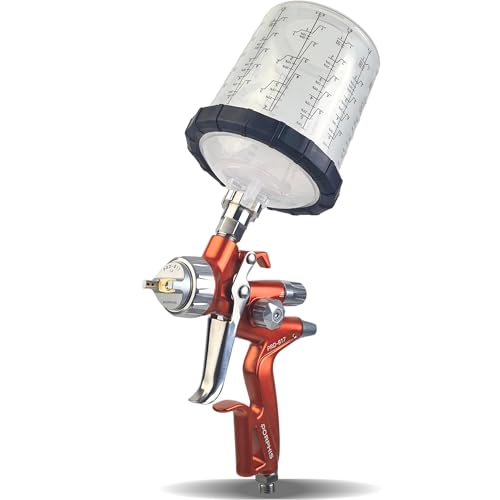
The RotoFlex ll pump delivers smooth material flow for uniform coverage and a consistent spray pattern - 1. 4 gpm output to get the job done quickly

Pressure-Boosted hopper gun is pressurized for increased material flow and unmatched productivity

Fits GRACO RTX 1500/2000pi/5000pi texture spraying units
Common Mistakes to Avoid With Orange Peel Texture Application
Applying orange peel texture to your walls can be a satisfying DIY project, but there are a few common mistakes that might throw you off course. Ever wondered why your texture doesn’t look quite right? Let’s break down what to avoid to achieve that perfect finish.
First up, mixing your joint compound properly is key. If it’s inconsistent, you can expect uneven textures. A good tip is to mix it until it’s smooth and creamy—think cake batter consistency. Trust me, spending that extra few minutes getting it right will pay off in the end.
Don’t forget to practice with your texture spray gun on a scrap piece of drywall. You want to ensure you’ve got that technique down before going live on your walls. Getting comfortable with the tool makes a world of difference in the final look.
Here’s a biggie: never skip cleaning and priming your walls. If you ignore this step, you’ll likely deal with peeling down the line. Poor adhesion just isn’t worth the risk, so take the time to prep your surfaces properly.
Also, be careful not to overdo it with the joint compound. A heavy texture can end up looking clunky instead of that nice subtle finish you’re aiming for. Start light, and you can always build it up if needed.
Lastly, patience is key when it comes to drying time. Rushing to paint can trap moisture under the surface, leading to unsightly bubbling. Give your work enough time to dry completely—don’t let impatience ruin your hard work.
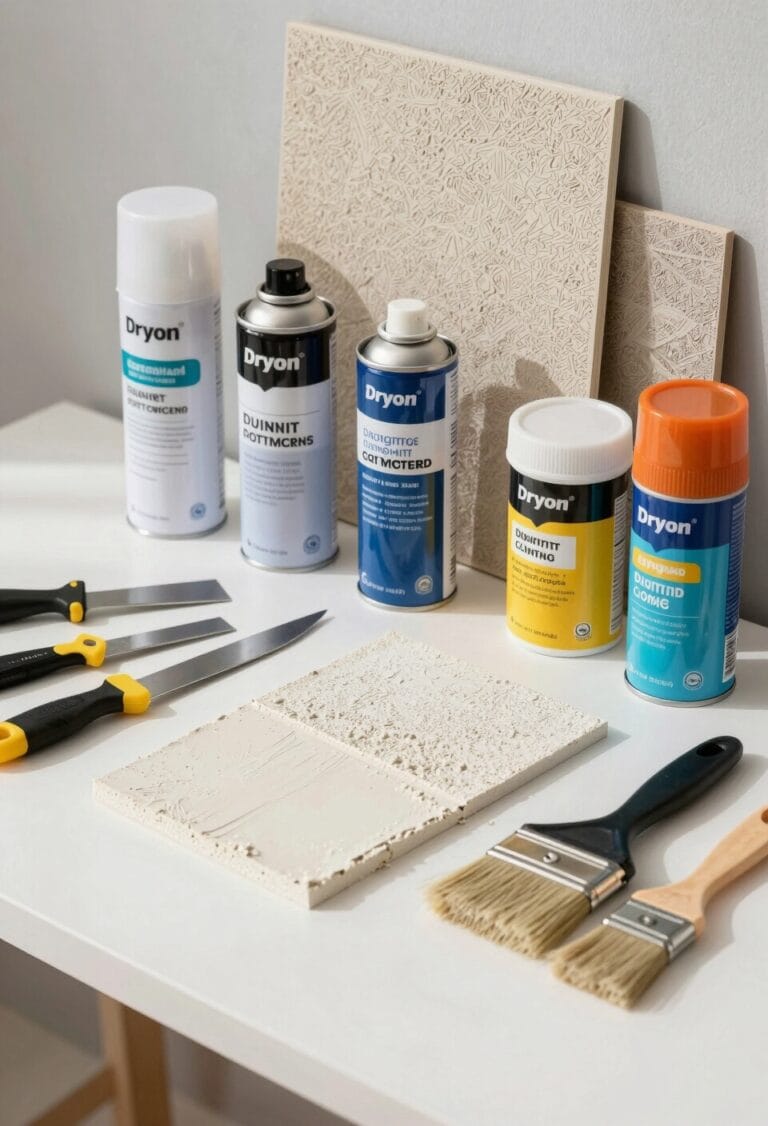
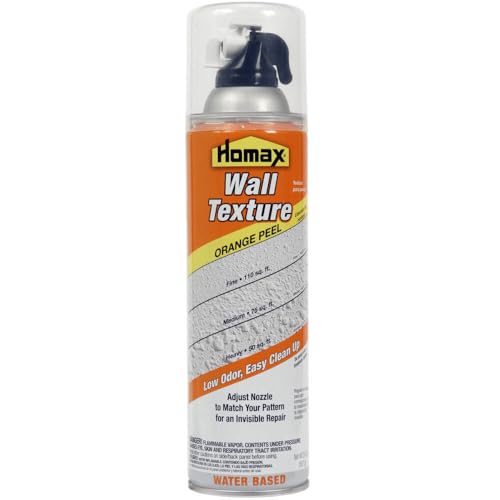
For easiest cleanup and a more pleasant indoor experience, consider using low-odor water-based orange peel textures when possible.
Repairing Your Orange Peel Finish: A Step-by-Step Guide

Have you ever looked at your walls and noticed that pesky orange peel finish? It might seem like a small issue, but it can really affect the overall look of your space. Fortunately, fixing it isn’t as daunting as it sounds.
First things first, clean the damaged area well. You want to remove any loose texture before you get started—this step makes sure your repair material sticks properly.
Next, let’s talk about the repair material. Mix some joint compound with water until it’s thick and creamy—think of pancake batter consistency. A 4-inch putty knife is your best friend here. Just apply that joint compound over the damaged section and spread it out evenly.
Once you’ve done that, let it dry according to the manufacturer’s instructions. Here’s the trick: to recreate that orange peel pattern, grab a texture spray gun. It’s all about blending in the new texture with the surrounding area, making it look seamless.
Before you grab your paintbrush, make sure everything is completely dried. Trust me, it’s worth the wait. Now, take a step back and admire your hard work. Doesn’t that feel good? For best results, use a texture spray that matches the existing pattern to ensure a flawless finish.
Recommended Products
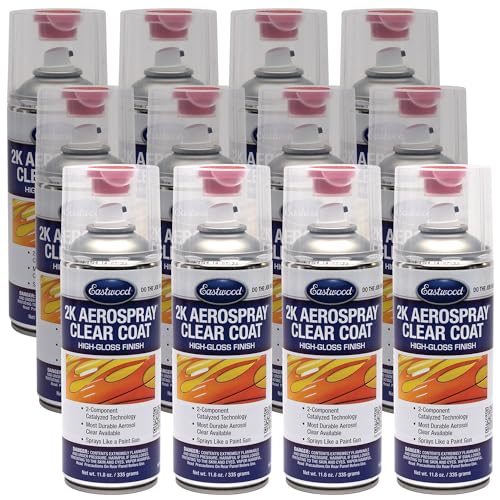
2k CLEAR COAT: Our special aerosol spray is a high-gloss clear coat spray that provides maximum shine. It will not only protect the sprayed surface from minor scratches but also allows it to maintain a clean a finish.
Durable Multi-layer Plasma Electrolytic Orange Coating: Advanced plasma electrolytic coloring with multi-layer protec-tion.Highly resistant to peeling andwear for long-lasting visual appeal.

High-Performance Closed-Cell Spray Foam Insulation Advanced single-component closed-cell foam expands to create a seamless, airtight seal that helps reduce energy loss and seal gaps more effectively than traditional fiberglass batts and rolls
Tools for Safe Orange Peel Texture Removal
Got a wall with that pesky orange peel texture? You’re not alone. A lot of folks want to give their walls a fresh, clean look, and getting rid of that texture is a great place to start. Let’s chat about the best tools you’ll need for this little DIY project.
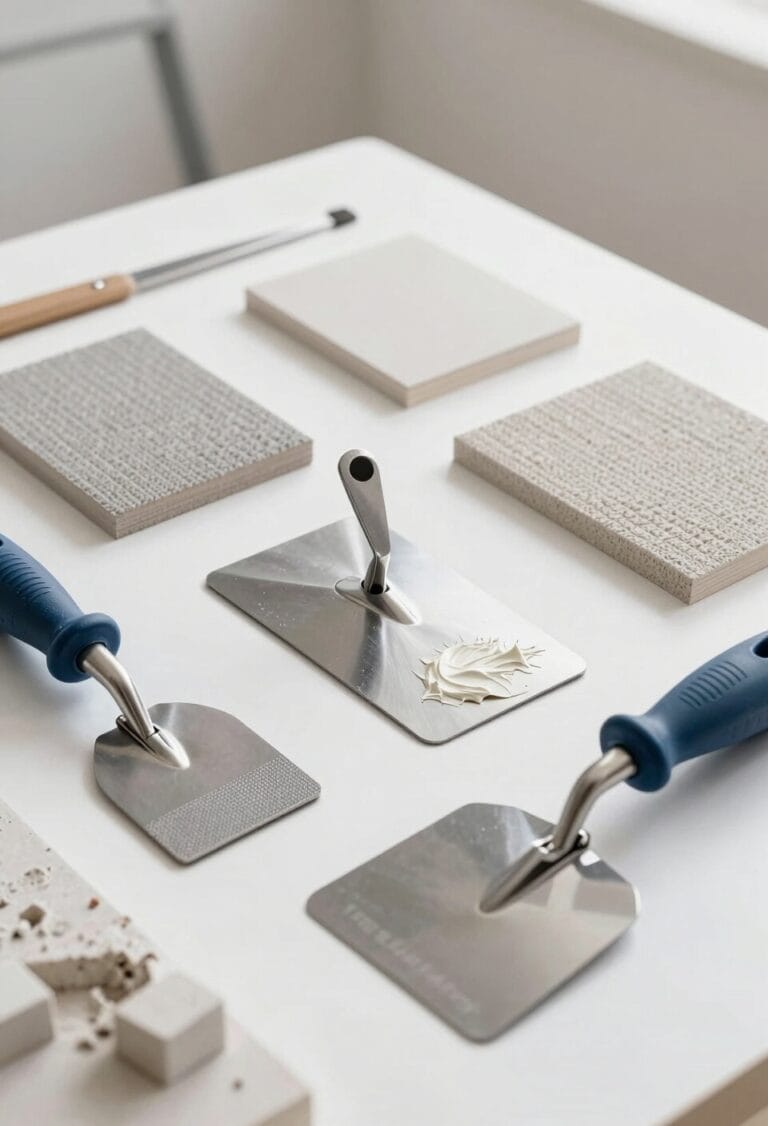
First things first, grab a flexible putty knife that’s about 4 to 6 inches wide. This is key for scraping off that texture without damaging your walls too much. It makes the whole process smoother without leaving a mess.
Next on your list should be some fine-grit sandpaper—around 220 grit will do just fine. After you’ve scraped off the texture, this will help you get the surface nice and smooth. And don’t forget, laying down drop cloths is a must. It keeps your floor safe from all the debris that’ll be flying around.
Safety is super important, too. So, make sure you’re wearing goggles and a dust mask while you’re working. Trust me, you’ll be glad you did when it gets a bit dusty in there. After scraping, using a sanding block will help you finish off that surface just right.
Once you’re done with all the scraping and sanding, give your walls a good clean. Getting rid of any dust left over will help ensure that your primer and paint stick better—no one wants peeling paint after all that hard work, right? Remember to use tools made from high-quality metal to ensure durability and ease of use during the process.
Recommended Products

DURABLE CARBON STEEL BLADE: This putty knife features a premium carbon steel blade that resists bending or breaking under pressure for long-term performance. Built tough for repeat repair jobs.

1-1/4-Inch flexible Black & Silver putty knife

Extremely flexible professional design
Should You Use Orange Peel Texture on Your Ceiling?
Why should you consider orange peel texture on your ceiling? If you’ve ever looked up and noticed some bumps or imperfections, this technique can work wonders. It not only creates a cohesive look by matching wall finishes, but it also cleverly hides those minor flaws. When applying this texture, it’s all about using a specialized texture spray gun that’s meant for overhead work—don’t worry, it’s easier than it sounds.
But here’s the thing: orange peel texture also helps with sound absorption. You know that annoying echo in some rooms? This type of ceiling can reduce those noise reflections and make your space feel quieter and more inviting. Plus, it’s durable, which means it looks good and lasts for a long time—definitely a win-win.
If you’re working on a new construction or a remodel and want to up your design game, orange peel texture could be a solid option for you. It’s about improving both the appearance and the acoustics of your space. Also, pairing this with an eggshell finish can provide a subtle sheen that enhances the polished look of your textured ceiling. So, how could this simple change impact your home’s vibe?
Best Practices for Long-Lasting Orange Peel Texture
Are you tired of textured walls that just don’t last? Getting that perfect orange peel finish can be tricky, but with the right approach, you can achieve a long-lasting result that looks great.
First things first, it all starts with your materials. Choosing a high-quality joint compound is essential. Aim for a thick, creamy consistency to help the texture stick and endure over time. But don’t skip the prep work! Make sure you clean and prime the wall thoroughly before doing anything else. This is crucial for ensuring the texture adheres properly.
Try this: practice your spray technique on a test surface. It’s the best way to nail down the consistency and application without fear of ruining your main wall. Once you’re comfortable, apply the joint compound but remember to let each coat dry completely according to the manufacturer’s directions.
What’s the best tool for the job? A texture spray gun with adjustable settings can make all the difference. This allows you to get a uniform finish that’ll last. The great part is, with a little patience and attention to detail, your walls will have that clean, orange peel texture you’ve been wanting.
For optimal results, consider using water-based spray textures that offer low odor and quick drying times to simplify clean-up and ensure a durable finish.
Recommended Products

ADVANCED PROTECTION FOR OUTDOOR WOOD: DEFY Extreme wood stains offer high-performance deck stain and sealer products that prevent graying & weathering while also extending the life of exterior wood surfaces
Water-based, Low-odor formula

NO LAPS, RUNS OR STREAKS: Goof Proof formula with no back brushing required; ideal for exterior wood projects
How to Fix Common Issues With Orange Peel Texture
Maintaining that ideal orange peel texture can be a real headache when problems pop up. If you’re dealing with a damaged area, the first step is to grab a putty knife and clean it up—get rid of any loose bits of texture. After that, try mixing joint compound with some water until it’s thick and creamy, making sure it’s easy to work with.
Now, here’s the trick: use your putty knife to spread that compound evenly over the damaged spot, blending it in with the surrounding textures as best as you can. It’s key to take your time here. Once you’re done, let it dry according to the instructions on the package.
Once it’s dry, you’ll want to break out a texture spray gun to recreate that classic orange peel pattern. Apply it evenly, and don’t rush this part; a smooth, consistent finish is what you’re after. Allow it to dry fully before moving on—that’s what will give your repairs the durability they need. For best results, consider using adjustable spray nozzles to customize the texture spray to match your existing wall finish precisely.
Recommended Products

TOP OF THE LINE TEXTURE PUMP SPRAY GUN FEATURES MACHINED BRASS BODY FOR ULTIMATE DURABILITY - Finest small area drywall texture sprayer in existence!

Great tools at a great price

Professional Custom Coat Spray-On Truck Bed Liner 1 Gallon Kit. Custom Tintable Color Kit Includes: 4 - 21 fl. oz. Cans of Tintable Truck Bed Liner Base, 4 - 8 fl. oz. Cans Custom Coat Standard Hardener, 4 - 3 fl. oz. Bottles of Custom Shop Basecoat Color Tint and 1 Custom Coat Applicator Spray Gun with Regulator. Estimated coverage is 110 to 130 square feet @ 10 mils wet film thickness.
Frequently Asked Questions
How to Perfectly Match Orange Peel Texture?
To perfectly match orange peel texture, we should focus on matching techniques with texture materials. We’ll practice our spray application, ensuring our finish options align with the existing surface for a seamless look.
What Is the Orange Peel Texture Process?
Did you know that about 30% of homes feature textured walls? For the orange peel texture process, we’ll use a spray technique, explore various finish options, and follow key application tips to achieve a stunning result.
What Is the Best Pressure for Orange Peel Texture?
The best pressure for orange peel texture is between 20 to 30 psi. Using this spray technique guarantees texture consistency, and we can fine-tune air pressure based on our desired finish for ideal results.
What Should Orange Peel Texture Look Like?
We’ve all admired the vibrant, bumpy look of orange peels. Ideal orange peel textures feature soft bumps, creating texture comparisons with smoother finishes. These finishes enhance walls’ beauty while efficiently concealing imperfections, striking a perfect balance.